










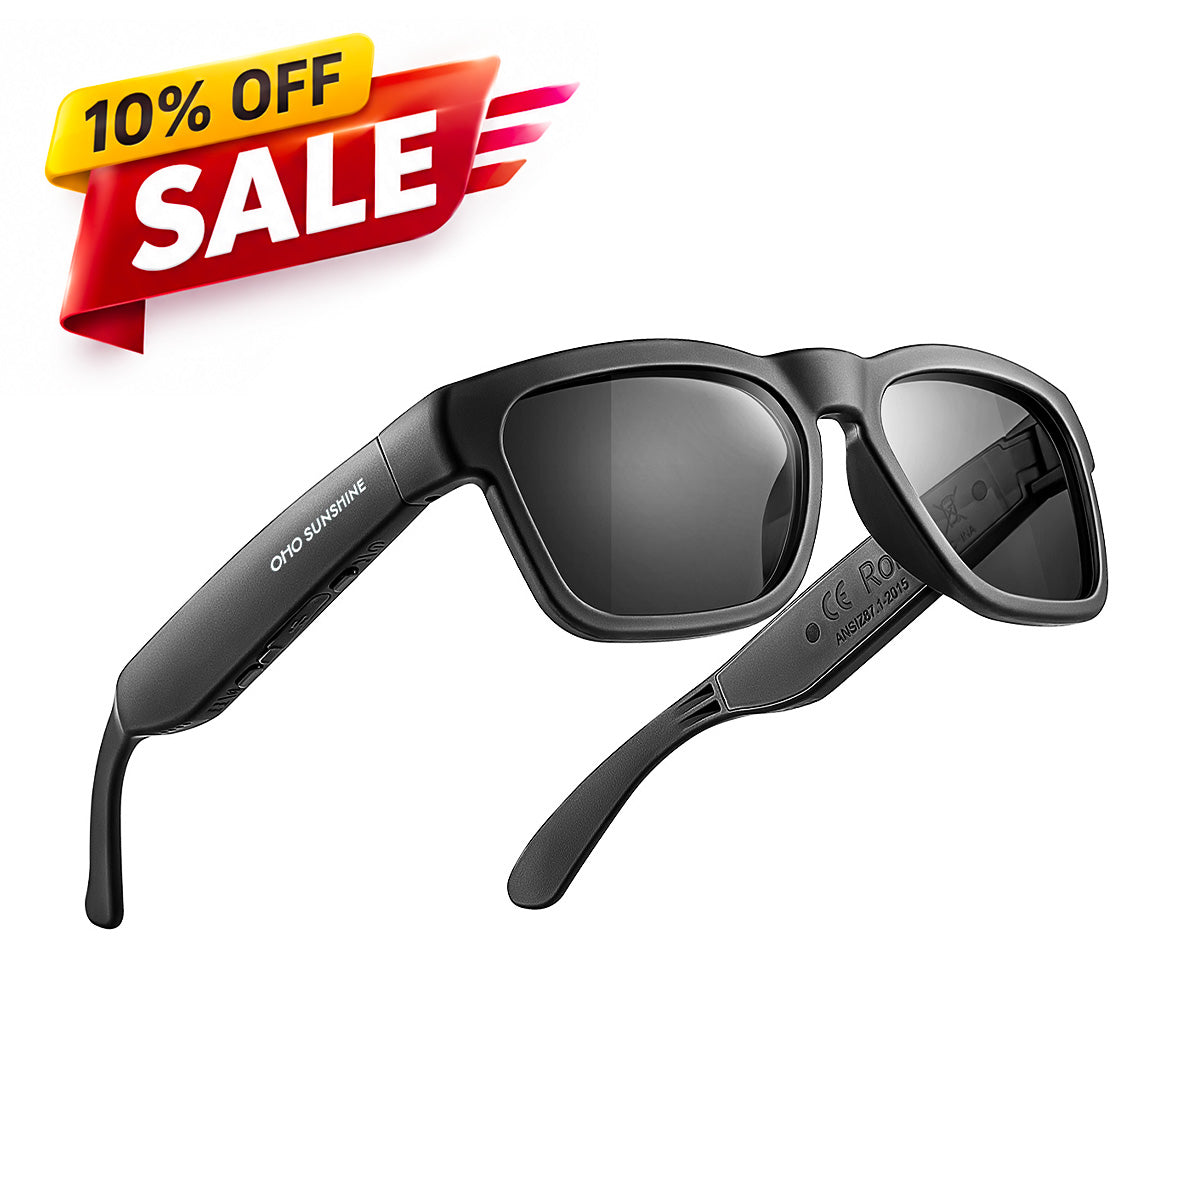


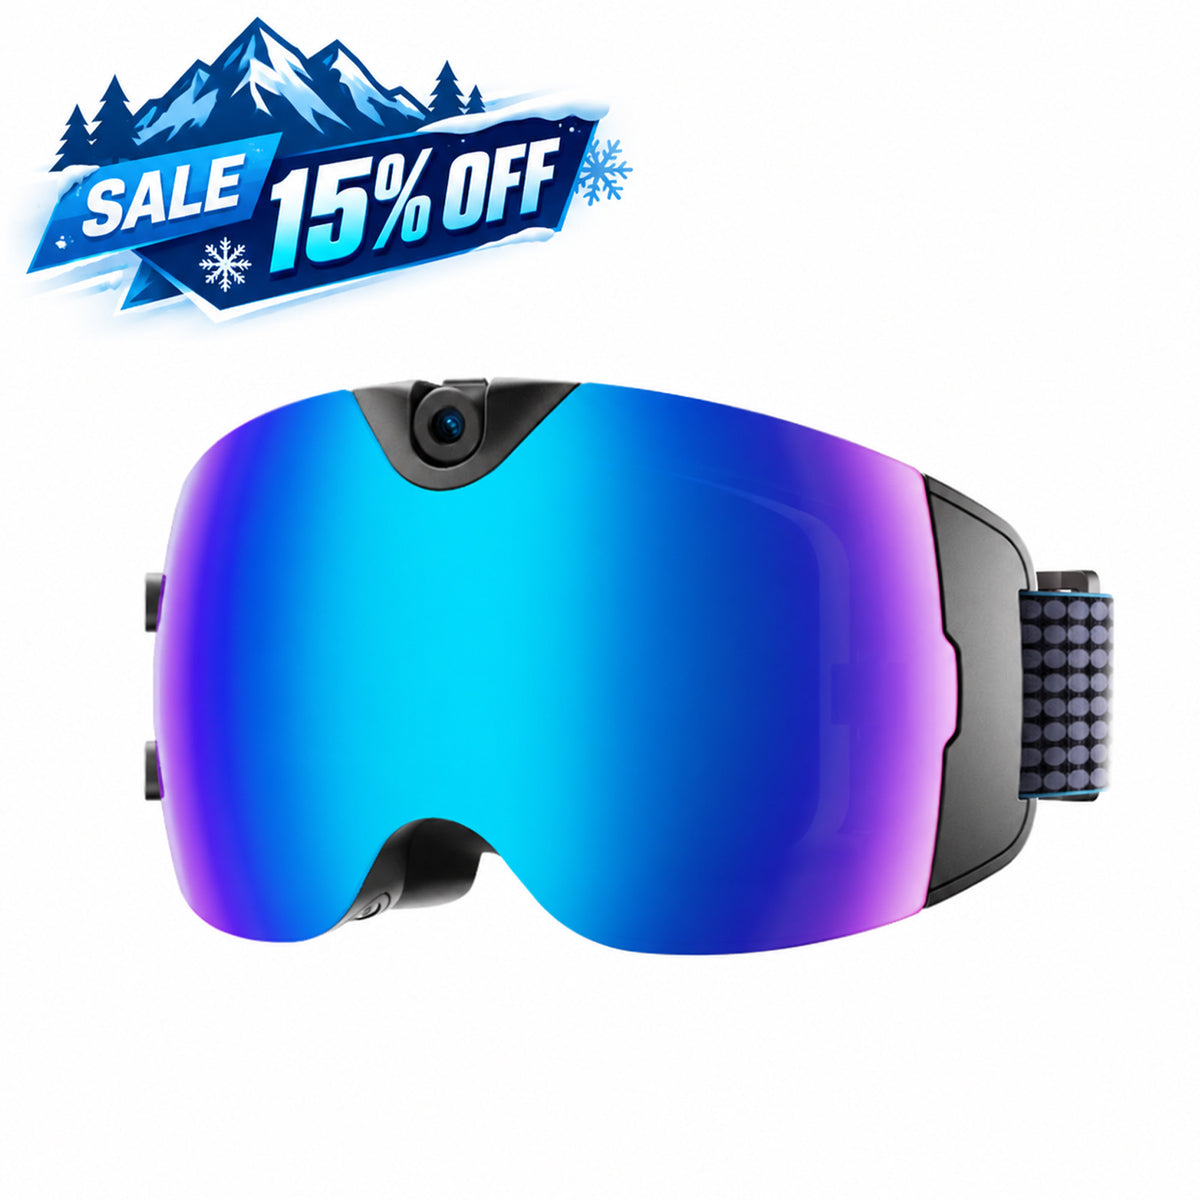
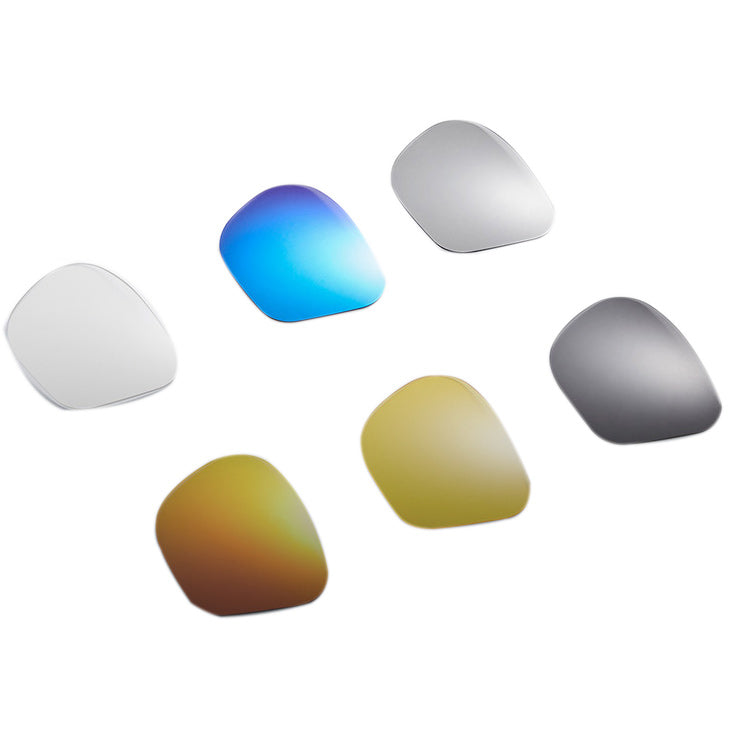
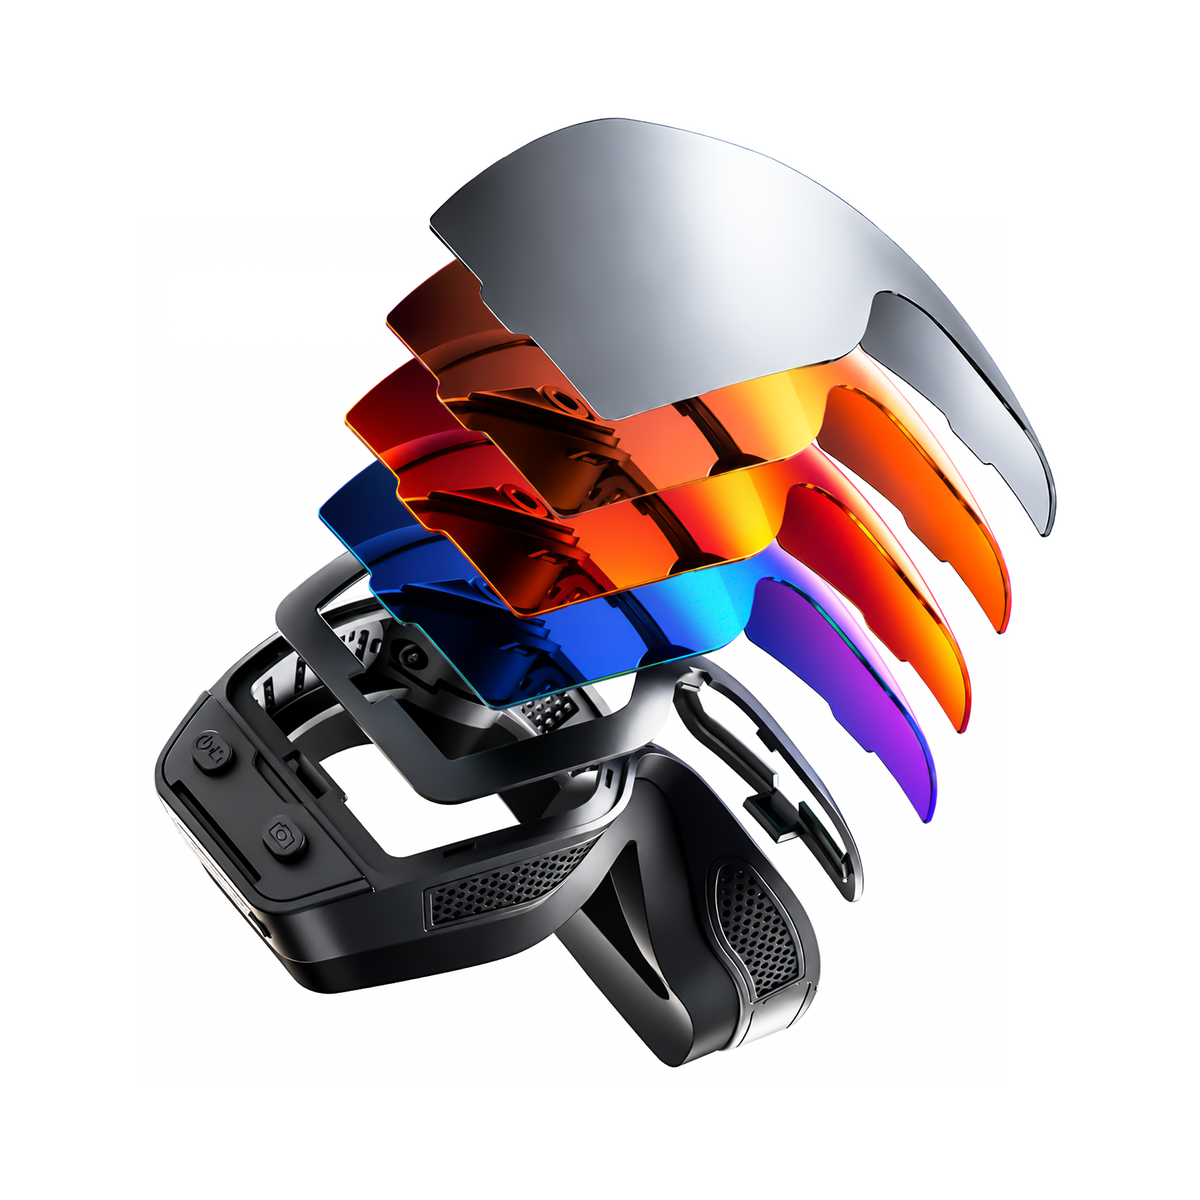


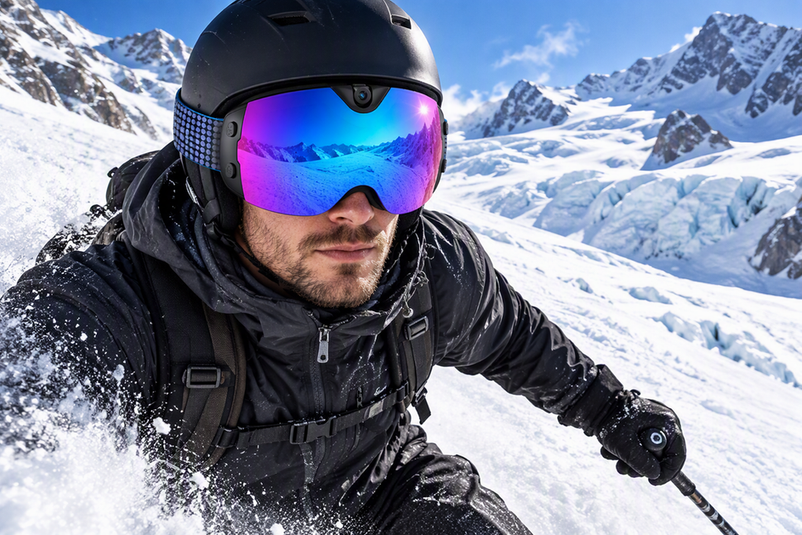
Glacier skiing at high altitude puts far more UV on your eyes than an ordinary sunny slope, so the eyewear you choose should start with documented UV protection and full coverage, not a coating name. Once that box is checked, the next choice is glare control: polarized lenses target reflected glare off flat snow, while mirrored lenses cut overall brightness on the sunniest days, and neither one is a universal answer. Camera-integrated goggles add a third layer, so the lens and recording setup both need a real-world check before you trust them on the ice.
Why Glacier Conditions Raise the Eye-Protection Stakes
Glacier conditions raise UV exposure through two compounding factors: elevation and reflection. The FDA ultraviolet radiation guidance notes that exposure increases with altitude and around reflective surfaces like snow, because there is less atmosphere to filter UV rays and because snow bounces radiation back toward your eyes from below as well as above.
That combination is what causes snow blindness, a painful condition called photokeratitis. The American Academy of Ophthalmology explains that eyewear blocking 99% or more of UV rays and shielding eyes from dry, freezing wind can help prevent snow blindness, though no lens guarantees complete protection. This sets the real selection threshold: check documented UV performance and continuous coverage before comparing tint or coating options. If your eyes become painful, unusually light-sensitive, or your vision changes after time on the glacier, stop skiing and get qualified medical care rather than continuing to test your eyewear.
What UV400 and Full UVA/UVB Protection Should Verify
UV400, or a "100% UVA/UVB protection" claim, means the lens is designed to block ultraviolet wavelengths up to 400 nanometers, but that claim is separate from tint, mirror finish, or polarization. The FDA's guidance for nonprescription sunglasses notes that UV attenuation depends on the lens's physical, chemical, and optical properties, and that labeling may state specific UVA and UVB blocking percentages rather than one universal standard. A dark tint or a shiny mirror coating does not, by itself, prove full UV blocking.
Before you trust a UV400 claim, look for the exact wording on the product listing or included documentation, and confirm it applies to the lens you will actually wear, including any replacement or interchangeable lens. Our guide on what the UV400 label means walks through reading that claim apart from polarization and tint, which is worth reviewing if a listing bundles several features into one marketing line. Treat the UV claim, the glare coating, and the coverage design as three separate checks, not one bundled promise.
Polarized vs. Mirrored Lenses for Glacier Glare
Polarized lenses work best when reflected glare off broad, relatively flat snow is your main problem, while mirrored lenses are built for the brightest overall light rather than one glare angle. Neither treatment substitutes for the UV check above, and the right pick depends on your route and forecast rather than a fixed ranking. A buying-guide comparison of ski goggle lenses frames the trade-off this way, though it reflects general buying guidance rather than a lab-tested standard.
| Treatment | Choose it when | Boundary to check |
|---|---|---|
| Polarized lens | Reflected glare off broad, flat snow is the main issue on a sunny descent | Does not raise or confirm UV blocking; verify UV separately |
| Mirrored lens | The route is exceptionally bright all day and you want maximum light reduction | Can be too dark if clouds, snowfall, or dusk roll in; carry a lighter option |
Either treatment still leaves coverage, fit, and ventilation as open questions. A polarized lens that lets wind reach your eyes, or a mirrored lens with gaps at the brow, has not solved the safety threshold from the first section. Match the coating to your glare problem, then confirm the frame seals against wind and light from the sides.
How Camera Eyewear Changes the Capture Tradeoff
Adding a camera to ski eyewear opens a second decision path that runs alongside eye protection, not in place of it. The lens, frame, and UV documentation still need to pass the checks above, and the camera adds a separate footage question on top.

Separate the Camera From the Protection Claim
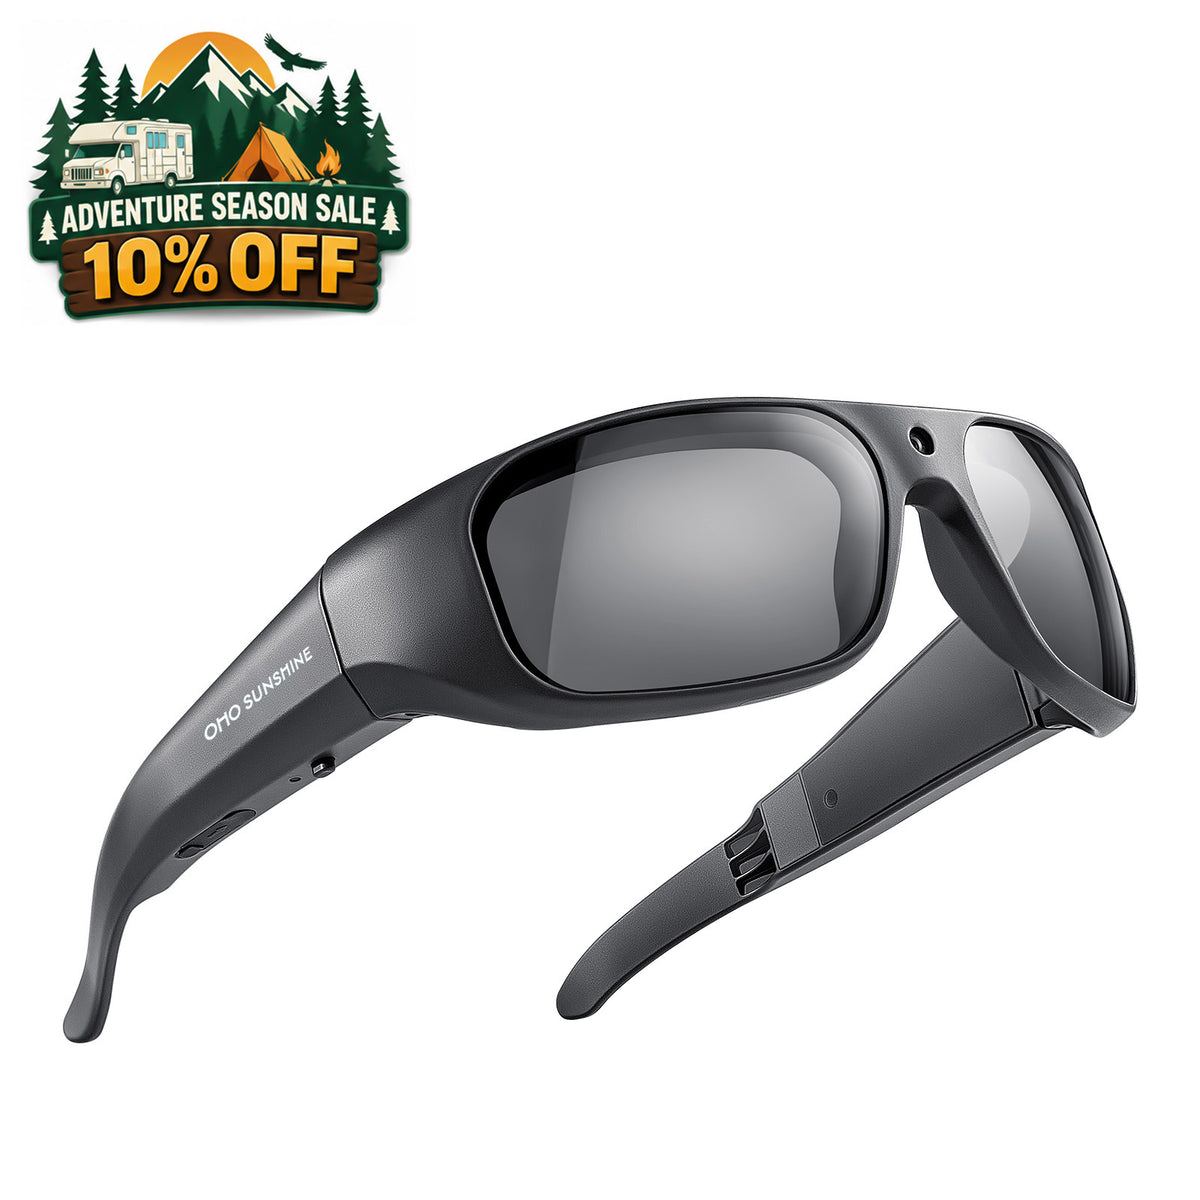
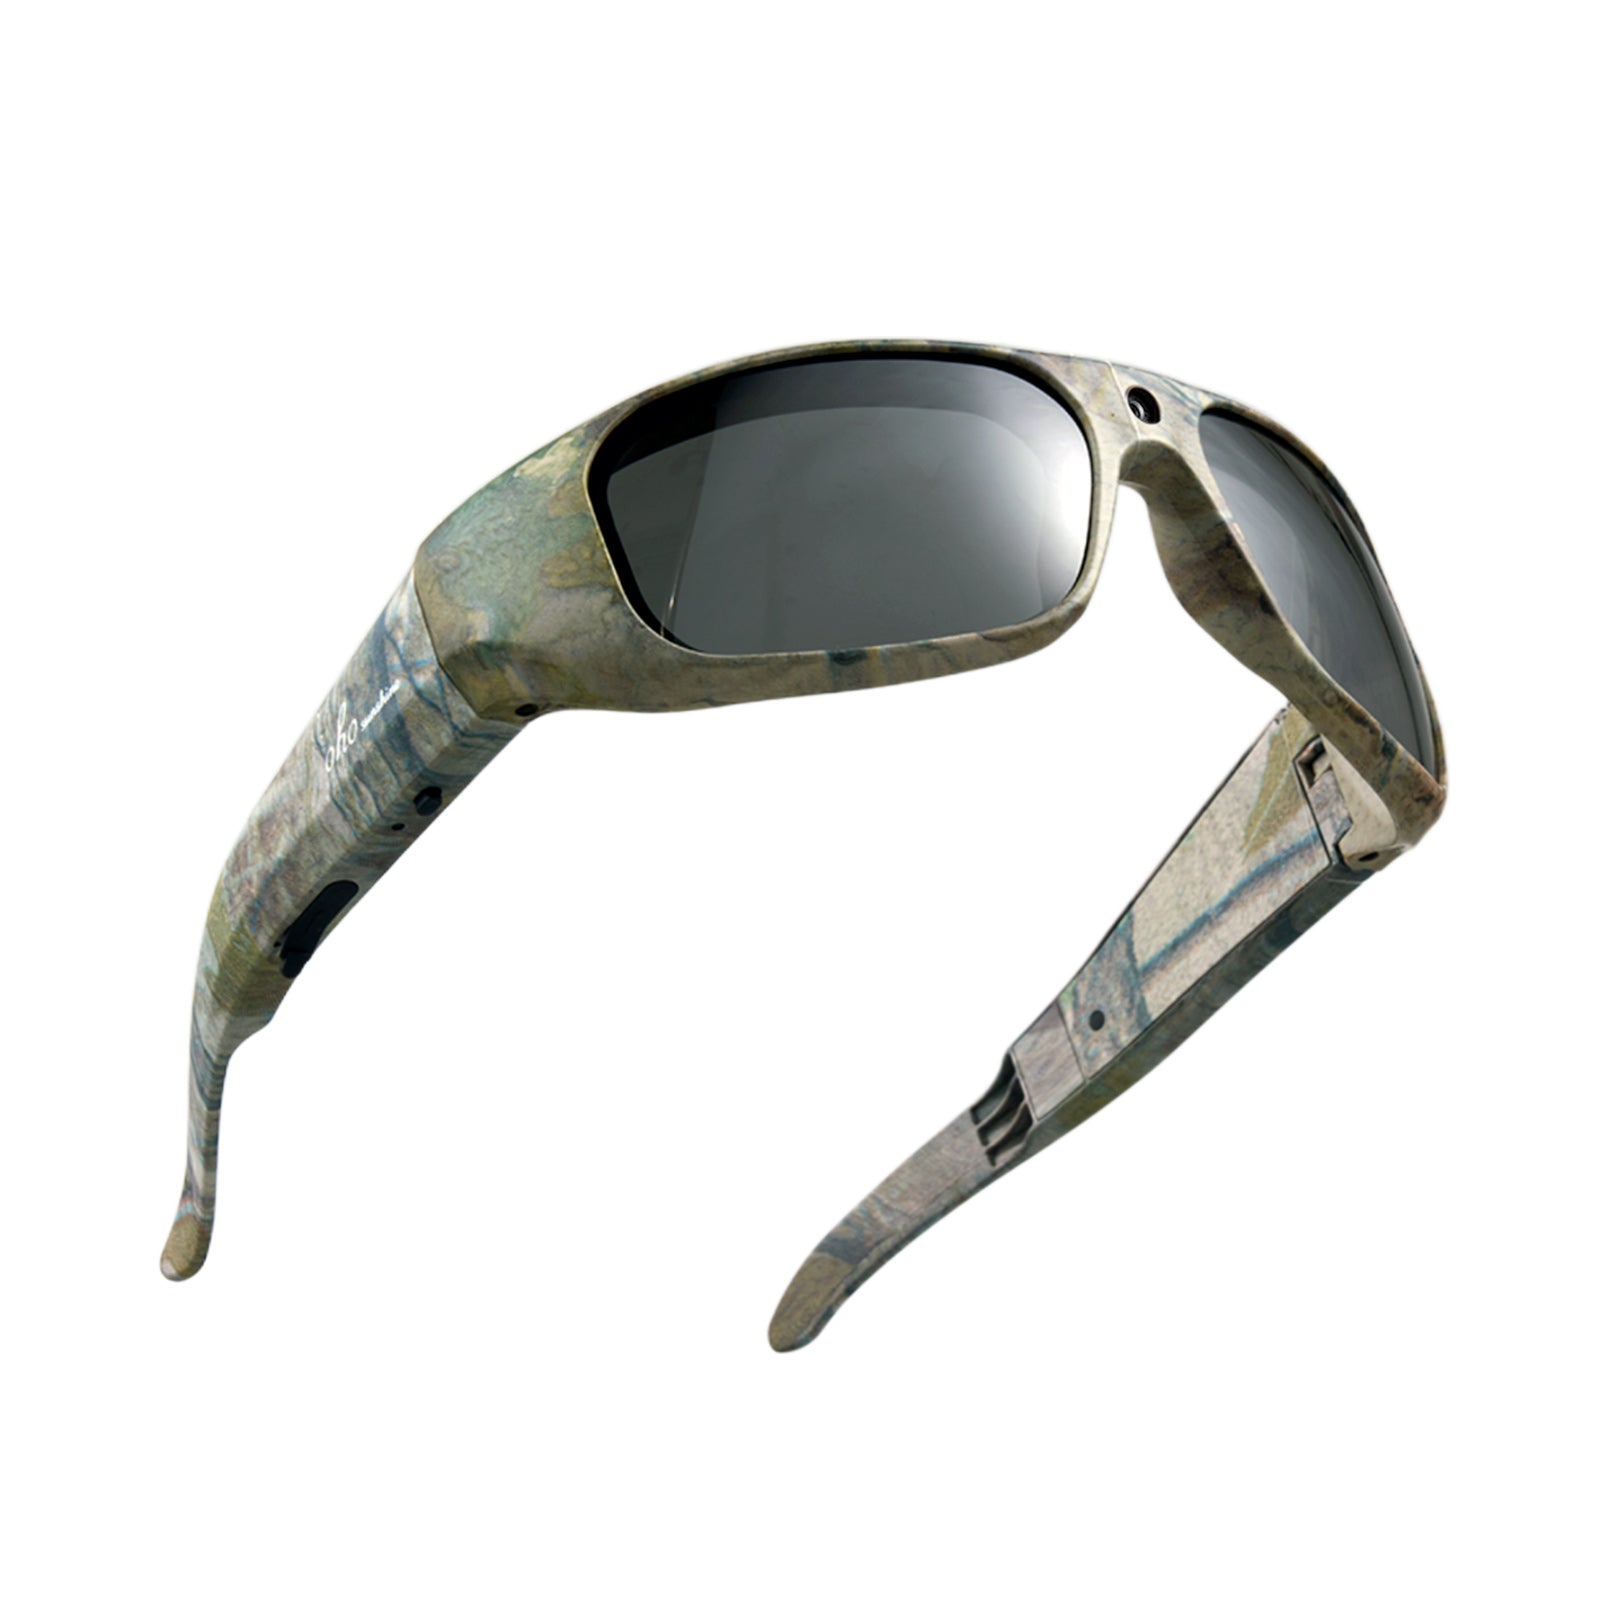
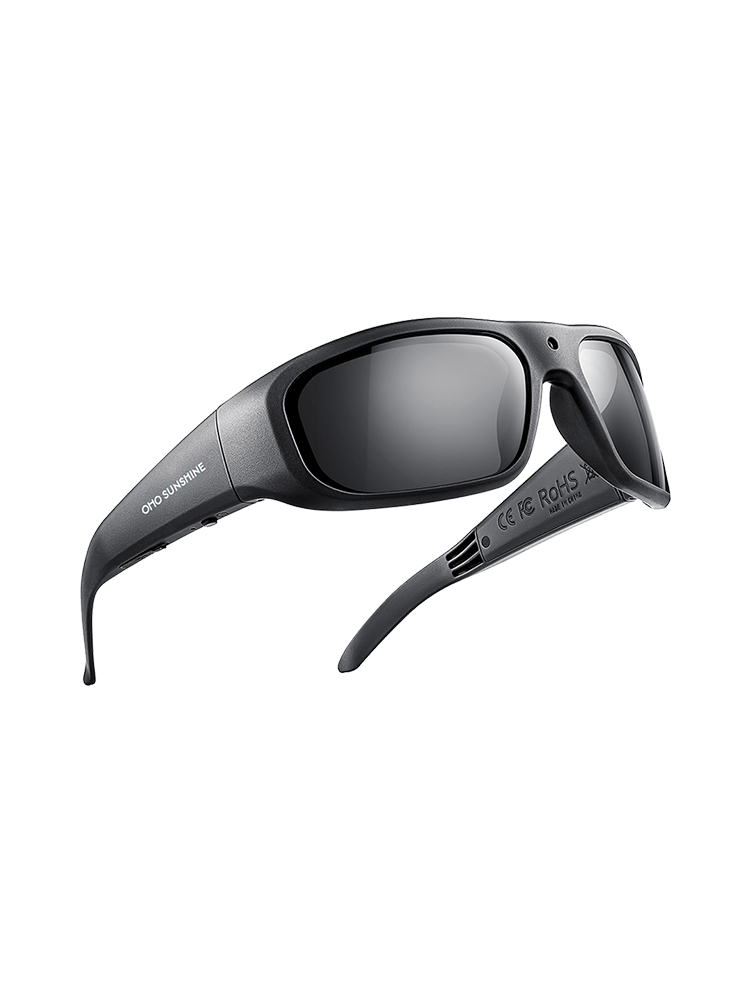
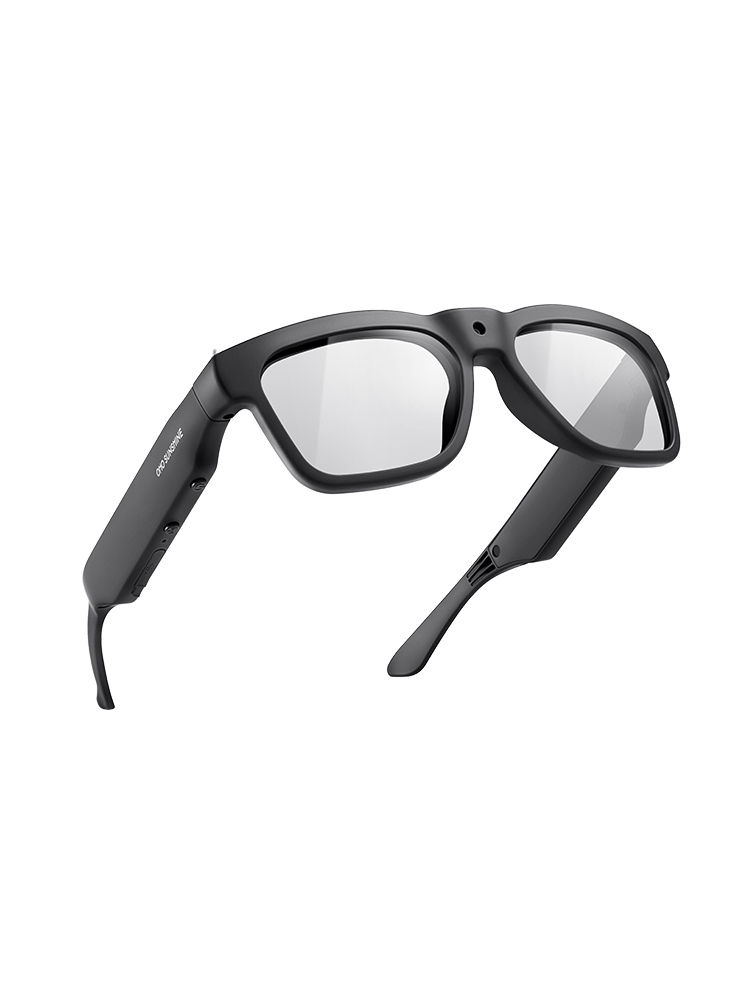
A high resolution number, a wide field of view, or a blinking recording light says nothing about UV blocking or coverage. Those are camera specifications, and the installed lens, frame seal, and ventilation remain separate facts to confirm using the documentation rule above. Our Skyshot camera ski goggles list a UV400, polarized lens alongside 4K/30 fps video, a 140° field of view, and a 90-minute battery, and those are the exact features we can confirm, not evidence of independent UV testing or glacier-specific fit.
Run a Bright-Snow Footage Test
Camera specifications cannot tell you whether footage will hold up on a glacier, so test the exact unit before your trip:

- Capture a short clip in bright, reflective snow and, if your route includes it, another clip in flatter or lower light.
- Inspect the footage for lens reflections, washed-out highlights, lost shadow detail, and whether the framing matches what you actually saw through the goggles.
- Confirm the recording controls, expected battery life, and file storage work the way you need before you rely on the setup for a full day out.
If the footage looks distorted, overexposed, or the framing misses the terrain you want, treat that as a no-go for this specific unit rather than assuming a higher resolution number would fix it. Our guide to snow goggles with a camera walks through matching a camera setup to your goggles, and our 4K snow goggle camera collection is worth browsing if you want to compare options with this feature set.
Choose Eyewear by Glacier-Skiing Scenario
The right priority shifts with the scene: a bright descent, a changing-weather climb, or a recording-focused run each change what you should check first.
Bright, Reflective Glacier Descent
- Start with documented UV protection and a frame that seals against wind, not the coating name.
- Choose polarization if reflected glare off broad snow is the dominant problem, or a mirrored lens if the whole day is exceptionally bright.
- Skip either option if the tint is too dark for the forecast or the frame leaves gaps at the brow or cheek.
Ascent or Changing Weather
- Prioritize ventilation and anti-fog performance alongside coverage, since exertion and shifting weather both raise fogging risk.
- Carry or choose a lighter, documented lens option before committing to a dark mirrored lens on a route where clouds or snowfall are likely.
- Do not expect polarization to solve flat-light or storm visibility; that is a tint and ventilation problem, not a glare problem.
Recording While Skiing or Snowboarding
Choose integrated camera eyewear for hands-free recording only after the UV documentation and fit checks above pass, since a camera feature cannot substitute for either one. A compatible mounted camera can be the better call when it gives you more control over lens angle or helmet fit, provided the mount does not block coverage at the temple or brow. Either way, run the bright-snow footage test from the previous section on your exact setup, and keep that judgment separate from how the UV claim reads on the box. For bright but variable light on the way up or down, our guide on ski goggle lens tints covers how VLT and tint choices interact with changing snow conditions.
The Pre-Purchase and Pre-Outing Pass/Fail Check
Run this sequence before you buy and again before you head out, since a pass on one day does not guarantee a pass on a different route or lens.

- UV documentation: confirm the listing or manual states the UV performance for the exact lens you will wear. Fail if the claim is vague or missing.
- Installed-lens match: check that any replacement or interchangeable lens carries the same documented UV rating. Fail if it does not.
- Coverage and wind seal: confirm the frame blocks light and wind from the sides, brow, and cheek. Fail if you find gaps.
- Face and helmet fit: try the goggles with the helmet you will actually wear. Fail if there is a pressure gap or slippage.
- Ventilation and fog control: check for anti-fog treatment and vents suited to your exertion level. Fail if the lens fogs during a quick test.
- Tint or low-light option: confirm you have a lens light enough for the darkest expected conditions on your route. Fail if you only have one dark option.
- Camera framing and footage test: if recording, run the bright-snow test from above on the exact unit. Fail if the footage is unusable.
Proceed onto the glacier only when every step passes for the exact configuration you plan to wear.
Conclusion
Before you book a glacier trip, verify the documented UV performance and coverage on the exact lens you will wear, then match polarization or mirroring to your route's glare problem rather than picking by looks. If recording matters, run the bright-snow footage test on your specific setup before you commit. No single coating or camera spec settles all three questions, so work through the pass/fail check above, then choose the option that clears every step for your trip.
FAQs
What should I do if my eyes hurt or become unusually light-sensitive after glacier exposure?
Stop skiing right away and get out of the sun and glare. Eye pain, marked light sensitivity, or vision changes after UV exposure are reasons to seek qualified medical care rather than waiting it out or continuing to test your eyewear. These symptoms can point to photokeratitis, and a clinician, not a lens swap, is the appropriate next step.
Can glacier sunglasses replace snow goggles on a windy ski descent?
Only if the sunglasses provide the same continuous coverage and wind shielding a goggle frame gives; documented UV protection alone does not close that gap. On a windy or heavily exposed descent, a goggle's fuller seal against dry, freezing wind is the safer boundary, so sunglasses that leave gaps at the temple or brow are better saved for calmer, less exposed conditions.
How do I verify that a camera goggle's UV claim applies to the lens I'll actually use?
Check that the documentation names the specific installed or replacement lens and states its UV performance, not just the goggle model. Camera resolution, a dark tint, or a recording indicator light are not UV evidence, so match the paperwork to the physical lens in your hand before you rely on it for a glacier trip.



Deixe um comentário
Este site está protegido pela Política de privacidade da hCaptcha e da hCaptcha e aplicam-se os Termos de serviço das mesmas.