














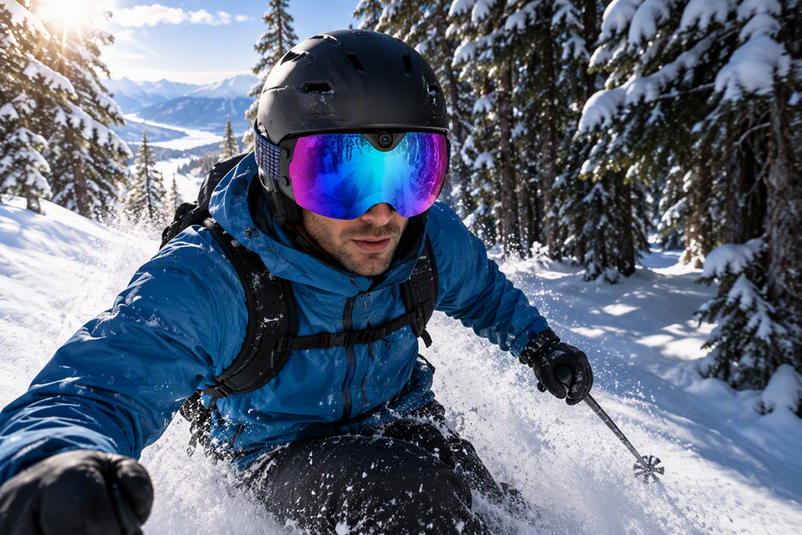
Tree glades combine two hard lighting problems at once: bright, reflective open snow followed by pockets of deep shade. Snow goggles with camera systems often struggle with that swing, either graying out the sunny sections or losing the trees to black. The fix isn't a single magic setting. It's a stationary check before you ride, a riding method that matches each light pattern, and an honest read on what editing and your exact goggles can fix afterward.
Set Up Camera Ski Goggles Before Entering the Glade
Before you drop into the trees, run one stationary test in both bright snow and nearby shade. That short check tells you more about your footage than any spec sheet.
Start With a Stationary Exposure and Framing Check
Do this at the top of the run, standing still, before you commit to the glade:
- Wipe the lens clean and check for fog, moisture, snow, or scratches that would blur the shot.
- Confirm the battery charge, remaining storage, and that recording actually starts and stops when you trigger it.
- Record a short clip in bright, open snow, then another a few steps into the shade.
- Play both clips back and check exposure and framing together, since a framing test for camera goggles will also show whether the lens is actually pointed where you think it is.
If either clip looks unusable, that's your answer before you ever ride the line.
Choose Only the Device-Specific Controls You Can Verify
Bright snow confuses camera light meters. A meter often reads brilliant white snow as gray and pulls exposure down, so the whole scene looks darker than it should. Adobe's photography guidance explains snow exposure compensation for situations where bright reflections trick a light meter into underexposing the scene. Some cameras handle this with exposure compensation, exposure lock, HDR, or a chosen frame rate, but not every camera ski goggle documents those controls.

Check your exact model's manual or app before you plan a run around a feature you assume it has. If a control isn't listed, treat it as unavailable and pick a conservative, fixed setup instead of guessing mid-run. This is also why the stationary test above matters more than any marketed mode.
Match Lens Visibility to the Glade, Not Just the Sun
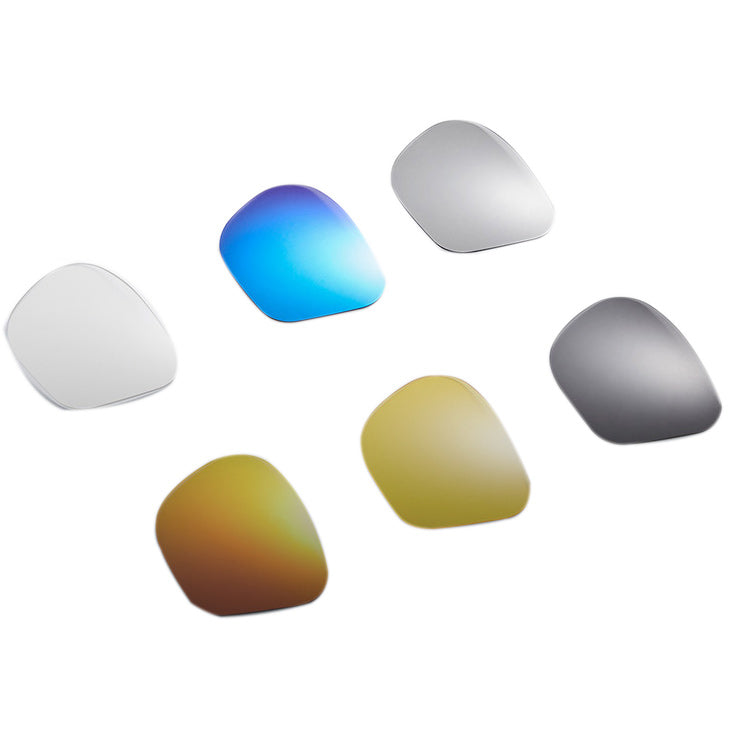
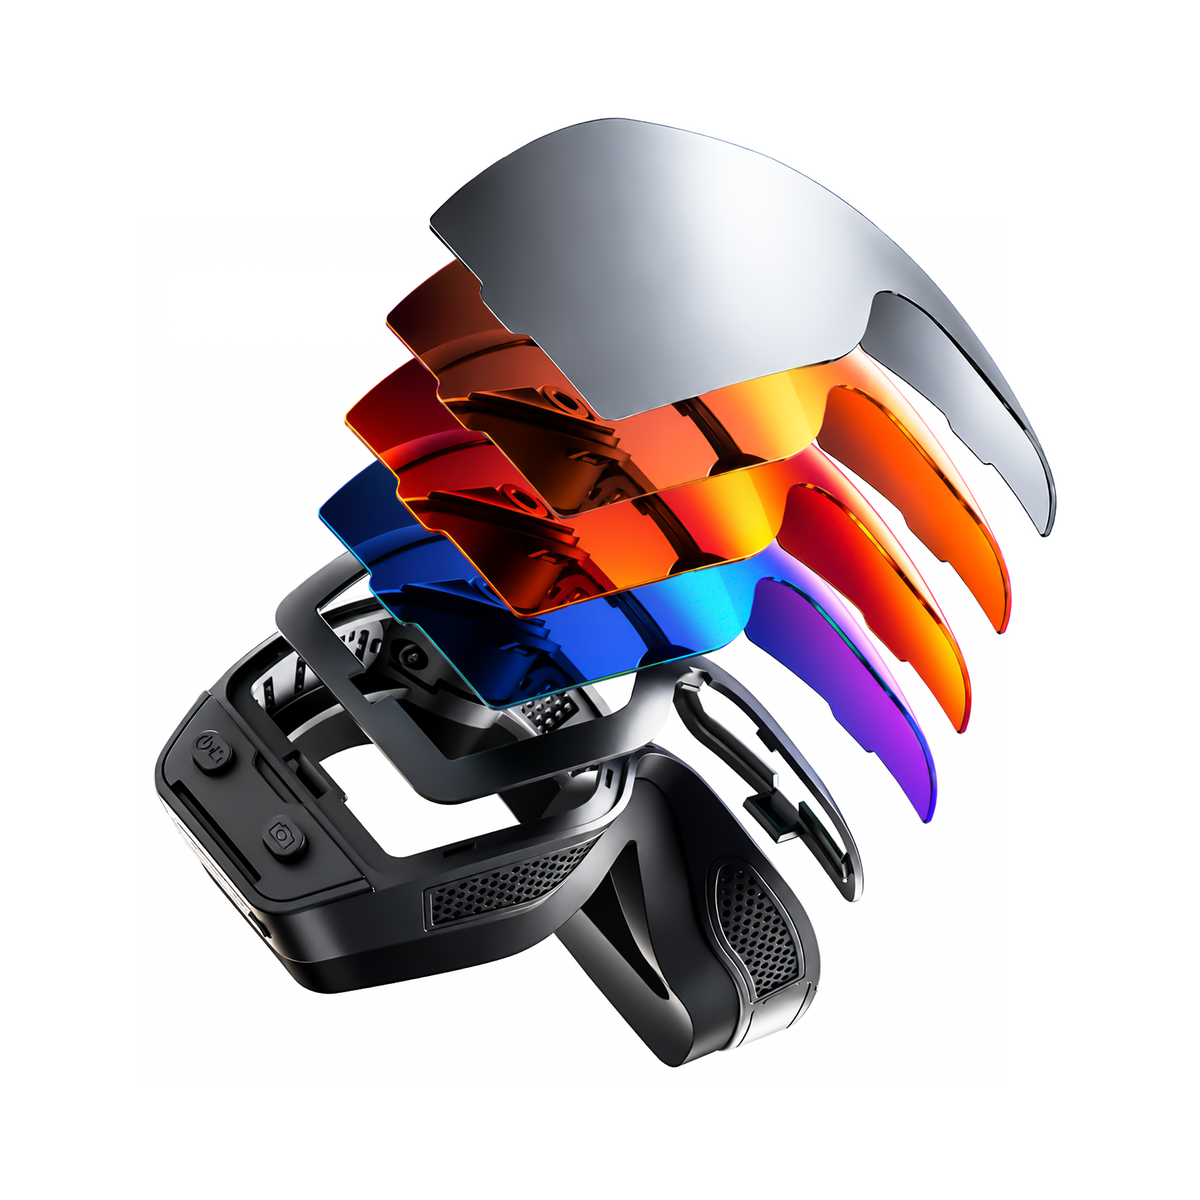
A lens that looks great in full sun can still leave shaded trees hard to see, both for your eyes and the camera. Use the stationary shade clip to judge whether the tint keeps the darker section readable, and treat anti-fog coating, polarization, and tint as conditions to verify rather than guarantees of balanced exposure. If you're choosing goggles for runs that swing between bright bowls and thick trees, a guide on lens tint for changing light can help you narrow the VLT range before you buy. Don't assume any camera goggle has swappable lenses unless that's specifically listed for your model.
Film the Sun-to-Shadow Run Without Losing the Line
Once the setup is verified, the run itself comes down to three light patterns, not one universal setting. Your line and attention still come before the footage.
Use the Light Change as a Three-Scene Riding Plan
In bright open snow at the top of the glade, keep the exposure approach you confirmed in testing and watch for reflective highlights near the entrance. At the transition into shade, resist the urge to look down or adjust controls; your line and the trees around you stay primary, and the camera records whatever setup you already chose. Once you're in dense shade, favor a manageable route and deliberate, steady head movement so the camera actually sees the turn and the tree spacing you're navigating, instead of a shaky glimpse of the trail. Treating the run as these three scenes, rather than one continuous unknown, keeps your decisions simple while you're moving.
Keep the Line Smooth Instead of Chasing the Exposure
Footage quality never outranks picking a safe line. Before you push off, take time to choose a manageable line suited to your ability and preview obstacles, the way REI's ski guidance recommends for tricky or unfamiliar terrain. Use steady, natural head turns through the trees instead of abrupt camera hunting, since that motion shows up as jerky footage anyway. If something needs fixing, whether that's a setting, the lens, or your framing, stop in a safe spot first. Adjusting controls while you're threading trees splits your attention at the exact moment you need it most.
Edit What Was Recorded and Judge Product Fit
Once you're off the hill, exposure, highlights, whites, blacks, and shadows sliders can rebalance a clip, but only where the camera actually captured detail. Adobe notes that badly exposed images contain less tonal data to edit, which means blown-out snow or crushed shadow detail in the trees usually can't be reconstructed after the fact. Treat those clips as capture losses and use them to adjust your stationary test next time, not as an editing project.
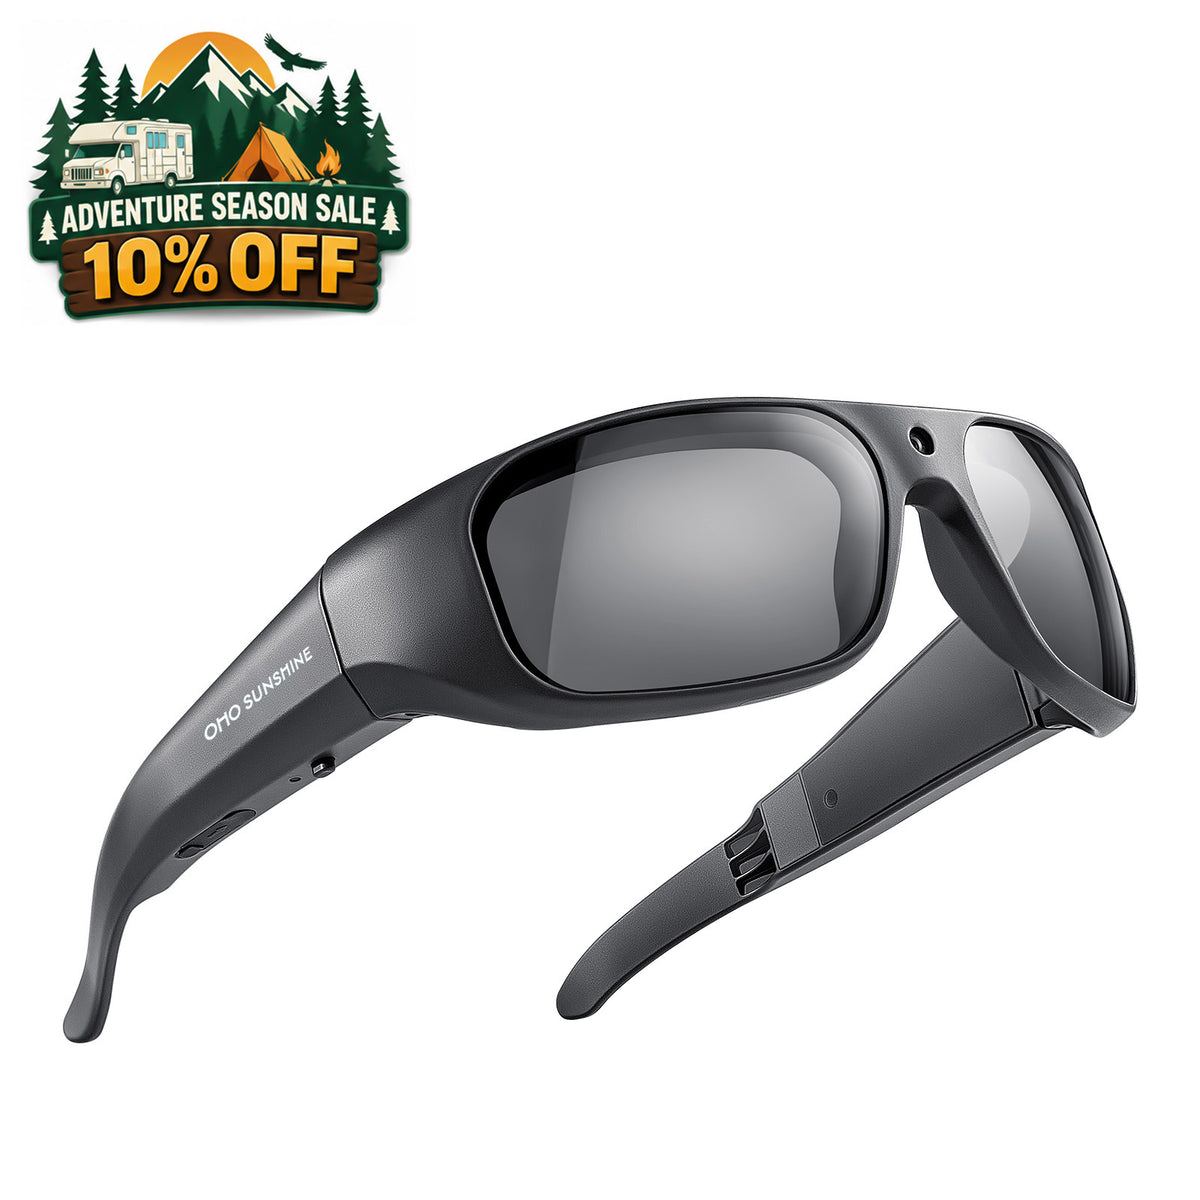
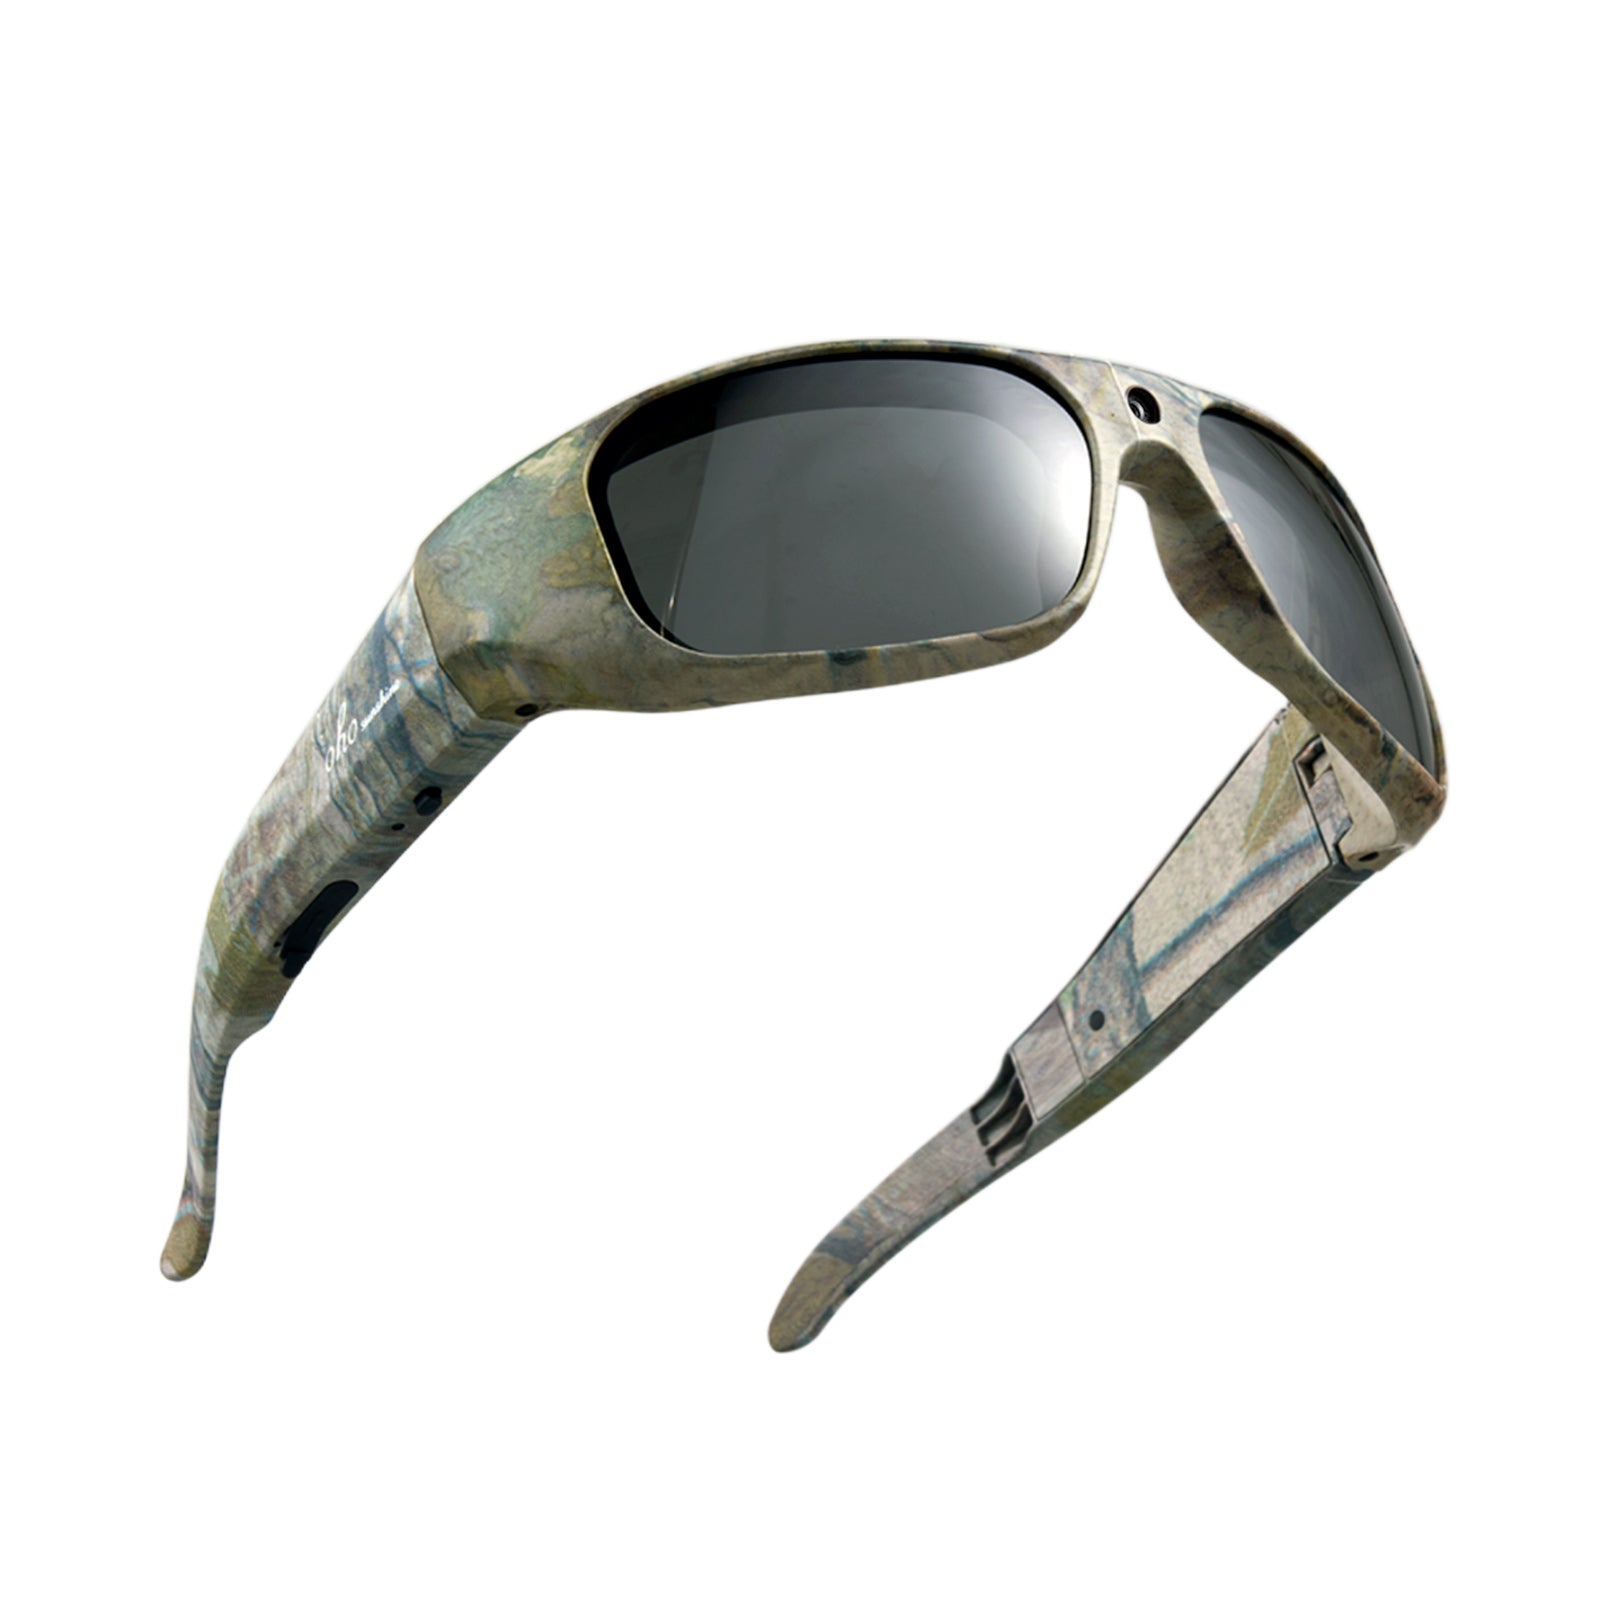
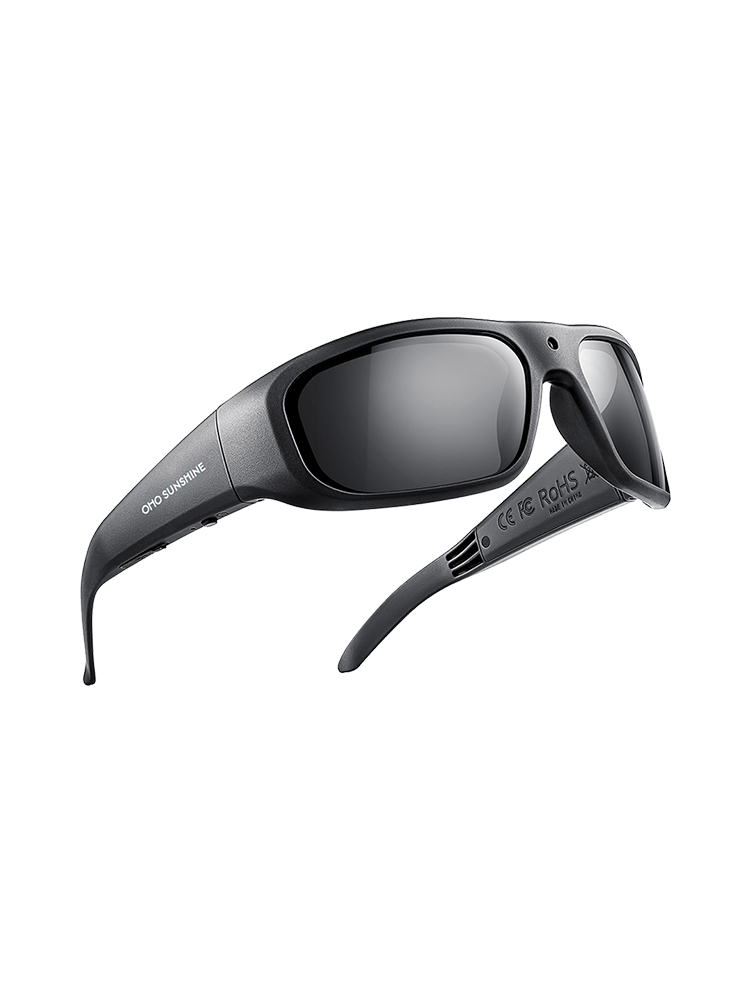
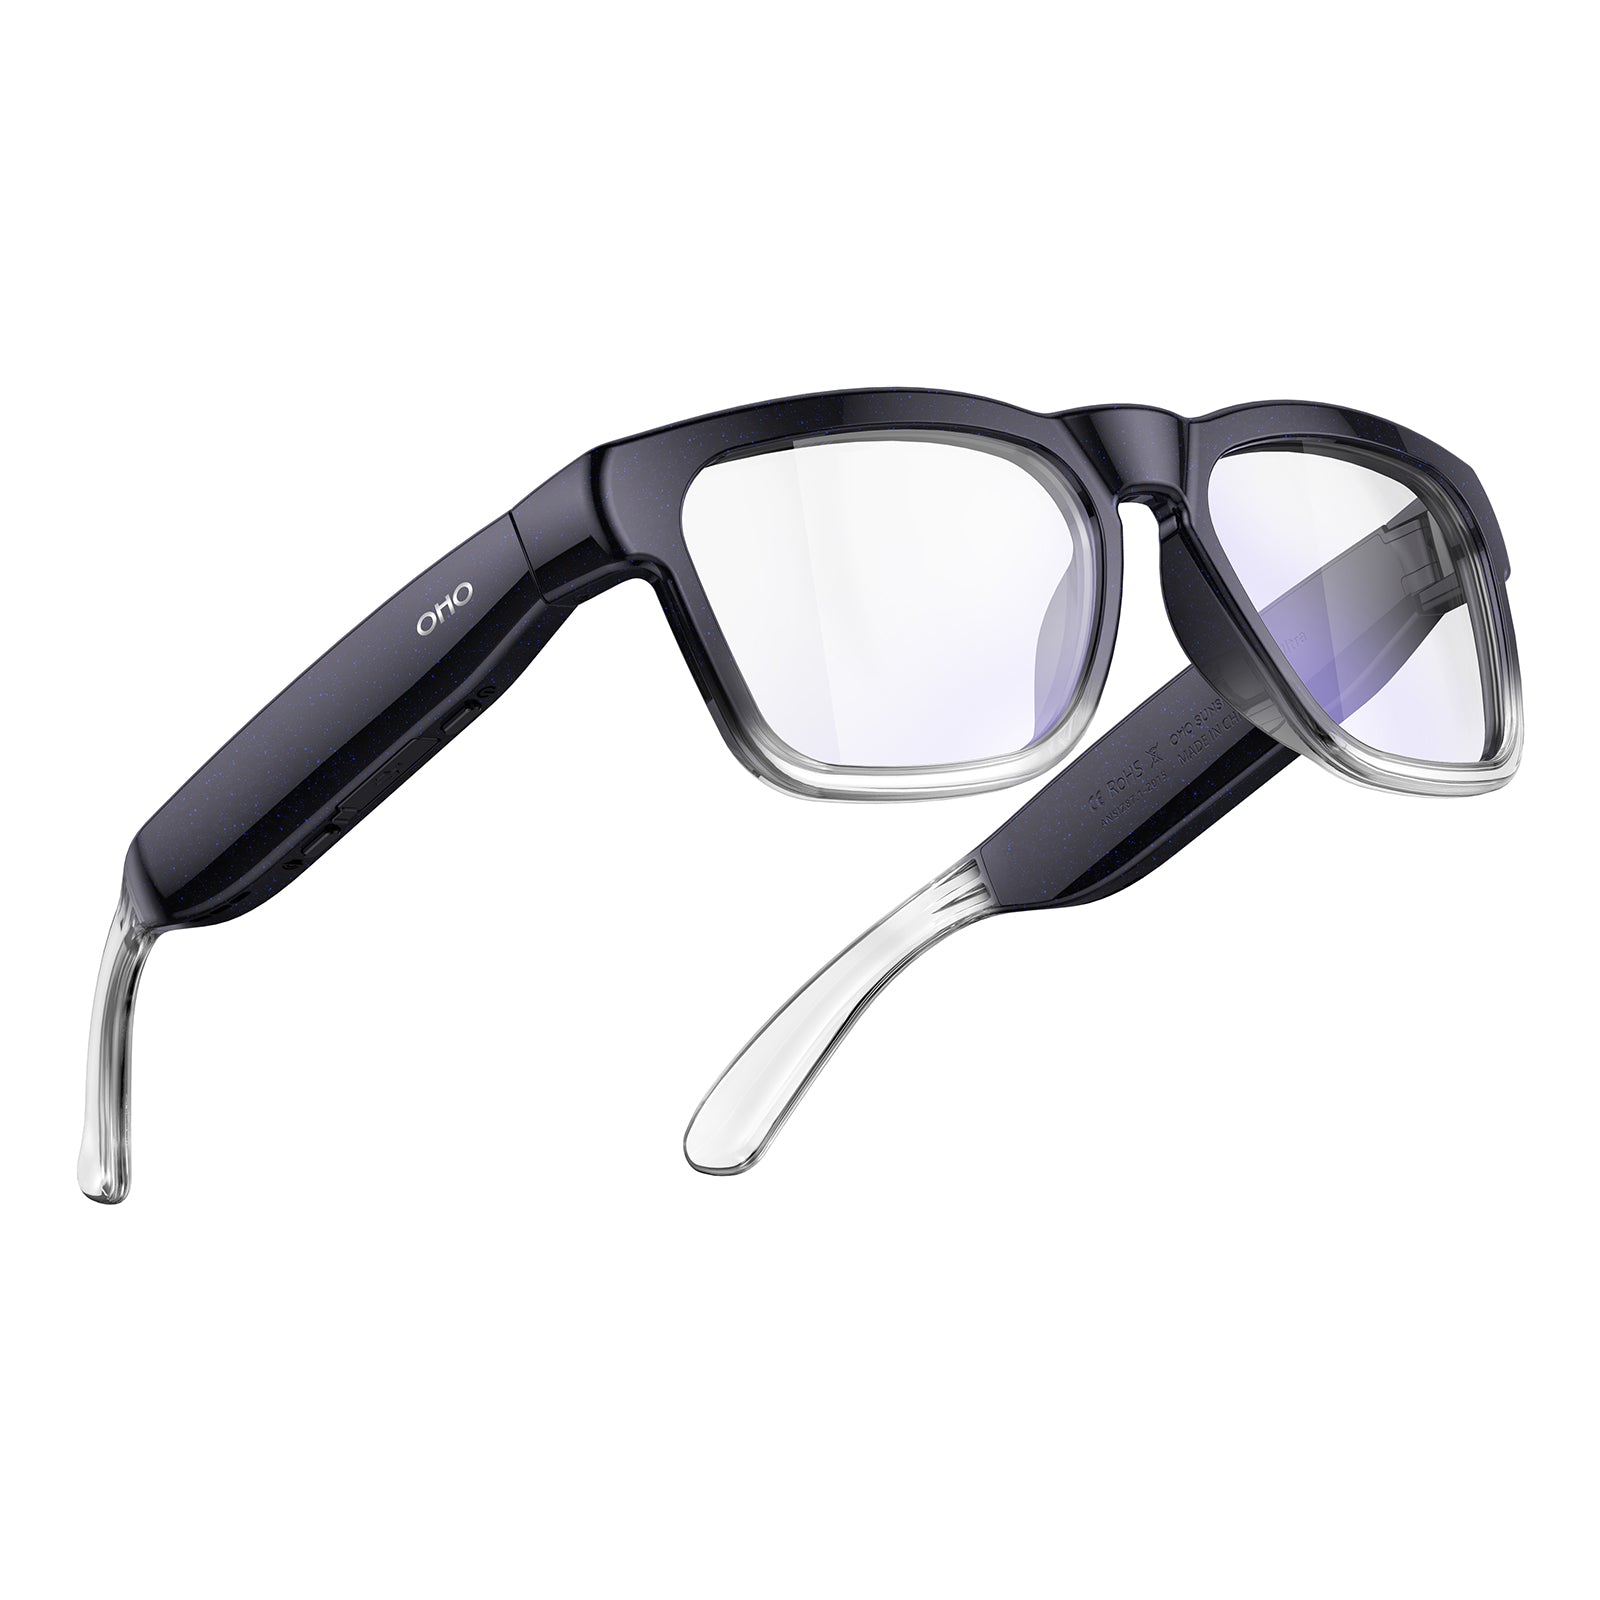
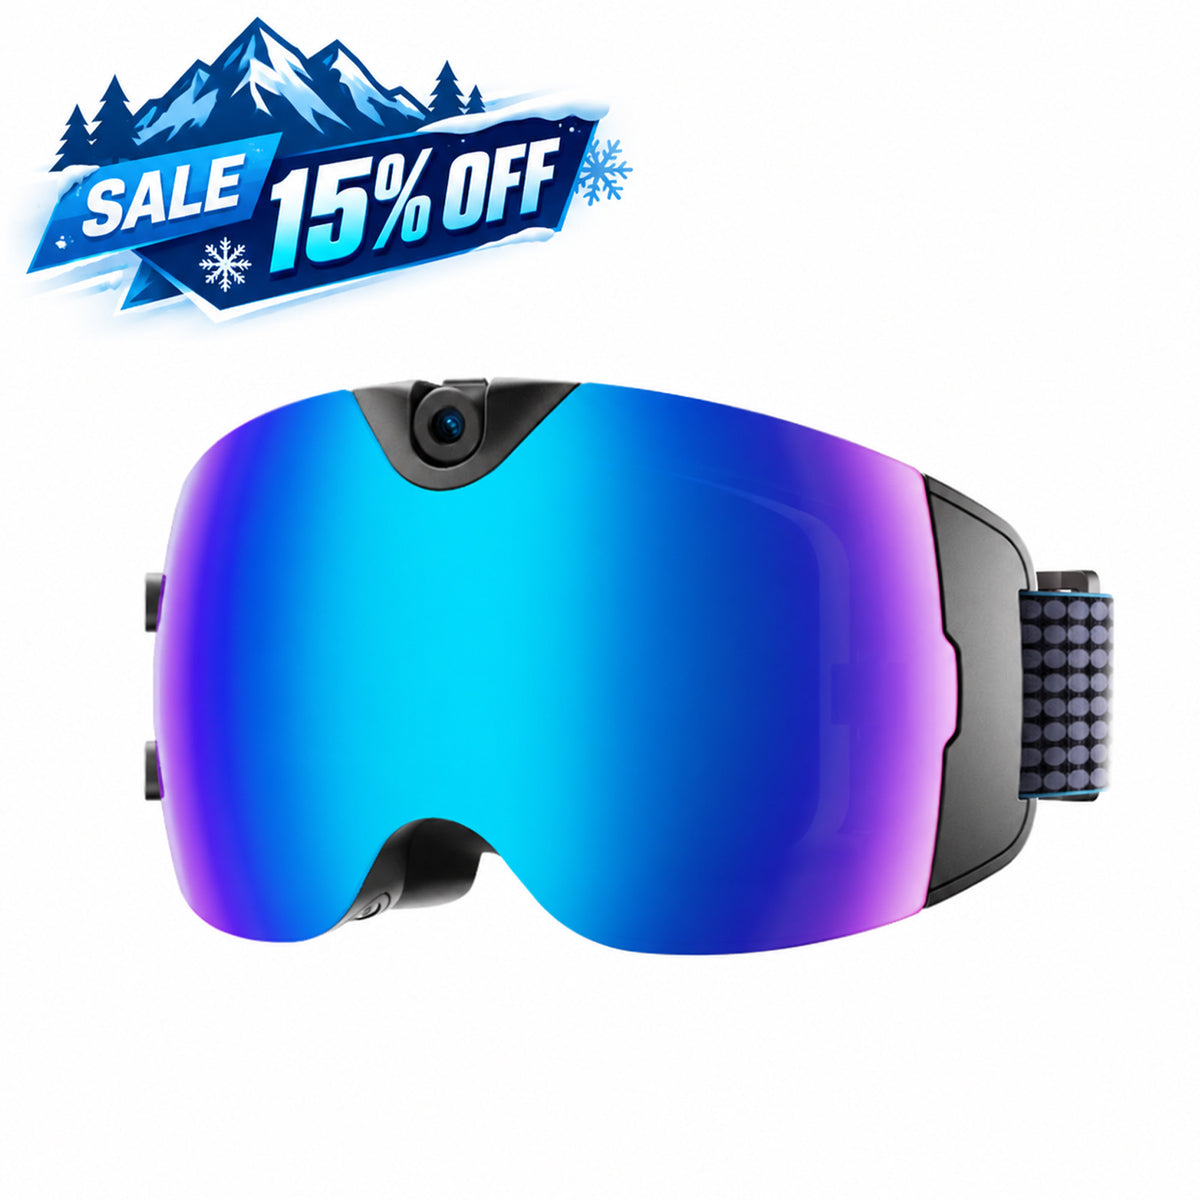
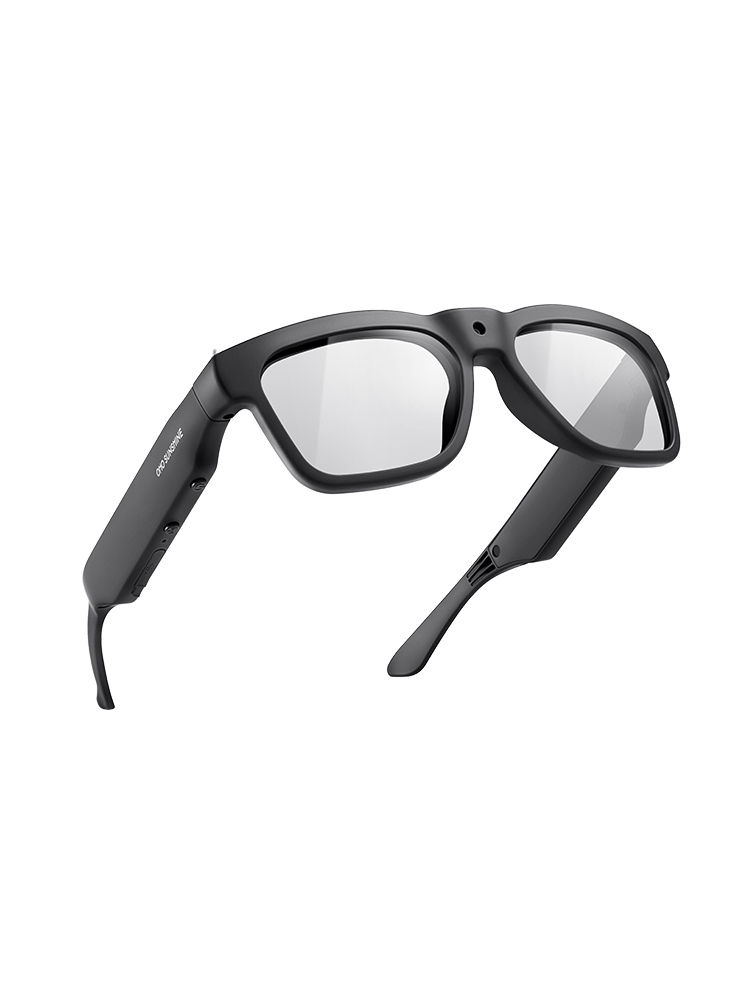
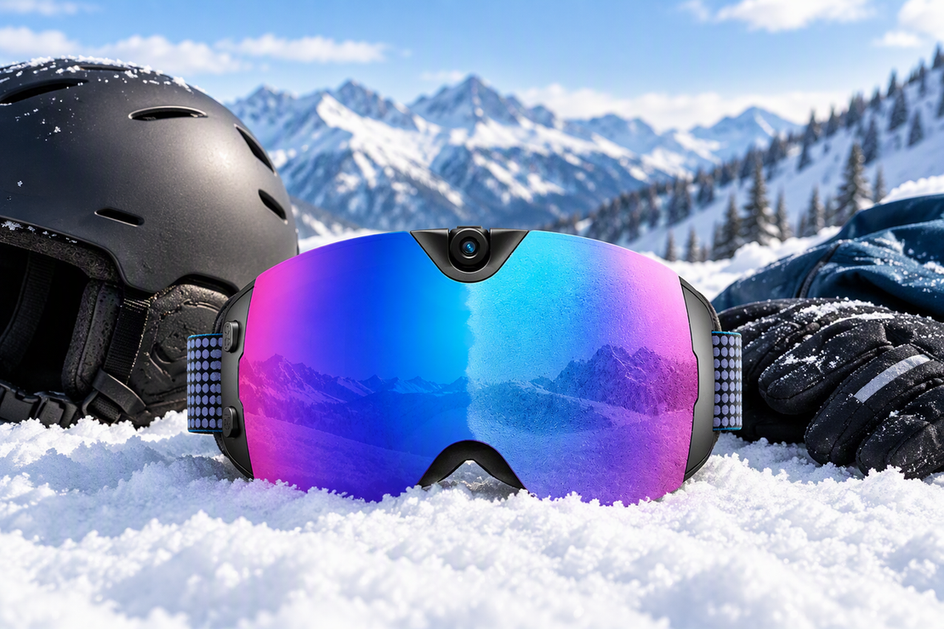
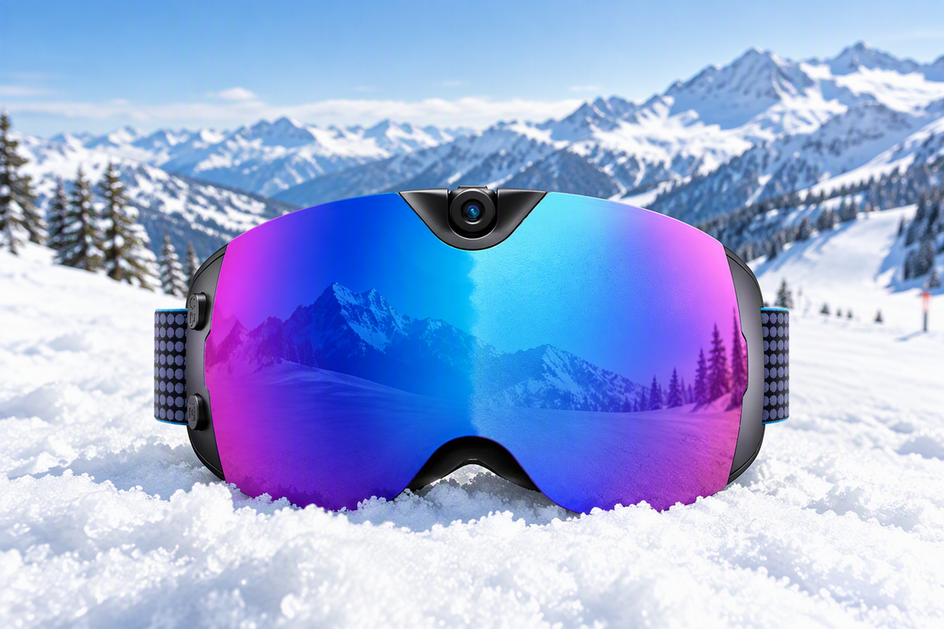
This is also where buyer fit matters. If what you actually want is hands-free, first-person capture without pulling out a separate camera, our Skyshot camera ski goggles are documented with 4K video at 30 fps, a 140° wide-angle view, an anti-fog and polarized lens, and USB-C charging with roughly 90 minutes of recorded battery life. Those specs support a wide, hands-free view of a glade run; they don't add exposure compensation, HDR, or stabilization unless you confirm those controls in the app or manual first. If manual exposure control is the deciding factor for you, a dedicated camera setup may fit better than any camera-goggle model. Riders who mainly want a wide, hands-free record of the run can browse the full 4K snow goggle camera lineup to compare battery, storage, and lens options against their own glade conditions.
FAQs
Can 4K video restore detail lost in glare or deep shade?
No. Resolution and exposure are separate problems. A 4K file gives you more pixels, but if a section was clipped to pure white or crushed to black when it was recorded, no amount of editing brings that missing detail back. Fix exposure at capture time, not in post.
Should I record one long glade run or several short clips?
Either can work, and the right choice depends on your goggles' documented battery life and storage, not a universal rule. Short clips are easier to review and manage afterward, while one continuous recording captures the whole run without gaps. Check your model's specs and pick the workflow that matches how much footage you actually want to sort through later.
When is it safe to change camera settings on a ski day?
Only while you're stationary or stopped somewhere safe, never while you're negotiating trees or looking down at controls. Make any adjustment at the top of a run or during a deliberate stop, then commit to that setup for the rest of the section instead of touching it mid-line.



Deixe um comentário
Este site está protegido pela Política de privacidade da hCaptcha e da hCaptcha e aplicam-se os Termos de serviço das mesmas.