














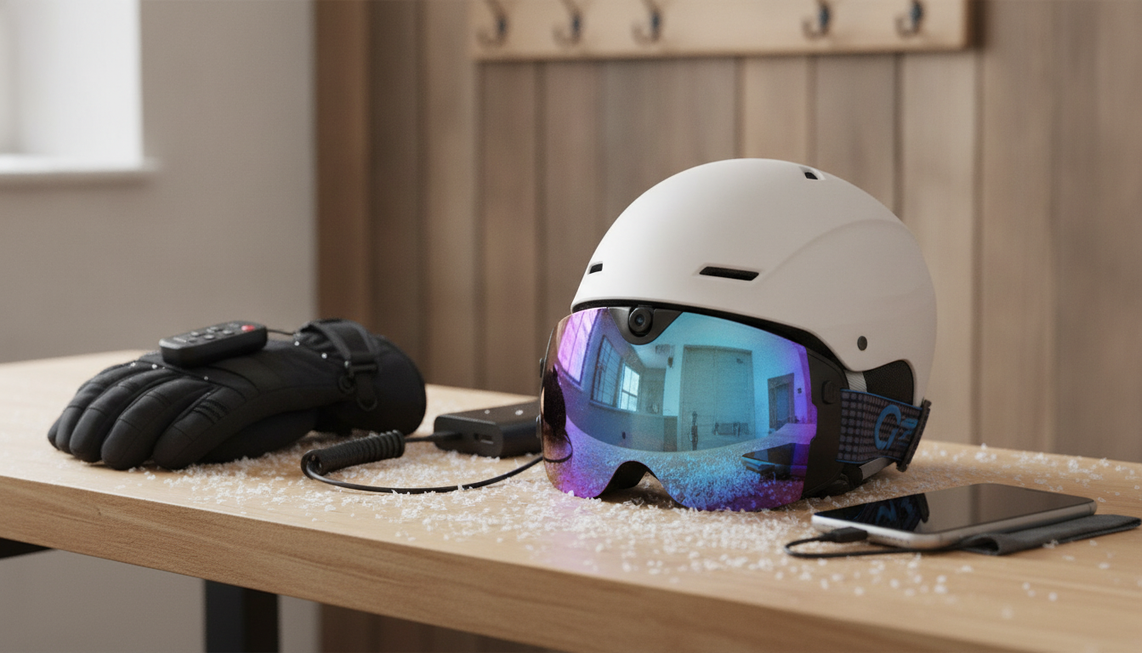
Camera ski goggles framing is ready to test before the first run—not while you’re moving. Wear the final helmet, goggles, strap, and face covering. Stand still and clear of active traffic, then use a live phone preview listed for that model or record a short clip. Judge the view in your natural skiing stance: the horizon should be acceptably level, the intended forward scene should be visible, and the subject should be centered well enough for your planned POV footage. If a check fails, make one fit or camera-position adjustment permitted by the model and retest.
Run the 30-Second Stationary Framing Test
This six-step check gives you a quick ready-or-retest decision. Thirty seconds is a convenient test length, not a technical requirement.
- Secure the final setup. Fasten the helmet and settle the ski goggles, strap, and face covering exactly as you will wear them on the run. A later fit change can alter the camera-to-eye relationship.
- Choose a stationary testing spot. Complete the preview or recording check while stationary and clear of active traffic. If you are on the mountain, stop where you are visible without blocking traffic, then look uphill before starting downhill or entering a trail. Do not handle a phone or troubleshoot the camera while moving.
- Simulate the two useful postures. Start relaxed and upright, then bend at the knees and hips into your normal forward-leaning skiing stance. Keep your head directed toward the intended trail view instead of tilting it to force a level image.
- Choose the review path. Use a live phone preview when the camera-goggle model provides one. Otherwise, record a brief clip while stationary and review it before moving.
- Inspect three things in order. Check the horizon first, the forward field of view second, and centering third. Review the camera view from the skiing stance, not just what you see directly through the lenses.
- Make one correction and retest. Adjust the final fit or the camera position only where the model allows it. Compare the result again in the forward-leaning stance. Record the run only when the horizon, forward view, and centering are acceptable for the footage you want.
Secure the Helmet and Goggle Fit Before You Test
Lock in the physical setup before judging camera ski goggles framing. Wear the helmet, ski goggles, strap, and face covering together, then make gentle head movements and posture changes while stationary to see whether the goggles shift.
Repeat the fit check after changing helmets, balaclavas, face coverings, straps, or goggle position. Even when the camera itself has not moved, a change in how the frame sits against your face can change the recorded view. If you need to stop on the mountain, use the side of the run rather than the middle, consistent with general ski and snowboard safety guidance.
Camera-angle control varies by model. If the instructions do not describe a camera-position control, correct the fit and retest rather than assuming the camera can be tilted. For a deeper equipment check, use this camera ski goggles helmet fit checklist.

Check the Frame in Your Natural Skiing Stance
Your posture can change the apparent ski-goggle camera angle. A view that looks correct while standing upright may include a different amount of sky, ground, or trail when your knees and hips bend into the position you actually use while skiing.
Start upright only as a baseline. Then adopt a relaxed forward-leaning stance without exaggerating it or holding your head crooked. Compare the horizon, the amount of forward trail, and the side-to-side balance between the two views. The forward-leaning view should determine whether the setup is ready because it is closer to the footage you intend to capture.
If your normal skiing posture produces a materially different frame, treat that difference as a signal to retest. Make one correction while stationary, then compare both postures again. Do not compensate for a tilted or off-center camera by maintaining an unnatural head position during the run.
Confirm Your Camera Goggle's Preview or Recording Method
The choice is straightforward: use a live phone preview when the model's manual or app documentation lists one; otherwise, use a short recorded clip. Check the camera goggle manual for the controls before relying on a phone workflow.
Wi-Fi or app control alone does not prove that a live preview is available. If preview is not listed, start recording while stationary, review the clip, and retest after one correction. This fallback lets you judge the horizon and intended line of sight without making assumptions about how the app behaves.
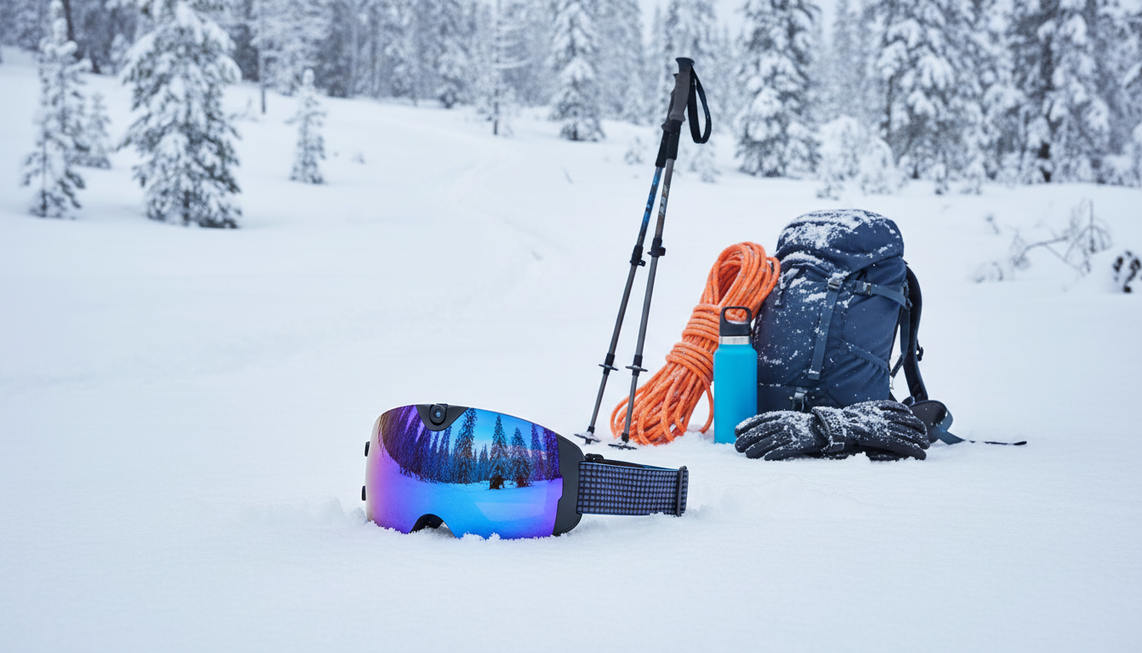
Camera-equipped snow goggles fit this workflow when you want integrated line-of-sight recording and are willing to verify the controls and final helmet fit before riding. The buying checks are whether the model provides a way to start and review footage, whether the frame stays comfortable and secure with your helmet, and whether its recorded view suits your planned POV scenes.
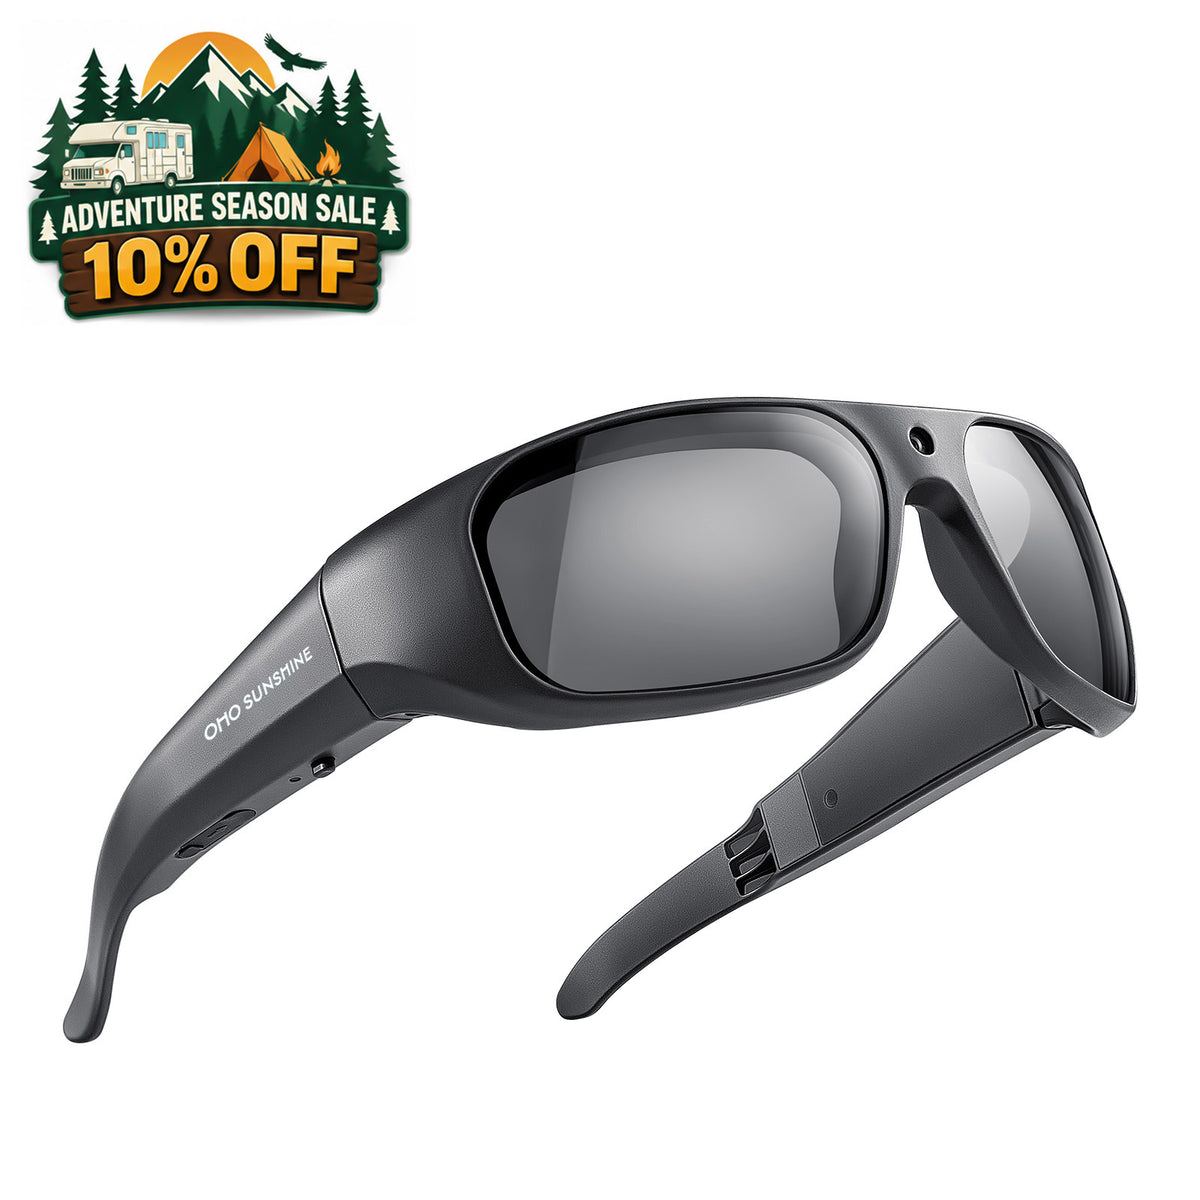
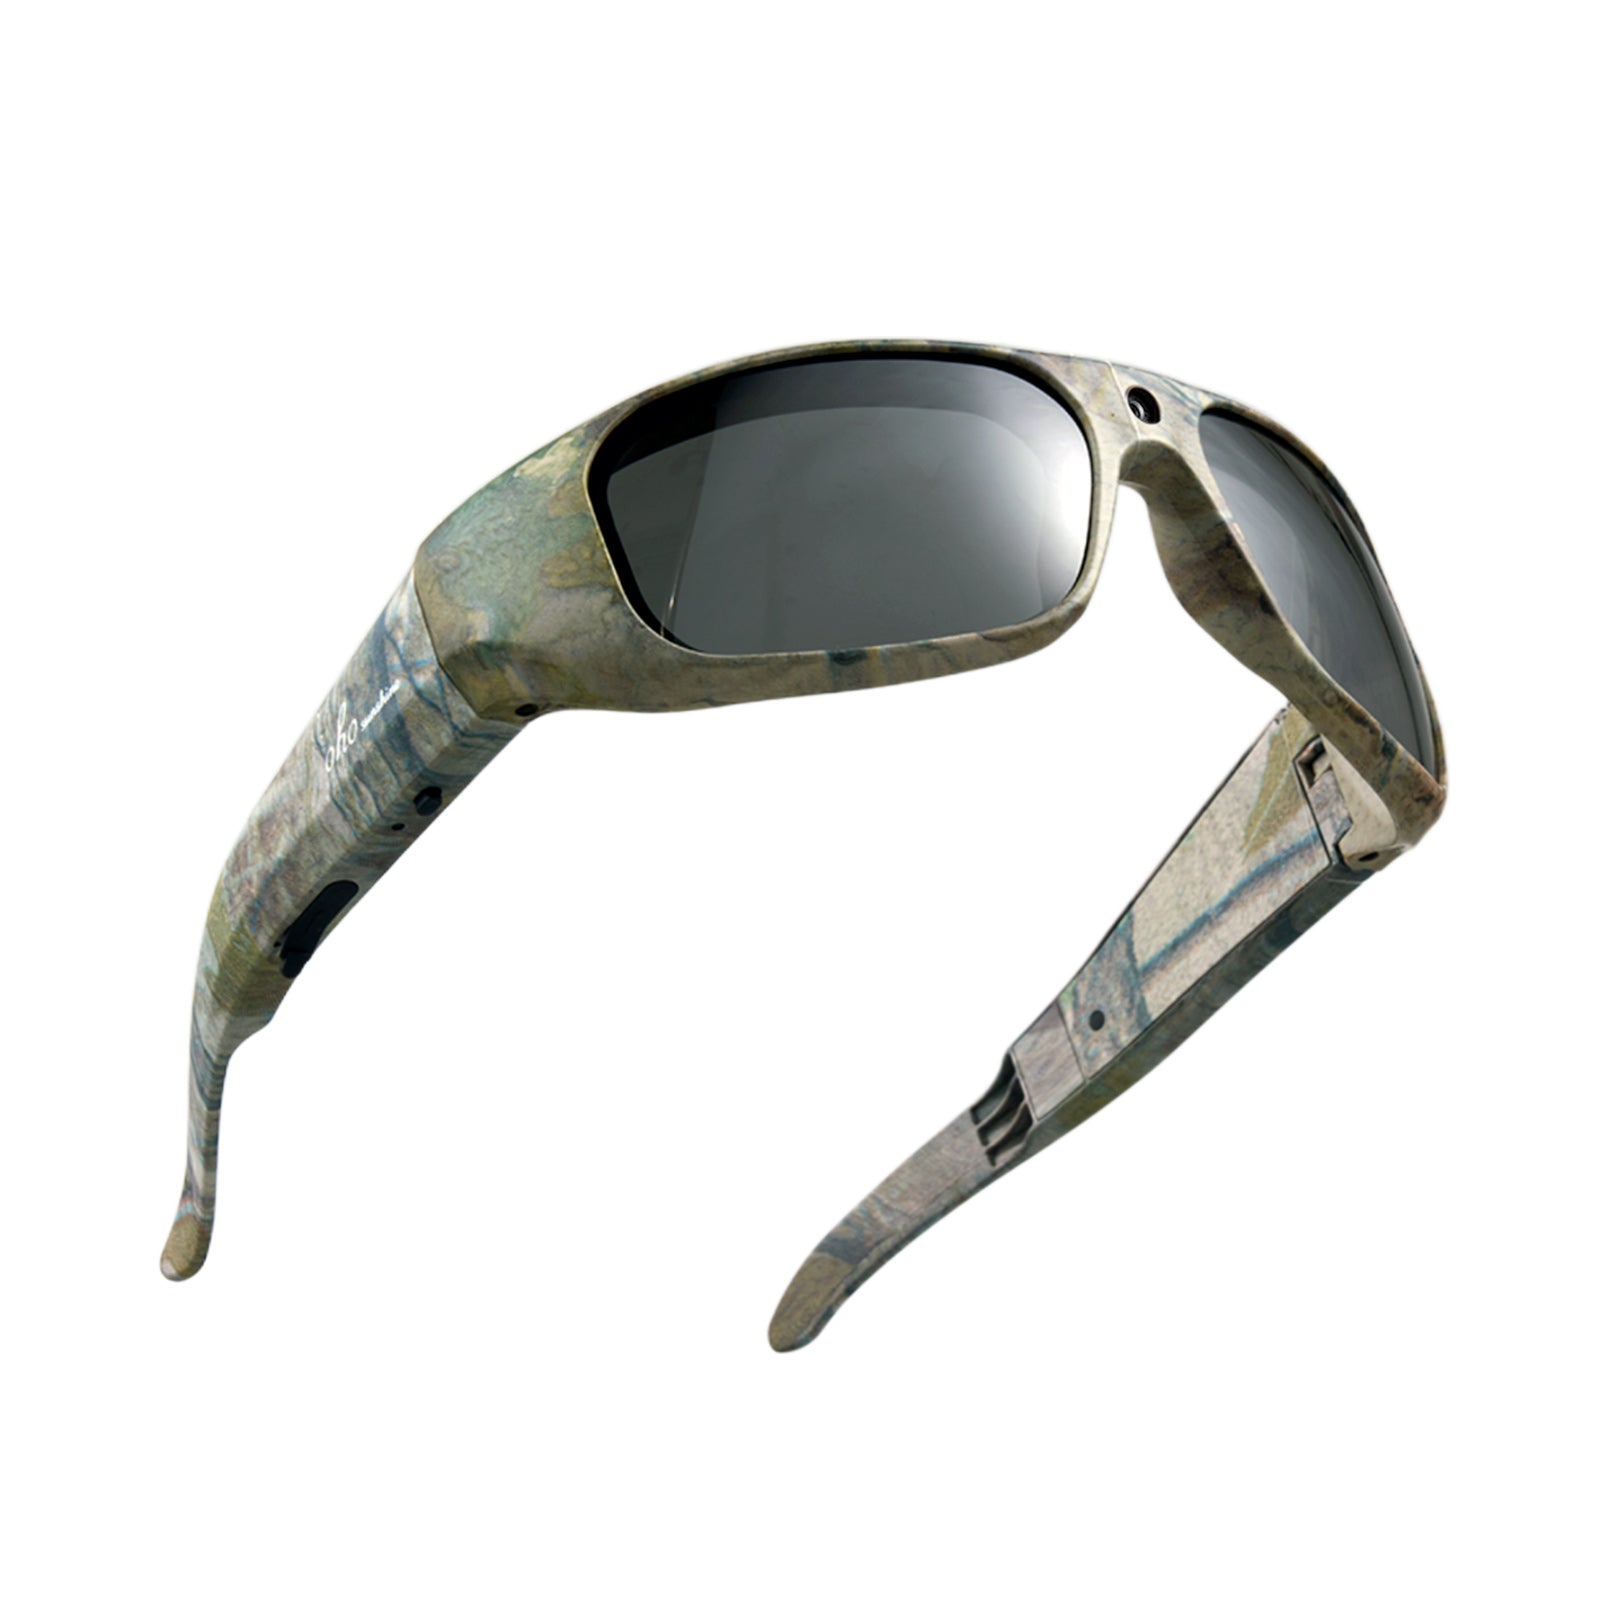
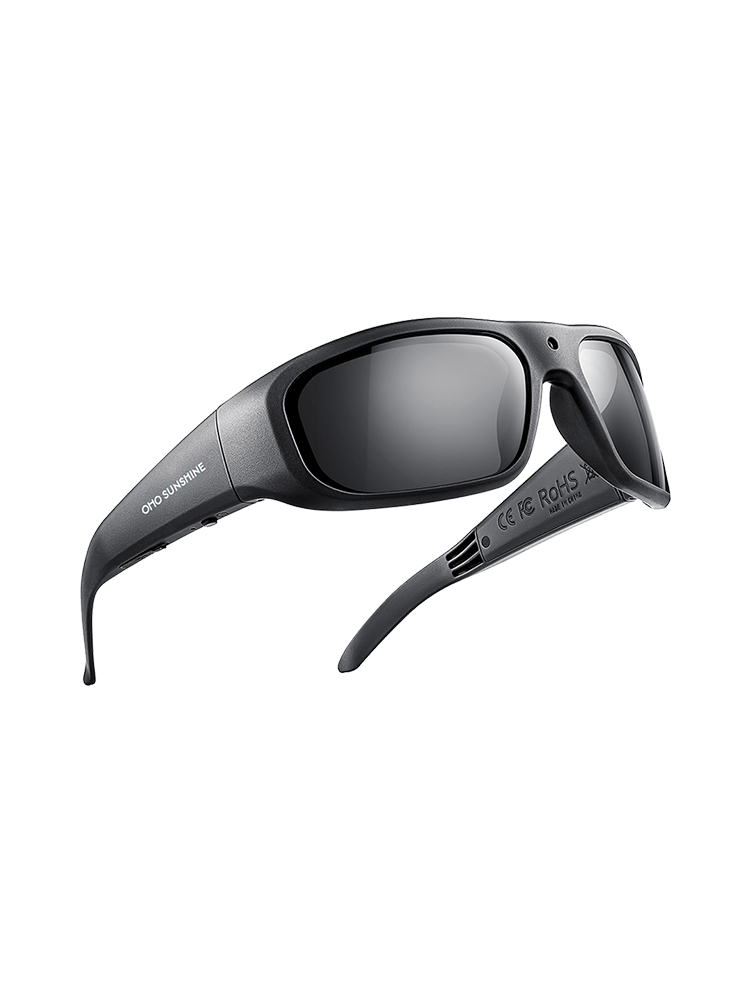
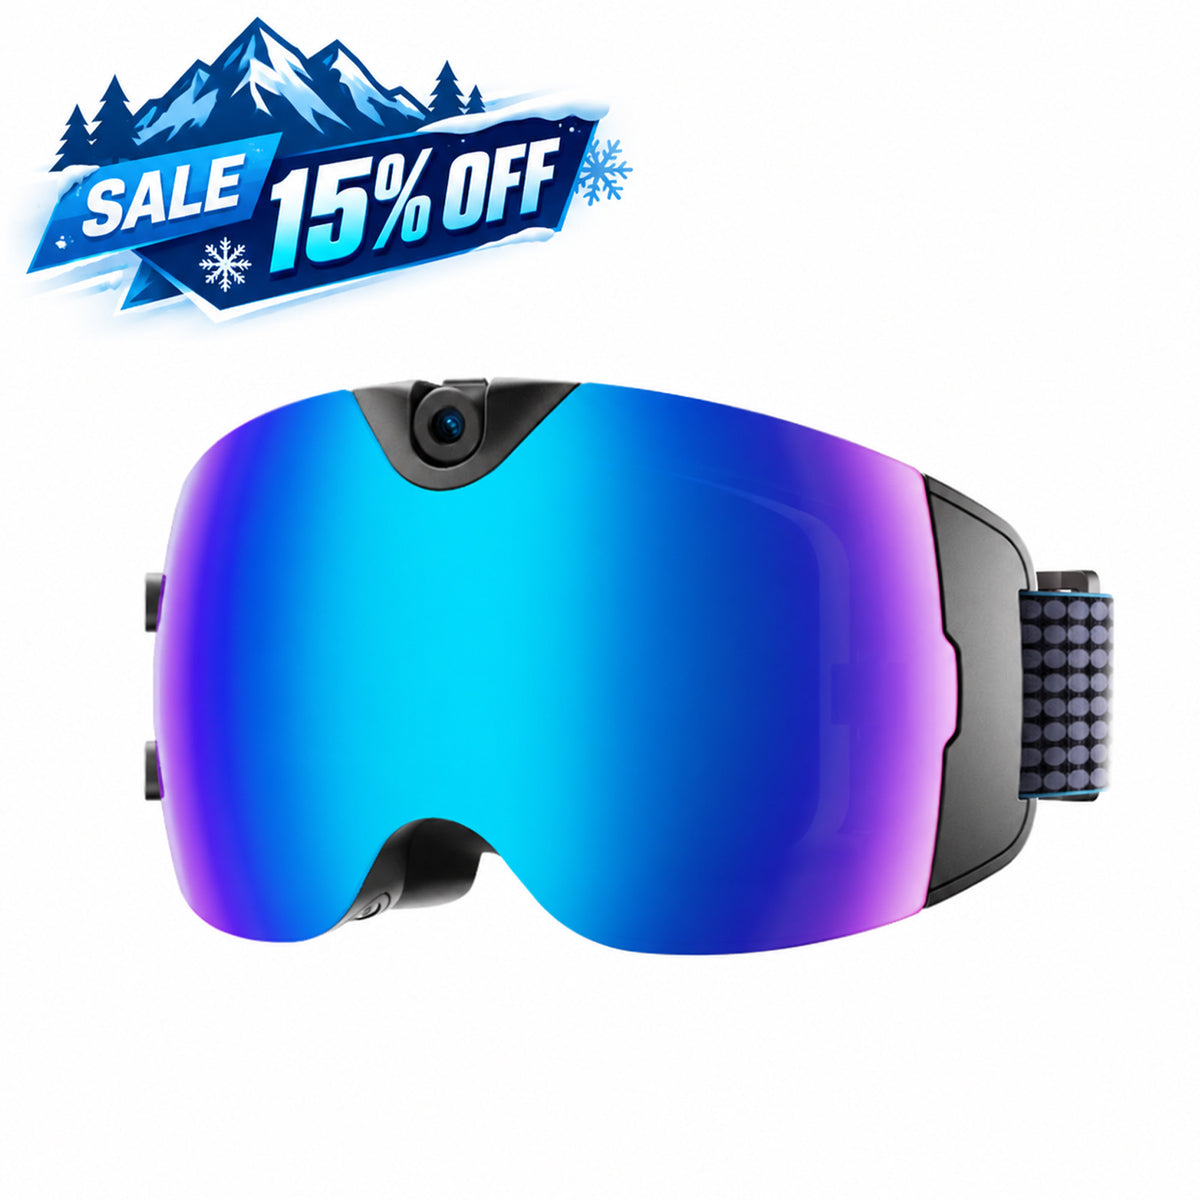
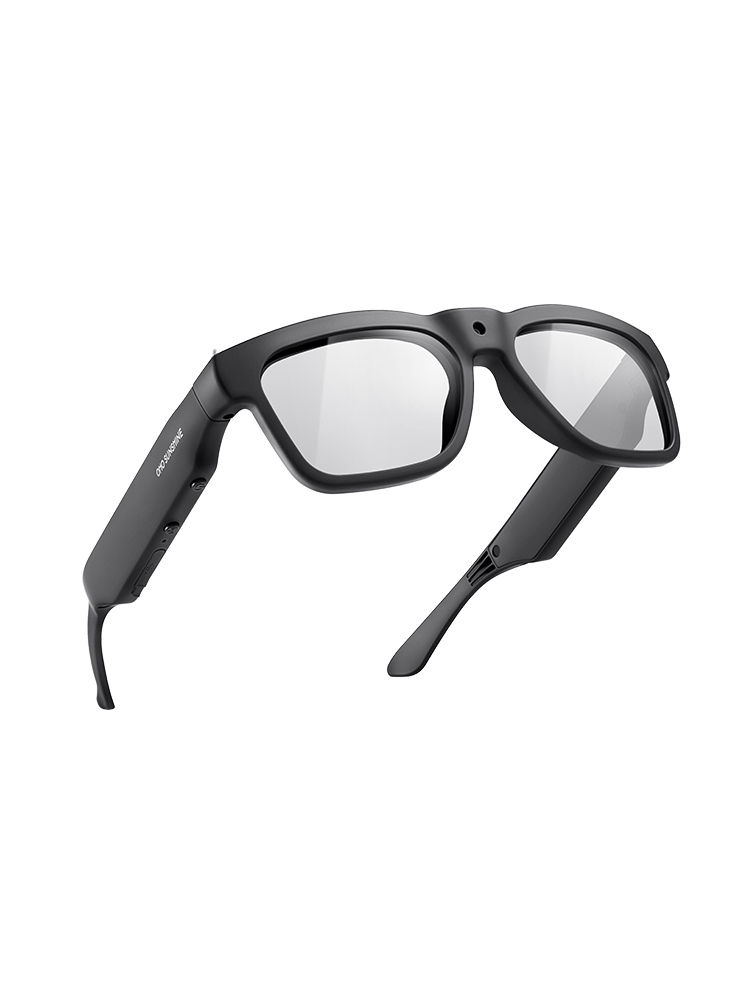
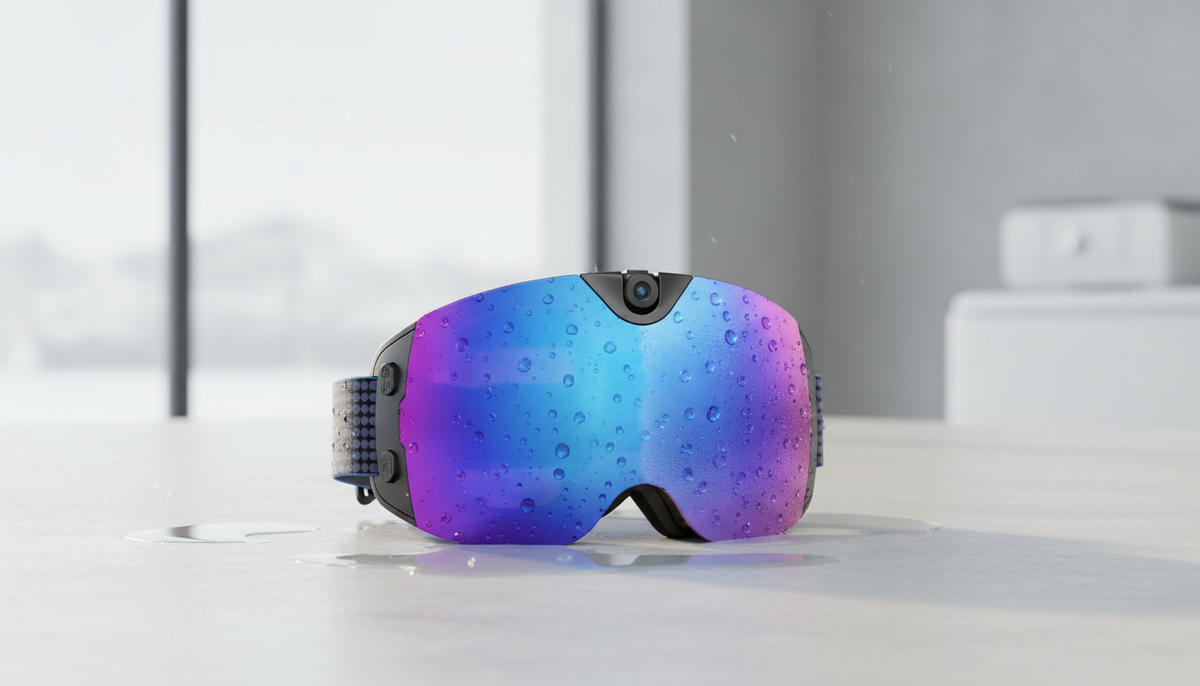
For example, OHO SUNSHINE Skyshot camera ski goggles are listed with 4K video at 30 fps, a 140-degree field of view, Wi-Fi, app or button control, anti-fog and polarized lenses, USB-C charging, a built-in microphone, and phone video preview. These features suit a buyer who wants integrated recording for skiing, snowboarding, or winter travel and values a wide view and anti-fog lenses. Confirm the current app behavior, available controls, and helmet fit, then use the same stationary clip test before the first run rather than assuming those features guarantee better framing.
Review Camera Ski Goggles Framing in the Preview or Clip
Review the actual camera view from your natural skiing stance in this order: horizon, forward field of view, then centering. Keep a wide-angle specification separate from the question of whether the recorded frame matches your intended line of sight.
First, decide whether the horizon looks acceptably level for the footage you want. Next, check whether the forward trail or line you expect to ski occupies the view rather than being replaced by mostly sky or ground. Finally, check whether the scene is centered enough for your planned POV footage. There is no universal pixel, degree, or percentage threshold that fits every skier or camera.
If the camera has a wide field of view, use that as context rather than treating it as proof of good framing. A broad image can still be tilted, sky-heavy, ground-heavy, or biased to one side. When the result is difficult to judge, make another brief clip from the intended stance and compare it with the scene you want to capture.
Correct the Framing Error and Decide Whether You Are Ready to Record
Use the symptom to choose one first check, one adjustment, and one retest. Do not keep troubleshooting after you begin moving.
| Test result | First check | One adjustment plus retest |
|---|---|---|
| Too much sky | Recheck the final goggle and helmet seating, then repeat the natural skiing stance. | Correct the fit or camera position where the model allows it, then record another brief clip while stationary. |
| Too much ground | Confirm that the goggles or strap have not shifted and compare the upright and skiing views. | Reverse the targeted fit or camera-position correction when the instructions permit it, then retest. |
| Tilted horizon | Inspect whether the helmet or goggles are seated unevenly. | Reseat the setup rather than holding your head crooked. Use a camera adjustment only if the model provides one, then review a new clip. |
| Off-center view | Check whether the frame or camera position has moved sideways. | Recenter the fit or camera position if the design permits it, then make one stationary retest. |
You are ready to record when the final skiing stance shows an acceptably level horizon, the intended forward view, and centered-enough framing, with no further troubleshooting needed. Put the phone away, confirm the recording controls, and leave the tested setup unchanged before entering the run. If one correction does not solve the issue, remain stationary and use the model instructions instead of troubleshooting while moving.
Frequently Asked Questions
How Can I Preview What Camera Ski Goggles Are Recording?
A live phone preview works when the model's manual or app documentation provides it. If it does not, record a brief clip while stationary, review the result, and retest after one correction.
Why Does My POV Ski Video Point at the Sky?
The camera-to-eye relationship or head posture may not match the intended skiing view. Recheck the final fit and natural stance, make one correction, and review another stationary clip.
How Do I Keep Camera Ski Goggles Level?
Seat the helmet and goggles evenly, and judge the horizon from your skiing stance rather than standing upright alone. Do not correct tilt by holding your head crooked; reseat the setup or use a camera adjustment provided for that model, then retest.
Does Wi-Fi Mean Camera Ski Goggles Offer Live Preview?
No. Wi-Fi or app control can be present without a live framing view. Use the manual or app instructions to identify the available preview method, and use a stationary clip when live preview is not listed.


Deixe um comentário
Este site está protegido pela Política de privacidade da hCaptcha e da hCaptcha e aplicam-se os Termos de serviço das mesmas.