














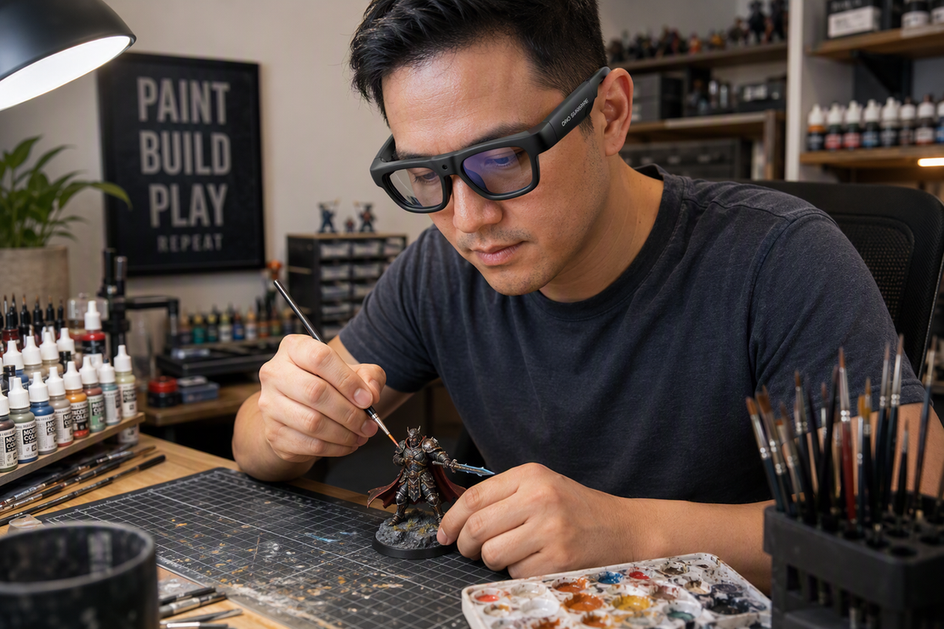
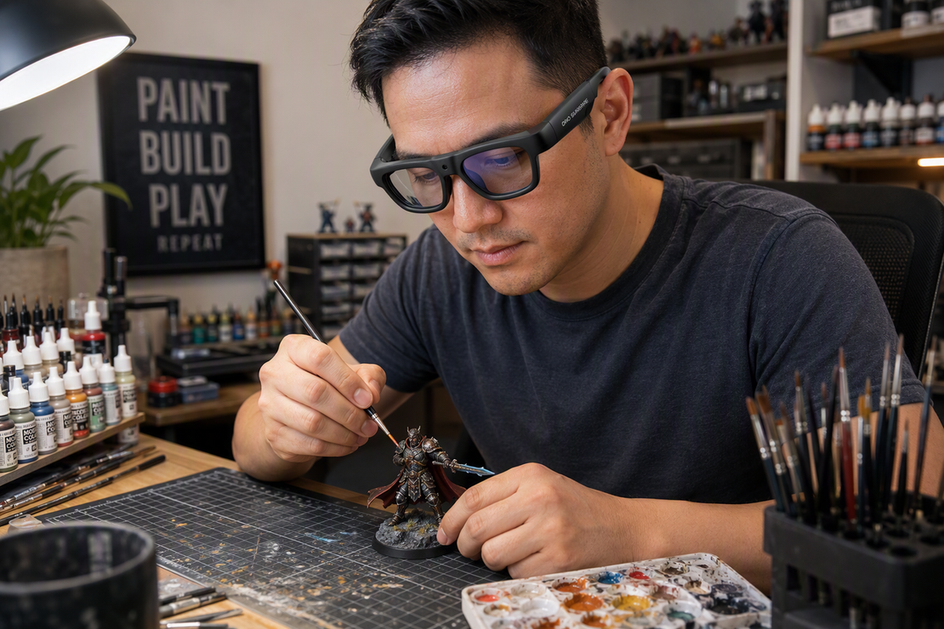
Camera glasses with a camera and microphone can record a miniature-painting tutorial only when three things line up: the miniature stays sharp within the lens's focus range at your real painting distance, your brush hand stays in frame during actual strokes, and task lighting doesn't bounce off the lenses into the shot. Test all three with a short clip before you commit to a full session. If any one fails, fix that variable first instead of recording the whole tutorial and hoping the footage works out.
Start with This Camera-Glasses Setup
Wear the glasses exactly as you plan to during the tutorial, sit at your regular painting desk, and record a short clip of your normal workflow before changing anything else. This first pass shows whether the frame actually captures what a viewer needs to see, rather than what the camera's spec sheet promises.

Set the First-Person Frame Around the Work Area
Check the raw clip against these three points before adjusting anything else:
- Keep your head in a natural, relaxed gaze instead of tilting toward the lens to force the miniature into view.
- Confirm the recorded frame shows the full working surface, not just the top edge of the miniature.
- Move your chair, the miniature, or the desk itself before you resort to an unnatural head angle.
Keep the Brush Hand Visible During Real Movements
A static test pose can look fine and still fail once you start painting. Record yourself picking up the brush, loading paint, approaching the miniature, and pulling back, since these are the moments a hand or wrist is most likely to cross in front of the detail you want to show. One hobbyist's camera setup for filming miniature painting noted that a painting hand blocked the shot until the camera angle changed, which is a useful reminder to judge the recorded frame rather than what feels comfortable while wearing the glasses. If your hand blocks the detail during any of these movements, adjust your work position or the camera-to-miniature relationship first, and save technique changes for later. For broader guidance on keeping first-person footage steady once framing works, our article on stable first-person video covers pacing and motion habits that carry over from general POV recording to a hobby desk.
Check Focus Before You Paint the Tutorial
Minimum focusing distance is simply the closest point at which a camera can still produce a sharp image, and it works as a boundary rather than a target you aim for. The minimum focusing distance and working distance explanation from close-up photography guidance applies the same way here: if your brush tip sits closer to the lens than that boundary allows, the image will be soft no matter how good the resolution number looks on a spec sheet.
Run this as a pass or fail test on the exact detail you plan to show. Position the miniature and brush at the distance you'll actually use while painting a face, trim line, highlight, or basing element, then record a short clip and review it at that detail level. If the target is sharp, you have a working distance. If it's soft while your hand is still clearly in frame, that's a focus failure, not a framing problem, and moving the miniature slightly farther away is the next thing to test, as long as it doesn't force your hand out of a comfortable position.

Control Lens Reflections Without Shadowing the Miniature
Reflections on the lenses come from the relationship between your light source, the glasses, your head angle, and the camera, not from the model name printed on the box. Fixing this means adjusting light placement first and checking the result on camera before touching your posture.
Change the Light Path Before Changing the Painting Position
Work through these changes in order, checking your test clip after each one:
- Move the light source to the side of or above the direct line between the lamp and your glasses.
- Recheck the miniature for a new shadow from your hand or brush after every light move, since fixing a reflection can create a different lighting problem.
- Switch to a broader, softened source if a small bright bulb keeps producing a hard, defined hotspot on the lens.
Use the Test Clip to Judge Reflections
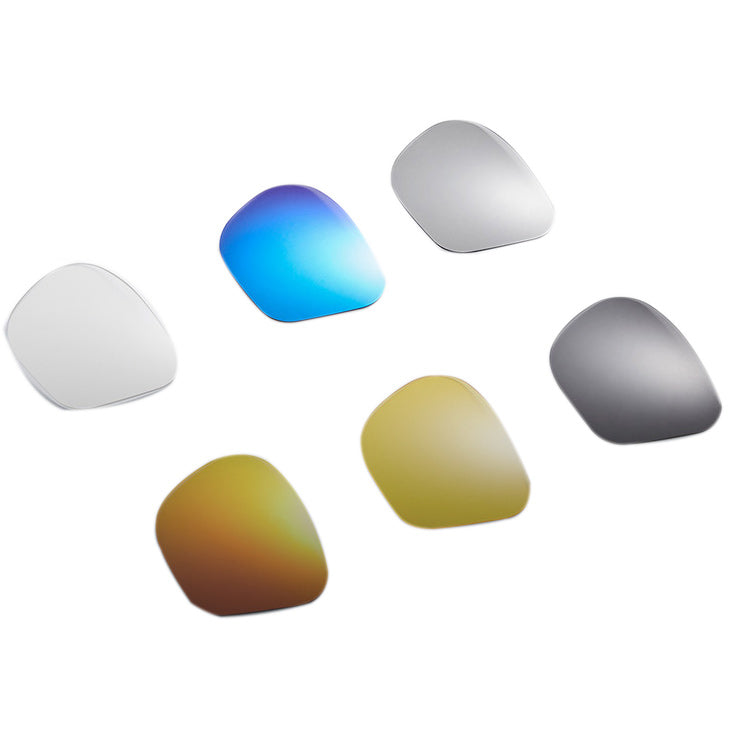
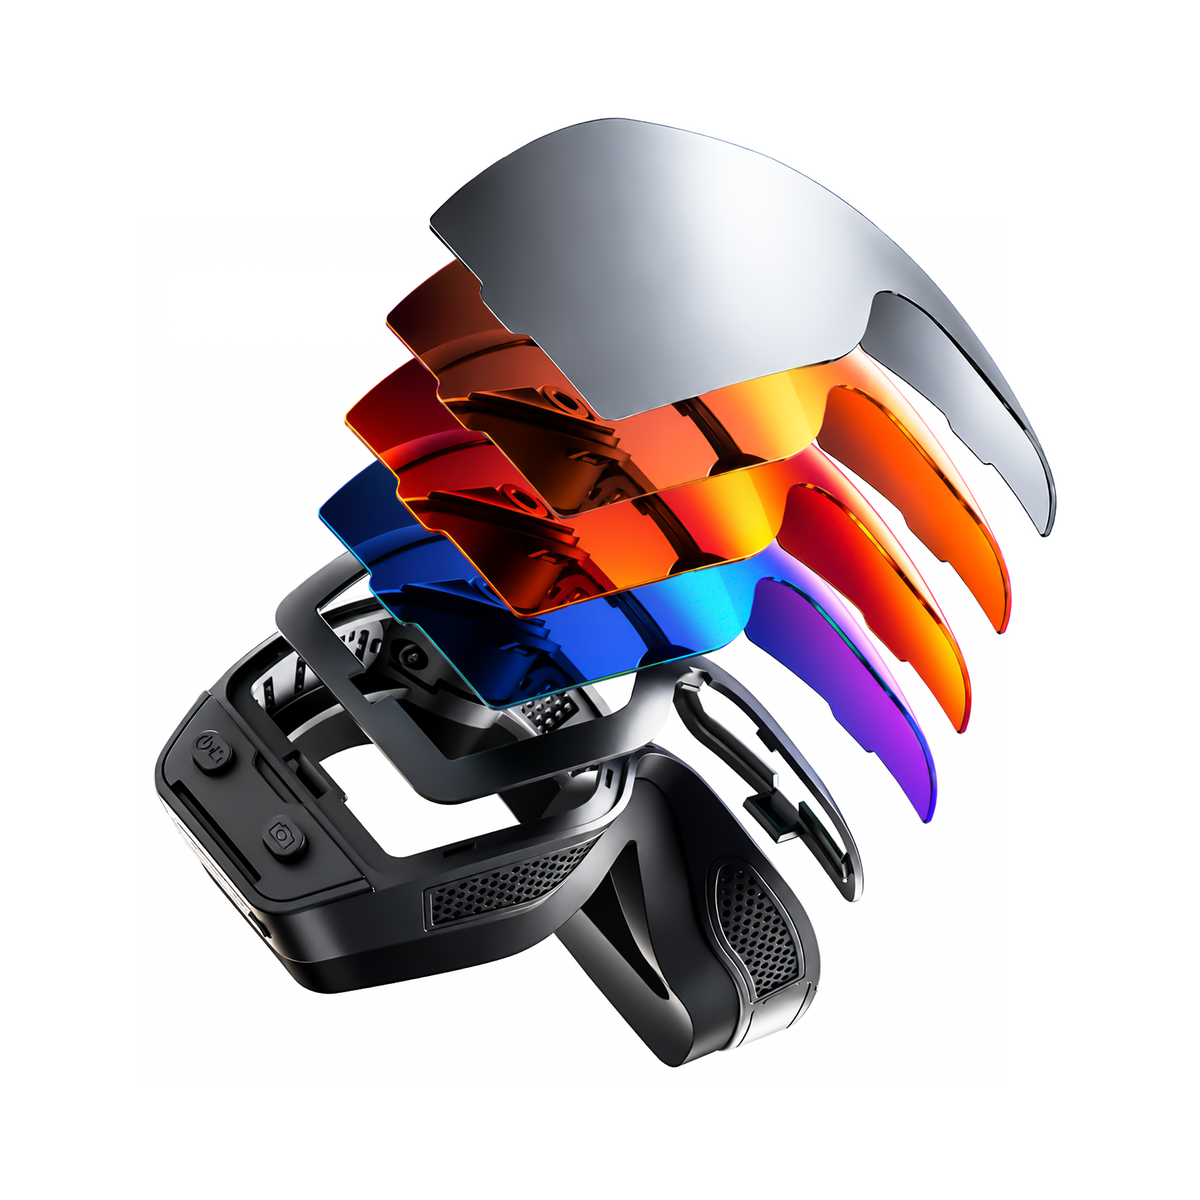
Judge reflections from the recorded footage, not from what looks fine to your own eyes while wearing the glasses, since a wearer's view and a camera's view of the same lens surface don't always match. A small change in head or camera angle can sometimes redirect a stubborn reflection, and that's worth trying, but stop if it forces you into an awkward pose you can't hold through a real session. The physics behind reflective eyewear, explained in this guide on photographing people with glasses, comes down to the angle of incidence and reflection between the light and the lens surface. Treat polarized or photochromic lens options as configurations worth testing under your specific desk light, not as a guaranteed fix for glare.
Set Hand Position and Head Tilt for a Steadier Close-Up
Build a seated position you can actually hold through a painting session, not one that only looks right for a single test frame. Support your forearms on the desk or a stable nearby surface, but keep the miniature close enough that your brush hand still moves freely inside the recorded frame. Bring the miniature toward your body within a normal reach zone instead of leaning out toward the camera repeatedly, since repeated leaning is harder to sustain than a single initial adjustment.
A small, natural head tilt can help keep the brush visible, but only use it if it doesn't create neck tension or change how you naturally move the brush. If a tilt starts to feel forced after a few minutes, release it and adjust the desk or miniature position instead. Test this posture through several minutes of ordinary painting, not just during your initial framing check, since a position that looks fine for ten seconds can become uncomfortable well before a tutorial is finished.
Match Selected OHO SUNSHINE Glasses to the Recording Job
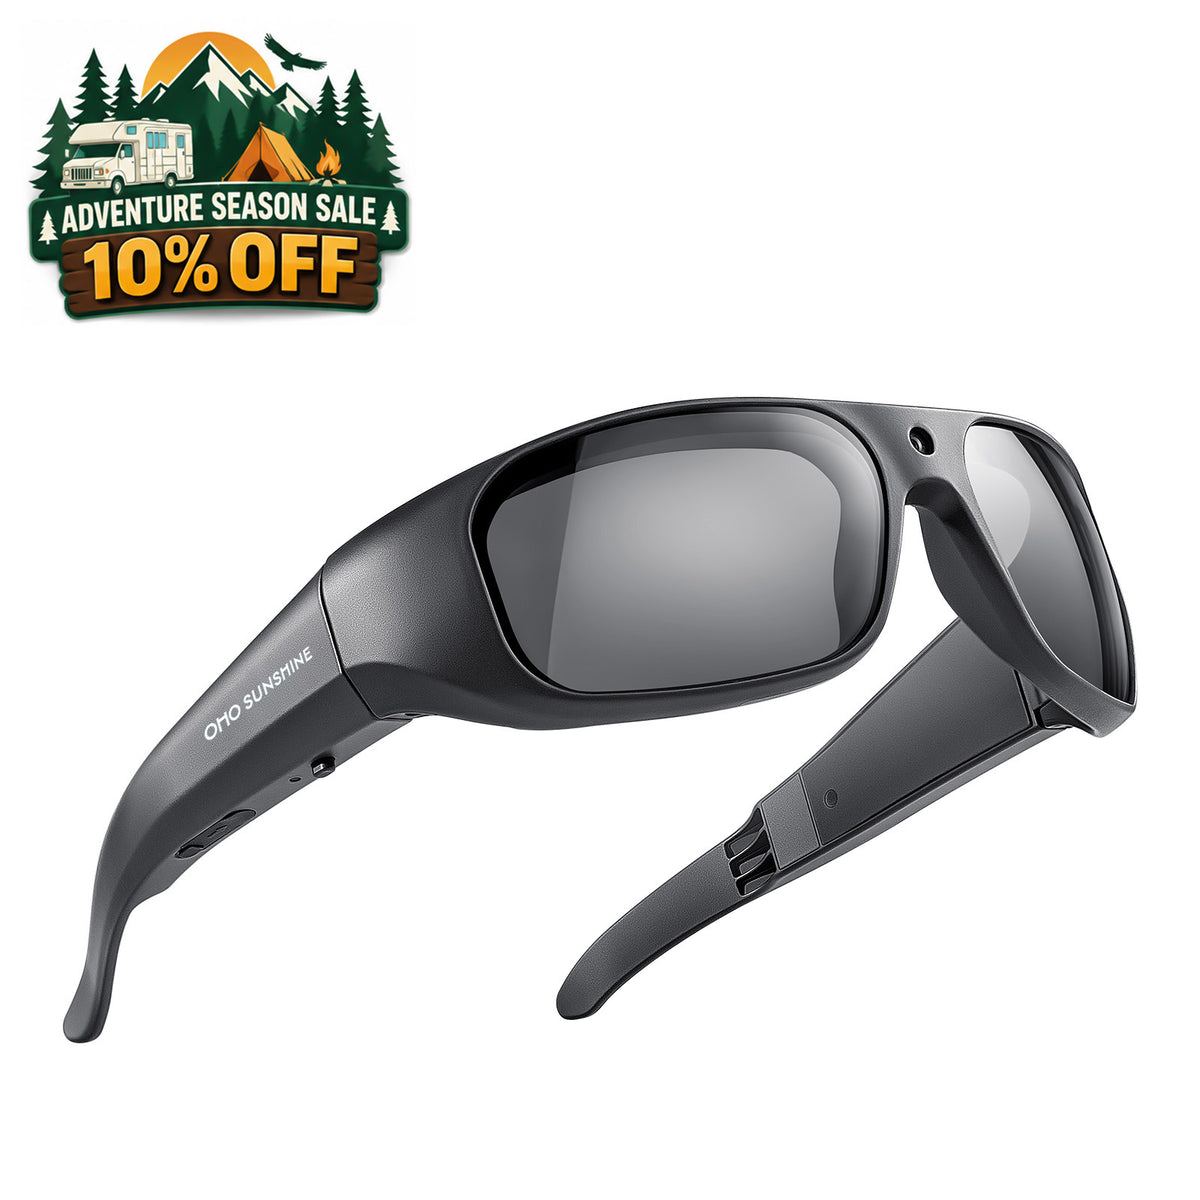
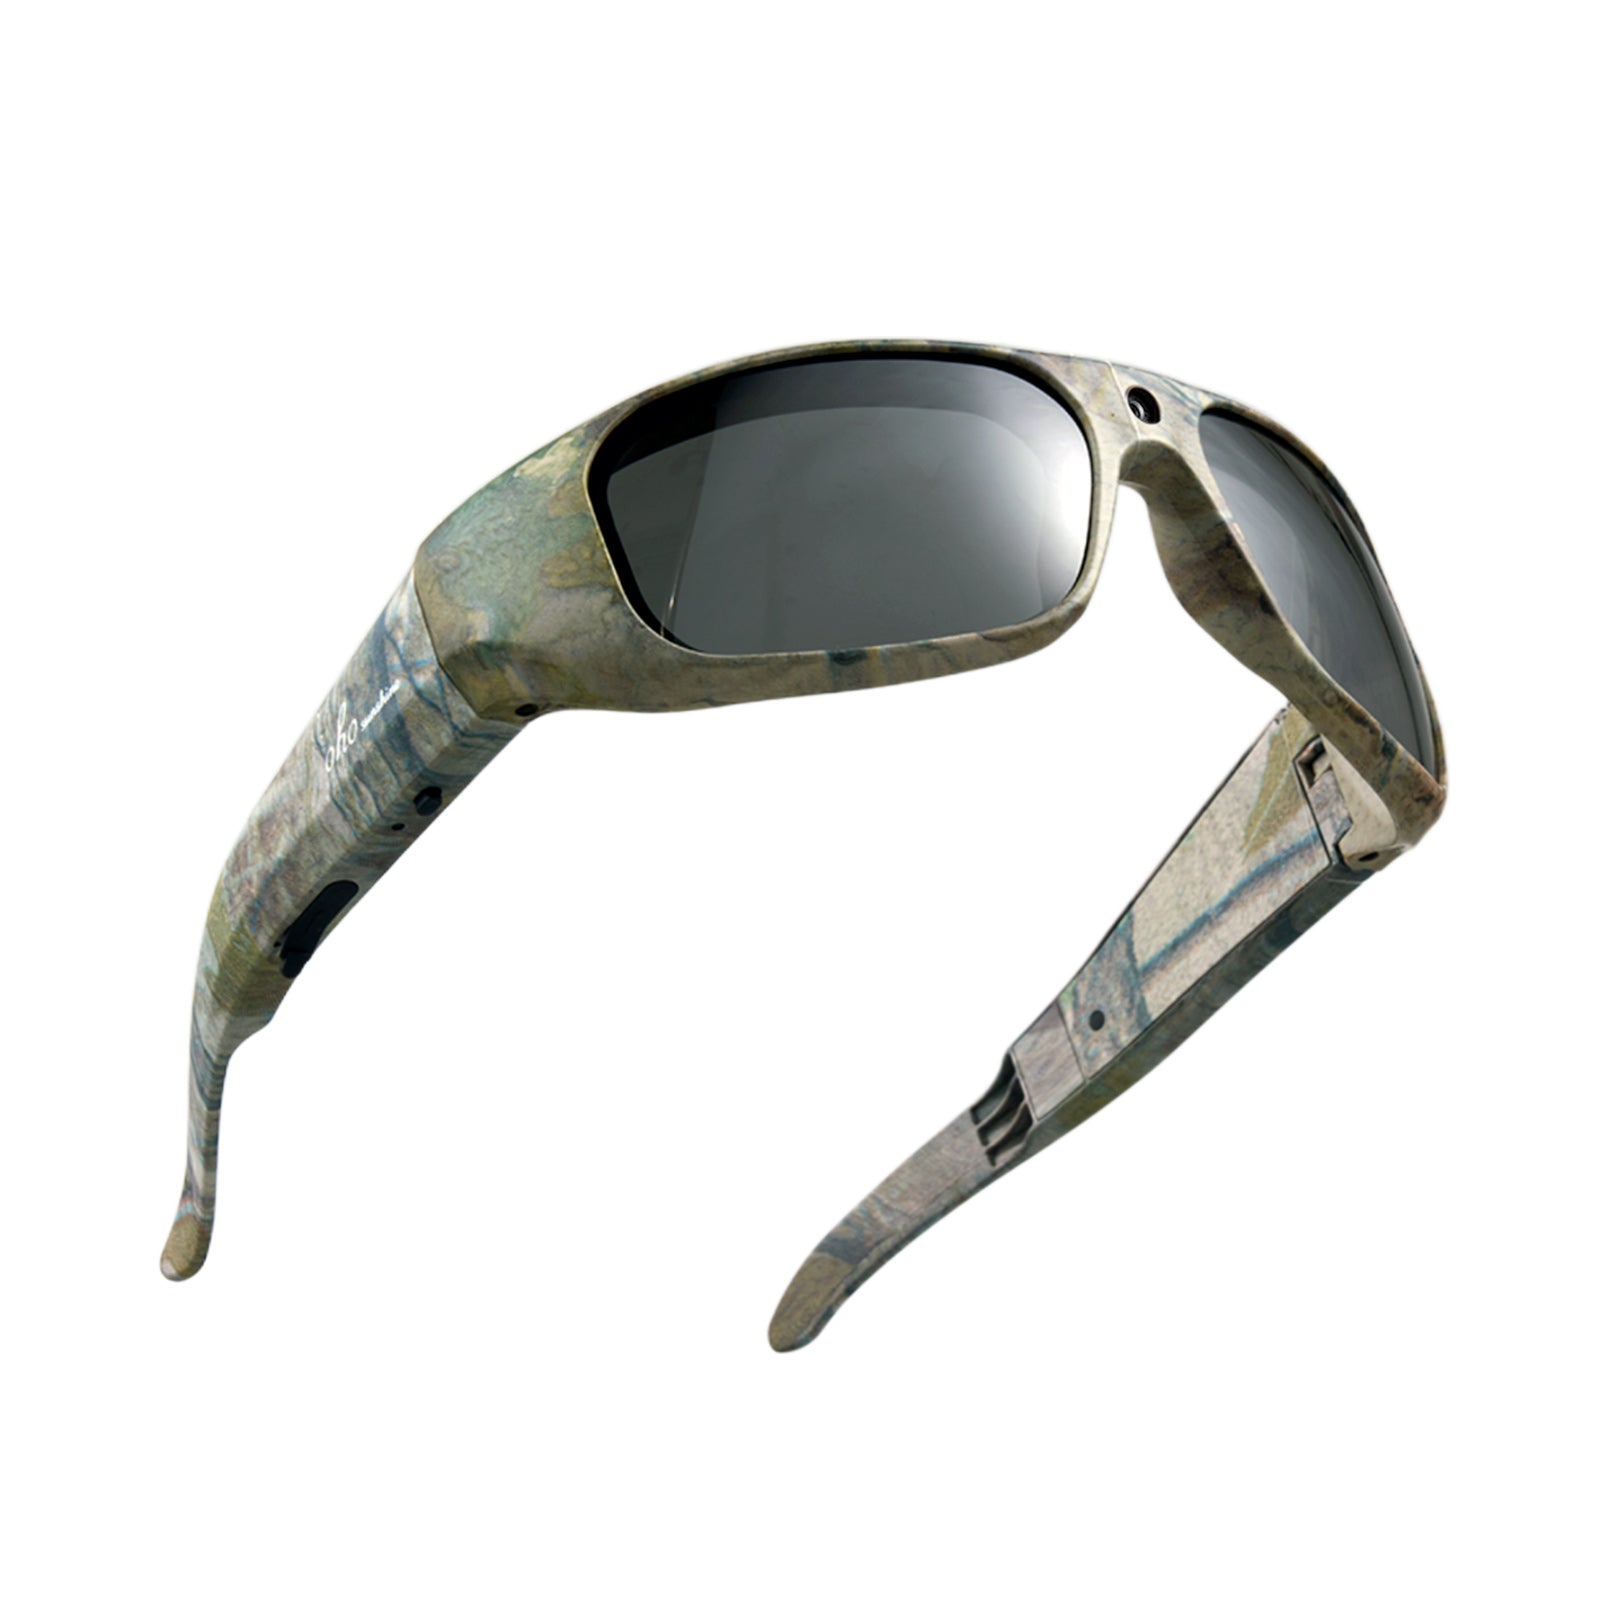
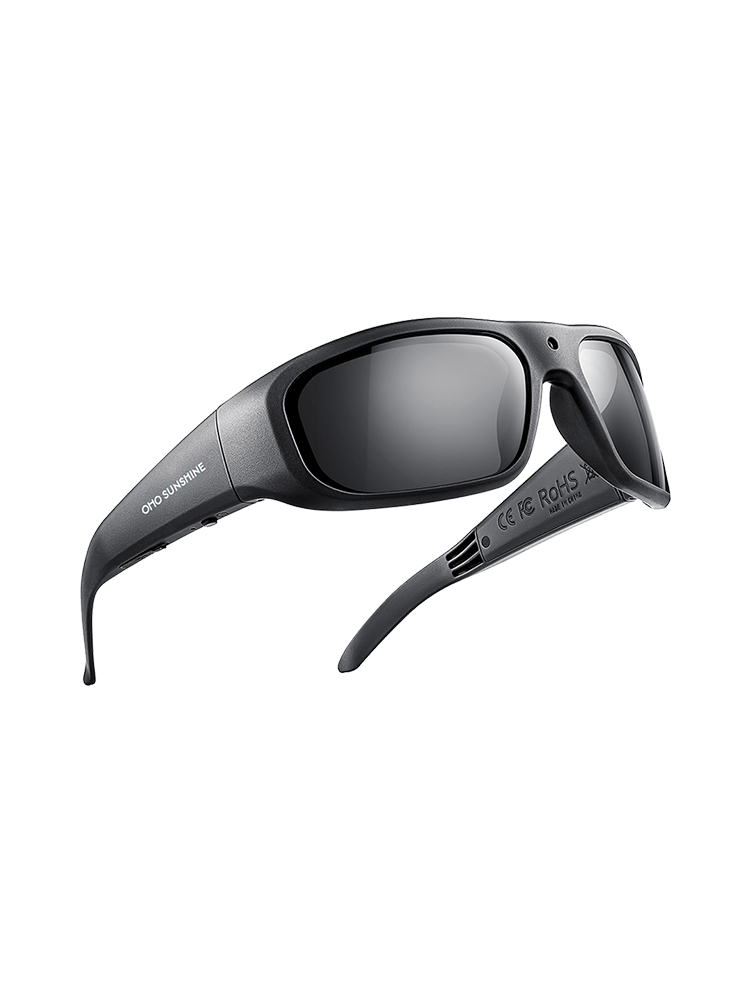
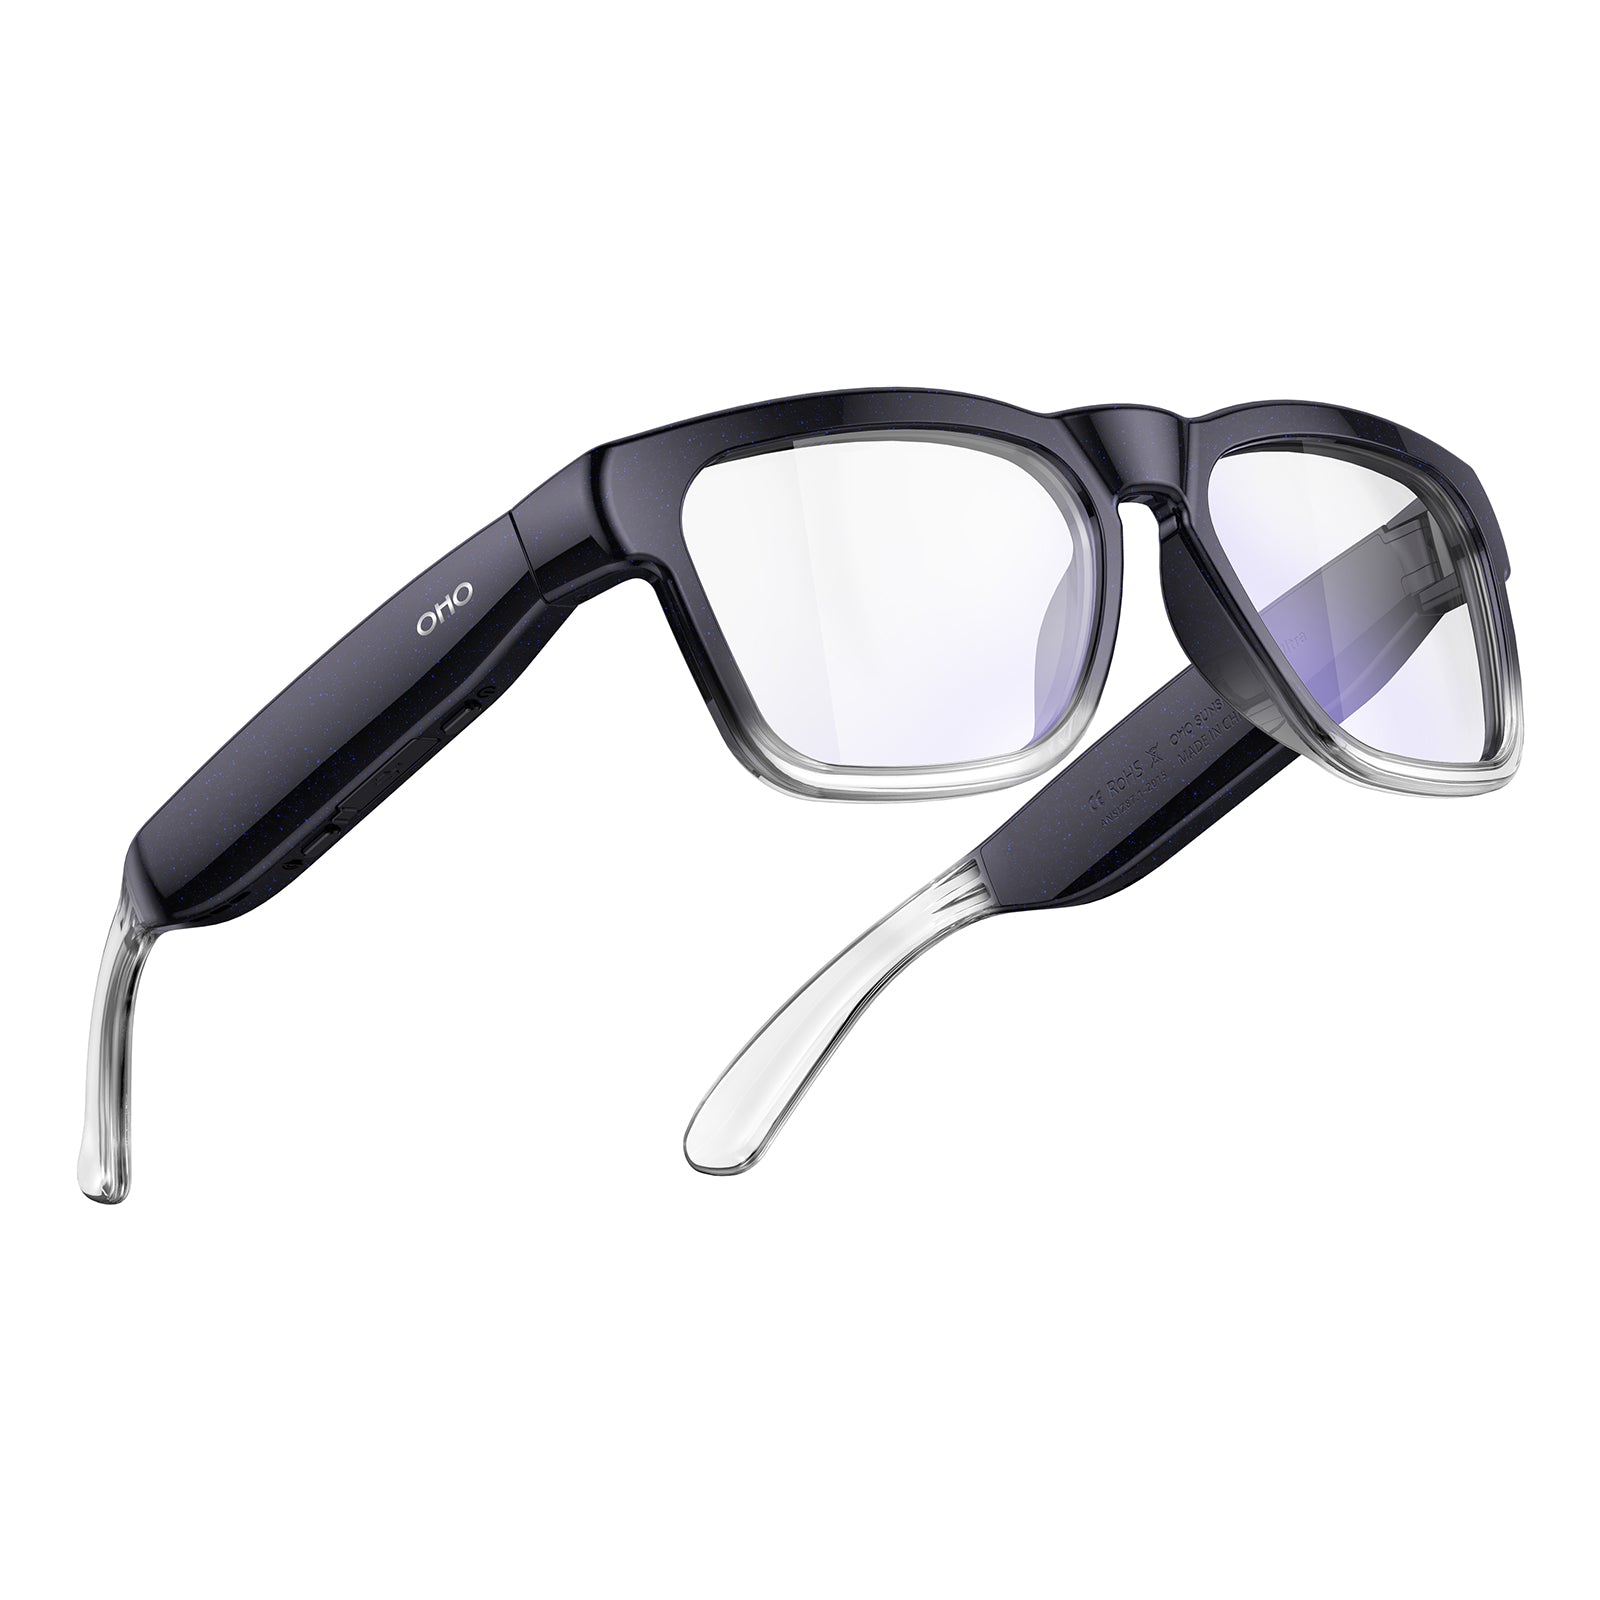
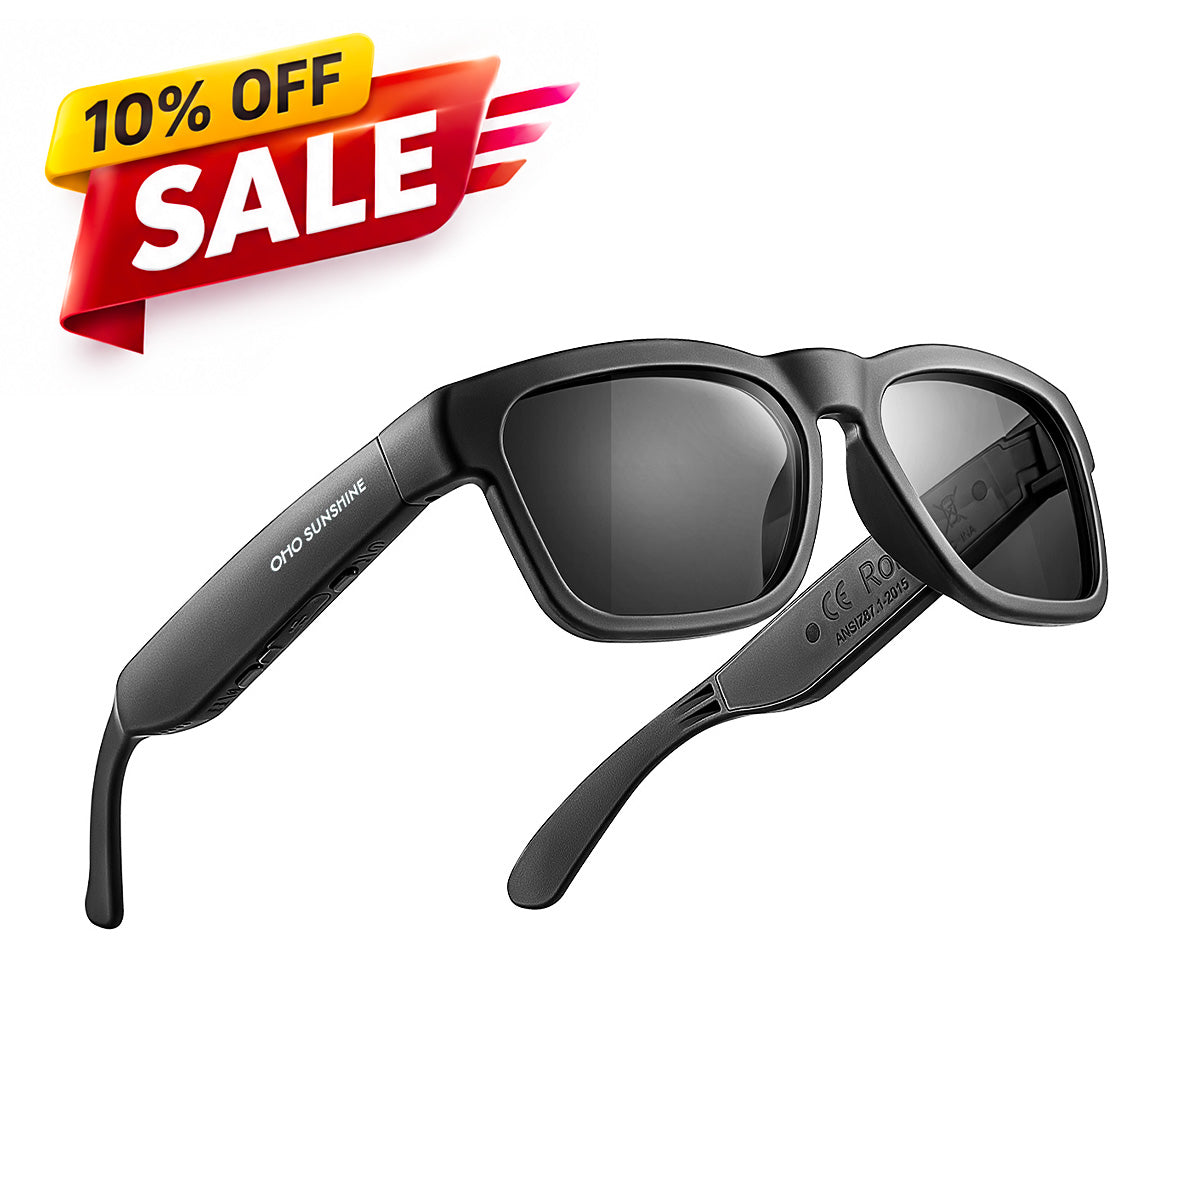
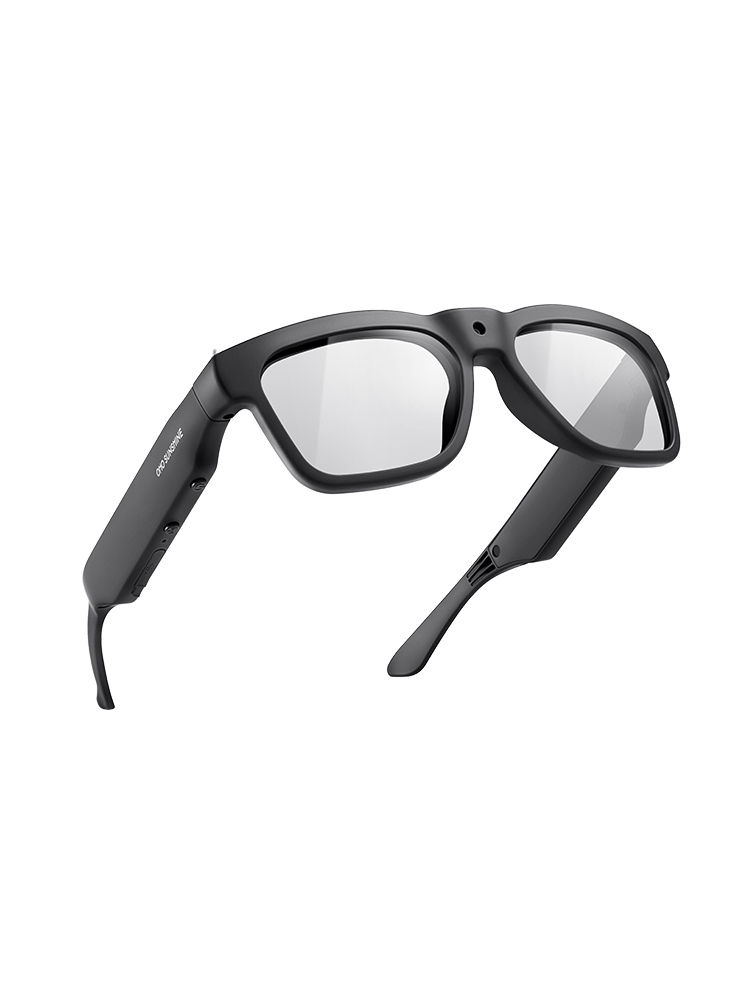
Whether the glasses themselves need to record video decides the choice here. The Edge Pro camera glasses list 4K/30 fps video with a built-in microphone and button, voice, and app controls, while the Brave camera glasses list the same 4K/30 fps video and microphone with polarized or photochromic lens options and a listed 30-minute battery life. The GlobeEar smart glasses document Bluetooth audio, hands-free calling, and translation with a built-in microphone, but the supplied specifications don't include a video-recording feature.
| Model | Documented camera and audio | Best-fit painting scenario | What to verify before use |
|---|---|---|---|
| Edge Pro | 4K/30 fps video, built-in mic, button/voice/app control | Full glasses-recorded tutorials needing hands-free control switching | Close-focus sharpness and lens reflection at your desk |
| Brave | 4K/30 fps video, built-in mic, polarized or photochromic lens options | Segments where you want to test different lens configurations | The 30-minute listed battery against your planned session length |
| GlobeEar | Bluetooth audio, hands-free calling, translation, built-in mic; no supplied video-recording fact | Audio or translation use while a separate camera records the tutorial | Whether you need glasses-based video at all for this project |
If glasses-recorded video is the goal, test the Edge Pro or Brave first, since these are the two selected models with a documented camera. GlobeEar fits a creator who wants audio and translation while a separate camera captures the painting session. Because it focuses on audio rather than onboard video recording, it is not designed as the primary camera for a glasses-led tutorial. Weigh the 60-gram Brave against the lighter 41.5-gram Edge Pro during an actual seated session, since listed weight alone doesn't prove comfort, and treat the Brave battery listing as a segment-planning number rather than a guaranteed tutorial length. Once your focus, framing, and reflection tests pass, we can point you to the rest of the range in our camera-glasses collection for other 4K camera glasses and smart glasses with a camera built in.
Run the Final Short Test Clip
Record the miniature at your intended working distance and include the real brush movements you'll use in the tutorial: pick up, load, approach, and reposition. Watch the clip and confirm the miniature and your hands stay in frame through all of those movements, that the specific face, trim, highlight, or basing detail you promised stays sharp, and that lens reflections and any new shadows are under control.
Before that test, run the basic checks any camera-glasses session needs: our guide to camera glasses recommends making sure you clean the lens and charge the glasses, then confirm the recording control responds and record a quick test clip. Add the miniature-specific checks on top of that baseline: sharp detail, controlled reflection, and a posture you can hold. Only move on to the full tutorial once every check passes; if one fails, change that single variable and record the short clip again.
Conclusion
Recording a miniature-painting tutorial with glasses with a camera and microphone comes down to one gate: your short test clip has to show a sharp detail, a full frame with your hand visible, controlled lens reflections, and a posture you can hold. Pass that gate before you start the real session. Skip it, and you risk a finished tutorial with soft focus or a blocked shot you can't fix afterward.
FAQs
Can I wear the selected camera glasses over my prescription glasses?
Edge Pro and Brave do not guarantee an over-the-glasses fit, so verify temple and bridge dimensions for your exact eyewear before buying. GlobeEar's specifications note it is not designed to fit over prescription frames, though it supports replacement prescription lenses. Check your specific frame style and lens requirements before choosing a pair for your painting desk.
What should I do if my miniature is closer than the glasses can focus?
Because camera glasses use fixed focal settings without a dedicated macro mode, there is no universal close-up distance. If your test clip shows soft detail at your natural brush distance, try moving the miniature slightly farther away first, ensuring your hand still moves freely in frame. If backing off ruins your working posture, use a secondary desk-mounted camera for tight macro shots rather than forcing the glasses beyond their clear focus range.
Is a listed 30-minute battery enough for a full miniature-painting tutorial?
Treat the Brave's listed 30-minute battery life as a planning limit, not a guaranteed uninterrupted runtime for an entire tutorial. Record in shorter segments and check the model's current manual for actual runtime in your recording mode before you plan a longer session. This listed figure applies to Brave specifically and shouldn't be assumed for Edge Pro or GlobeEar.



Deixe um comentário
Este site está protegido pela Política de privacidade da hCaptcha e da hCaptcha e aplicam-se os Termos de serviço das mesmas.