





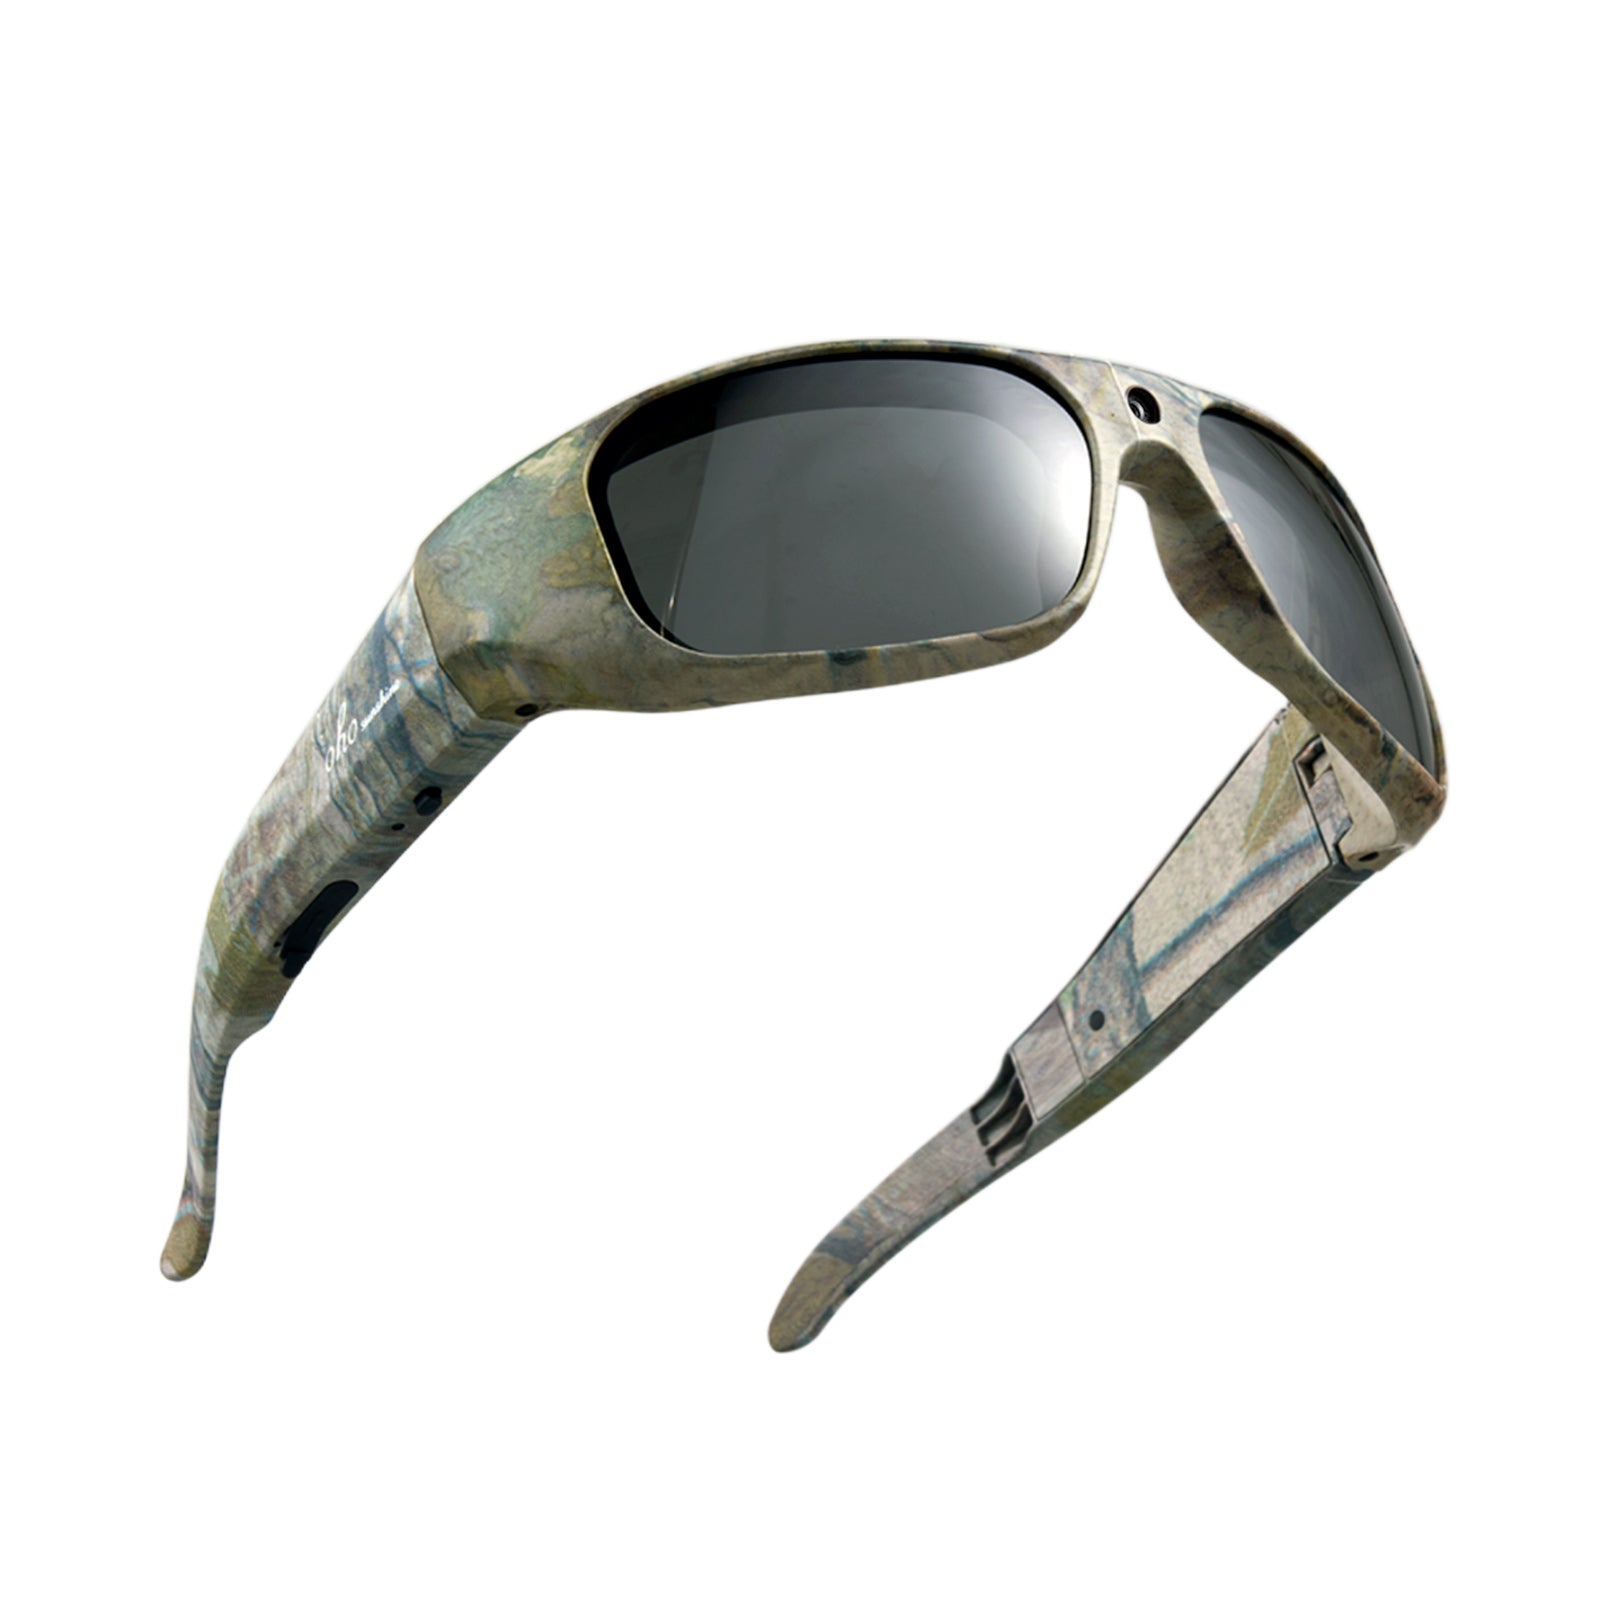


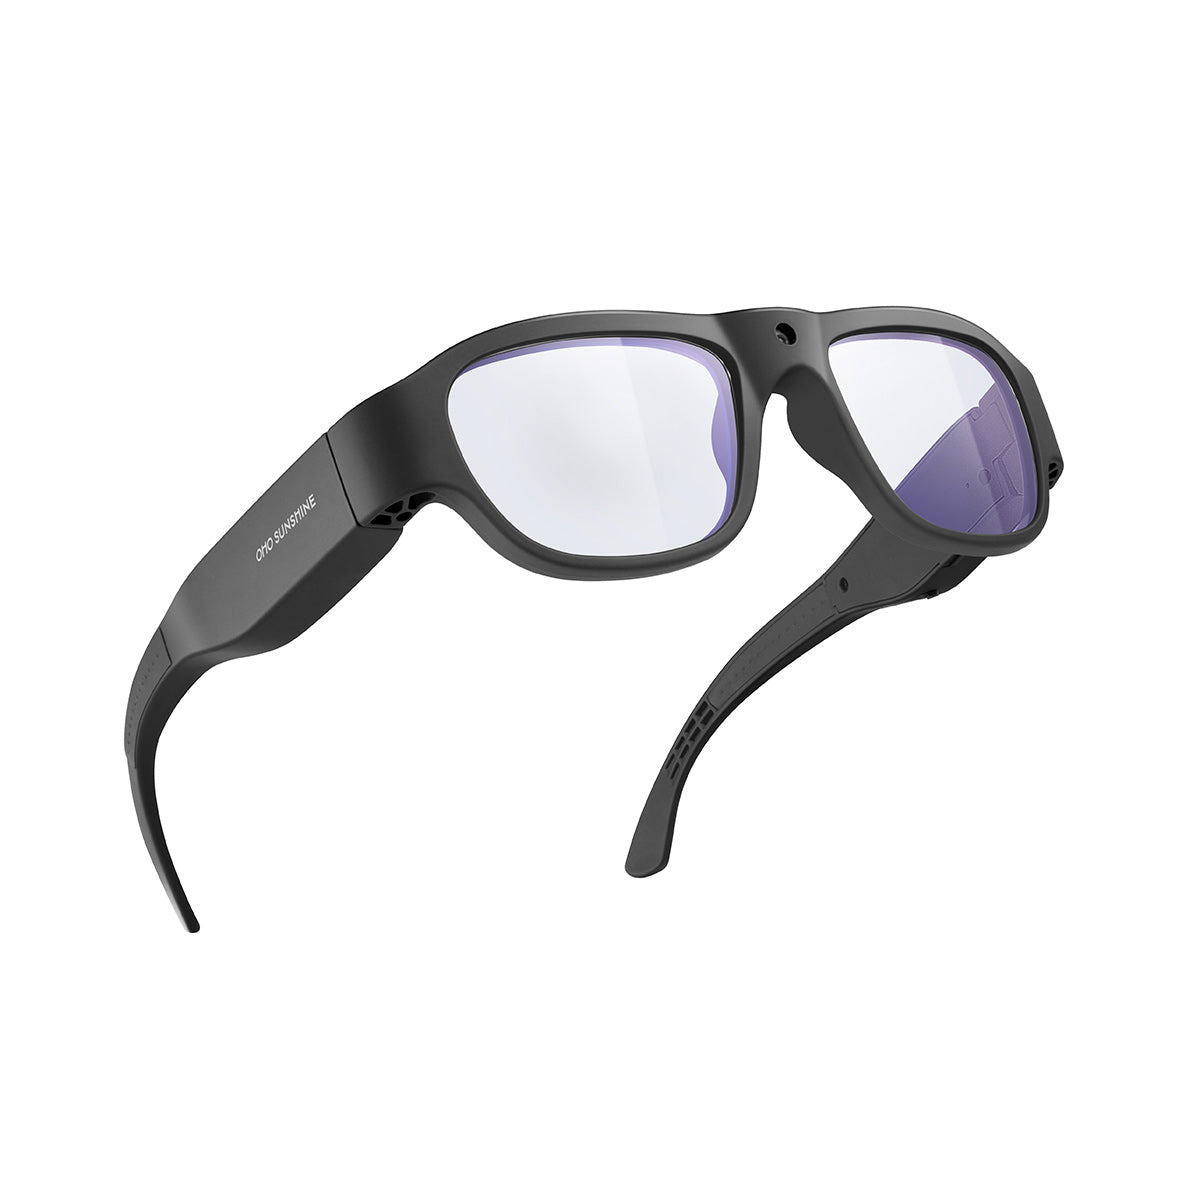
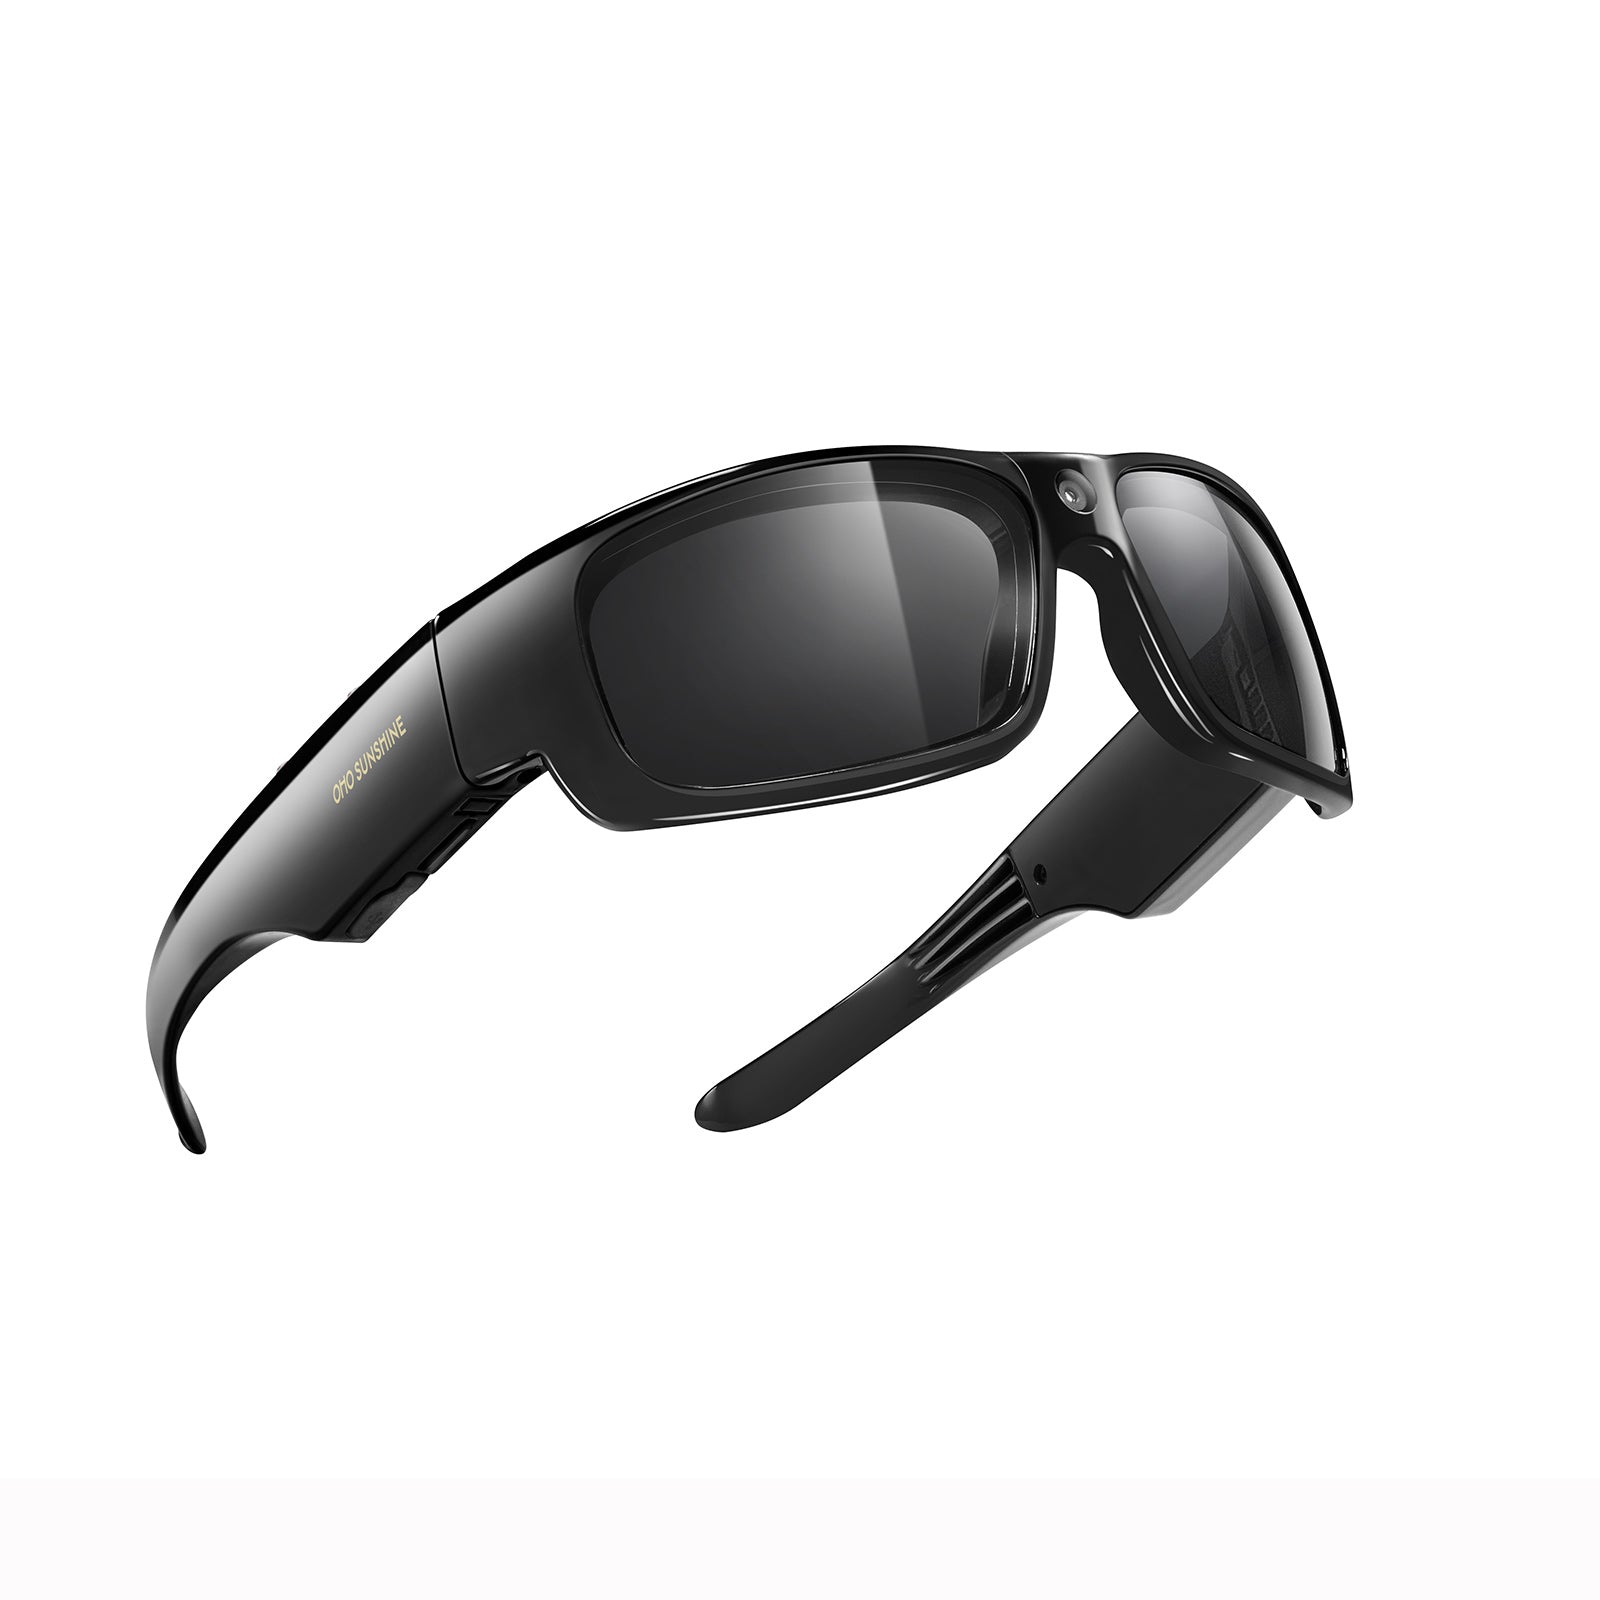


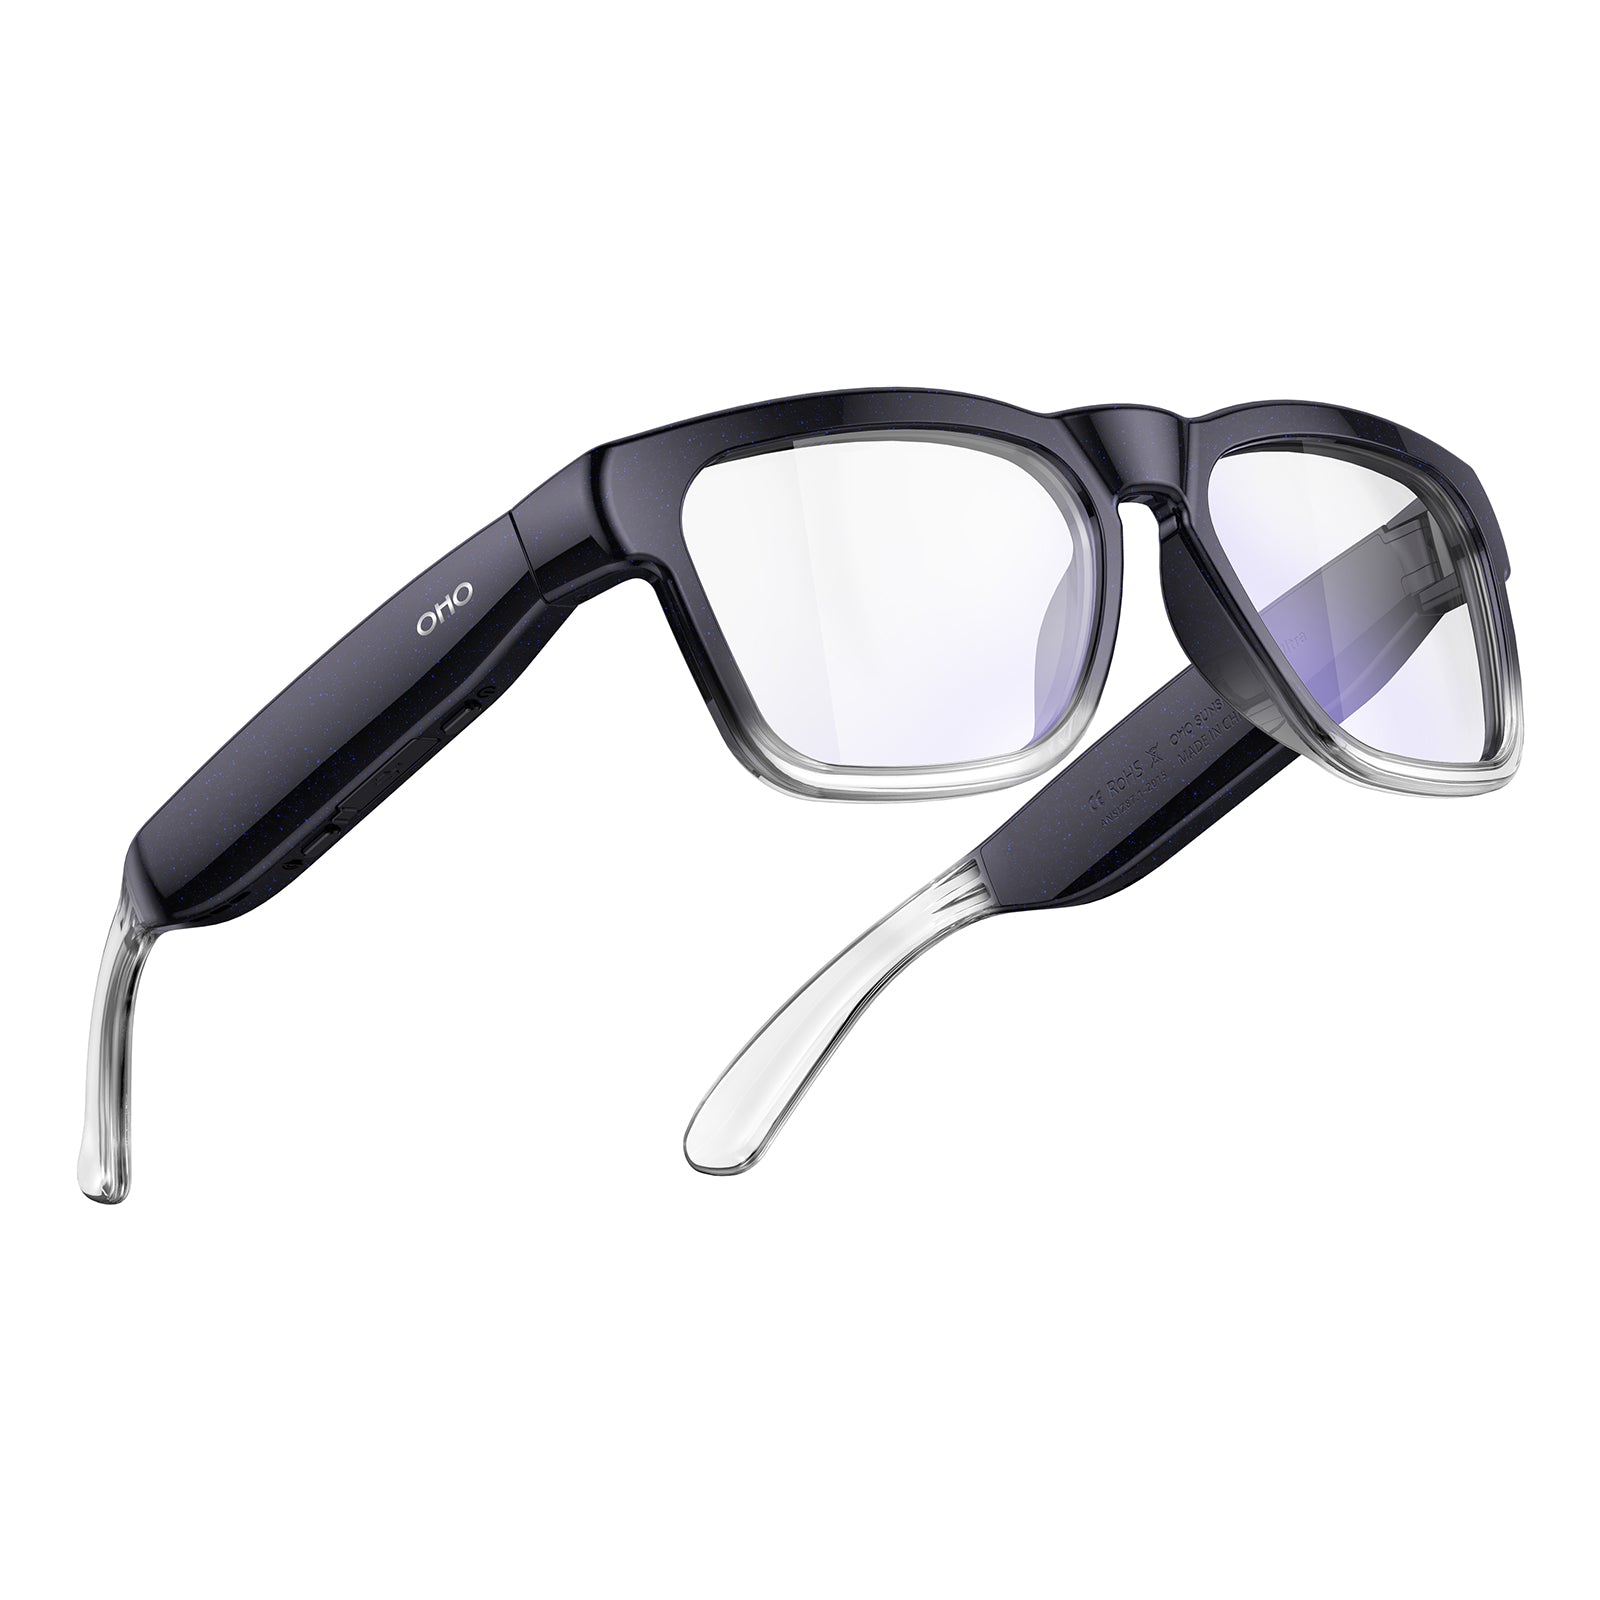


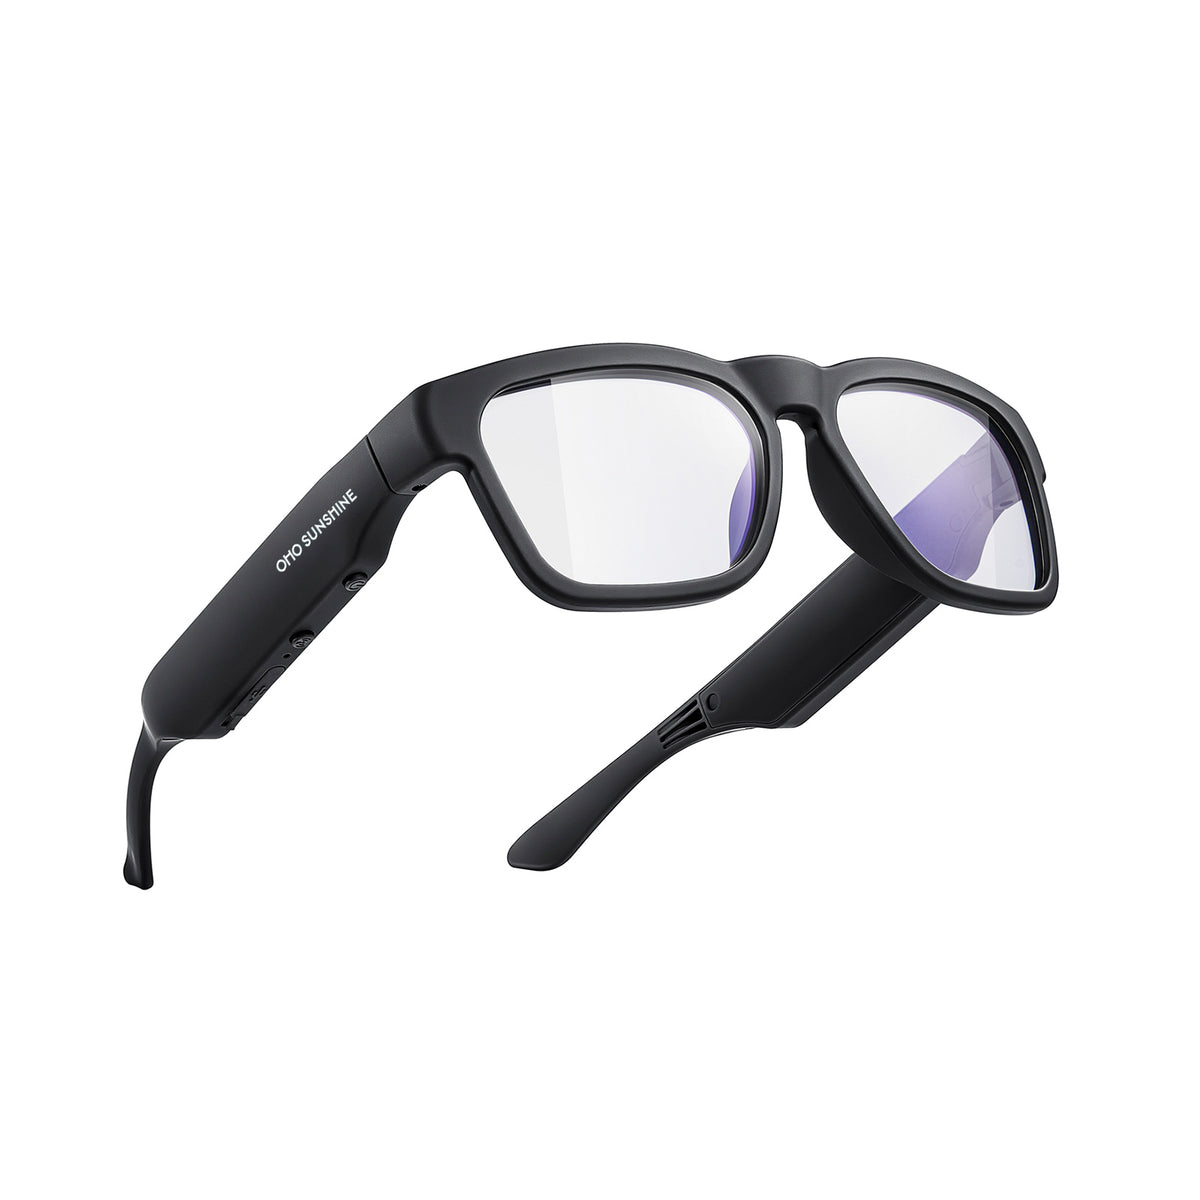





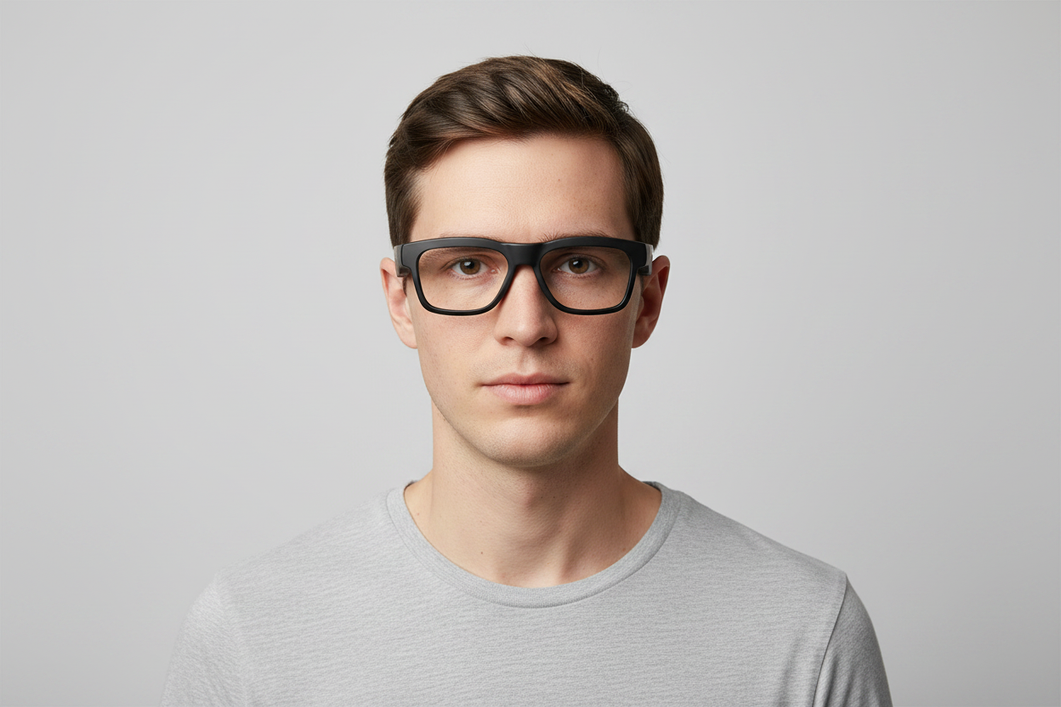
Een goede pasvorm van een slimme bril houdt het montuur gecentreerd en stabiel zonder een scherp of steeds erger wordend drukpunt te veroorzaken. De brug, veren, oren en voorkant van het montuur moeten de belasting samen dragen. De camera of glazen moeten uitgelijnd blijven wanneer je de bril natuurlijk draagt - niet alleen wanneer je voor een spiegel poseert.

Gebruik de onderstaande controle op vijf punten en test het montuur daarna tijdens je normale bezigheden. Deze gids voor de pasvorm van een slimme bril behandelt ook smalle gezichten, hoeden, helmen en het verschil tussen een montuur dat stevig aanvoelt en een montuur dat gewoon te strak zit.
Pasvorm van een slimme bril: voer deze controle op vijf punten uit
De snelste betrouwbare controle bestaat uit een vaste volgorde: begin bij de brug, ga verder met de druk van de veren, controleer de uitlijning, beoordeel de balans en eindig met beweging. Een montuur kan de ene controle doorstaan en bij een andere tekortschieten. Beschouw een stevige eerste indruk daarom niet als bewijs van comfort van een slimme bril.
- Controleer het contact met de brug en het draagcomfort op je neus. Zet het montuur op zonder het op zijn plaats te duwen. De brug moet stevig zitten zonder te knellen, ongewoon hoog te zitten of het montuur naar beneden te laten glijden. Vergelijk de breedte en positie van de brug van het montuur met een bril die al goed bij je past. Richtlijnen voor de pasvorm van optische monturen beschouwen de pasvorm van de brug en de lengte van de veren als praktische afmetingen om te controleren, niet als bewijs dat een bepaald model iedereen past.
- Beoordeel het contact met de veren en oren. De veren moeten het montuur stevig op zijn plaats houden zonder een scherp drukpunt aan de zijkanten van je hoofd of achter een van beide oren te veroorzaken. Strakker is niet altijd beter: extra klemkracht kan het verschuiven verminderen, maar het ongemak rond je oren en slapen vergroten.
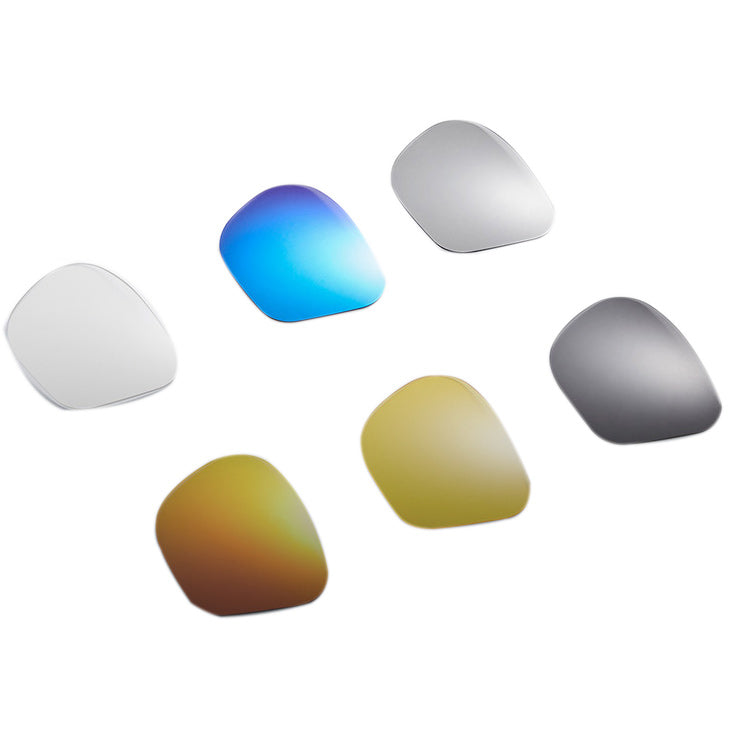
- Controleer of de camera of glazen gecentreerd zijn. Kijk recht vooruit en controleer of de glazen zich op ongeveer dezelfde hoogte en afstand van je ogen bevinden. Zorg er bij camerabril voor dat de camera gericht is zoals je verwacht wanneer het montuur natuurlijk op je gezicht rust. Kantel het montuur niet alleen om het beeld in een spiegel te verbeteren.
- Beoordeel de gewichtsverdeling. Let erop of de voorkant naar beneden trekt, één kant zwaarder aanvoelt of de brug bijna de volledige belasting draagt. Het vermelde productgewicht zegt niet hoe het montuur op je gezicht zal aanvoelen, omdat de positie van de brug, het contact met de veren en de geometrie van het montuur de balans beïnvloeden.
- Test de bewegingsstabiliteit. Praat, draai je hoofd, kijk omlaag, loop rond en maak de bewegingen die je tijdens een woon-werkrit of werkdag verwacht. Het montuur moet redelijk gecentreerd blijven zonder dat je het steeds hoeft aan te duwen, en geen enkel contactpunt mag na enkele minuten steeds meer druk ontwikkelen.
Als een montuur de spiegeltest doorstaat maar na beweging niet goed blijft zitten, beschouw het resultaat tijdens het bewegen dan als belangrijker. Verschuivingen kunnen de uitlijning van de camera of glazen veranderen, en terugkerende druk kan een technisch stevig montuur moeilijk draagbaar maken.

Een praktische plek om alledaagse stijlen te vergelijken nadat je de gewenste montuurafmetingen hebt bepaald, is onze collectie slimme brillen voor dagelijks gebruik. Gebruik deze om te bekijken, niet als garantie voor een goede pasvorm.
Breng de Druk in Verband met de Contactpunten van het Montuur
Wanneer het ongemak toeneemt, bepaal dan het exacte contactpunt voordat je iets strakker of losser maakt of aanpast. Glijden, knellen, afdrukken, scheefstand en eenzijdige belasting wijzen op verschillende pasvormvragen, maar stellen op zichzelf geen diagnose van letsel en wijzen niet op één bepaalde oorzaak.
Druk van de Veren en Contact met de Oren
De druk van de veren van een slimme bril moet worden beoordeeld in combinatie met de stabiliteit. Onderzoek naar de klemdruk van de veren bij gewone brillen beschrijft dezelfde fundamentele afweging: te veel klemdruk kan pijn veroorzaken bij het gebied waar de veren aan de oren aansluiten, terwijl te weinig druk ertoe kan leiden dat het montuur wegglijdt. Deze bevinding ondersteunt een kwalitatieve controle, geen universele druklimiet voor slimme brillen.
Gebruik het symptoom als aanleiding om het montuur opnieuw te beoordelen:
- Strakke veren of druk aan de zijkant: Controleer opnieuw of het montuur te smal is voor je hoofd of dat de vorm van de veren de druk op één gebied concentreert.
- Druk achter de oren: Controleer of er een probleem is met de lengte, hoek of balans van de veren, in plaats van ervan uit te gaan dat het montuur strakker moet zitten.
- Afdrukken die dieper worden tijdens het dragen van de bril: Pauzeer en beoordeel de situatie opnieuw. Toenemende afdrukken of pijn zijn geen doel van het wennen aan de bril.
- Glijden zonder pijn: Controleer de totale breedte, de positie van de neusbrug en de balans voordat je de klemdruk verhoogt.
- Ongemak dat geleidelijk toeneemt: Verwijder het montuur en stop met het gebruik ervan als er pijn, verminderd zicht of aanhoudend ongemak ontstaat.
Buig, verhit of vervorm het montuur niet, tenzij de fabrikant hiervoor specifiek instructies of een geautoriseerde serviceoptie biedt. Een snelle aanpassing kan de uitlijning veranderen of op een ander contactpunt nieuwe druk veroorzaken.
Contact met de neusbrug en gewichtsverdeling
De neusbrug en beide zijden van het montuur moeten bijdragen aan een stabiele ondersteuning. Let op pijnlijk knellen bij de neus, een naar voren trekkend gewicht, zichtbare kanteling of druk aan één kant. Ongelijk contact is een pasvormsignaal dat nader onderzoek verdient, geen medische diagnose.
Probeer het montuur opnieuw vanuit een neutrale positie, in plaats van het hoger of verder naar achteren te duwen. Als de neusbrug overbelast aanvoelt terwijl de veren nauwelijks bijdragen, of als het ene oor merkbaar meer contact draagt dan het andere, vergelijk dan de afmetingen en de natuurlijke rustpositie van het montuur. Bij slimme brillen kan de balans nog belangrijker zijn, omdat de elektronica de voorkant opvallender kan maken dan bij gewone brillen. De ervaring verschilt afhankelijk van de geometrie van het montuur en de individuele hoofdvorm.
Controleer de pasvorm voor een klein gezicht voordat je koopt
Ja, slimme brillen kunnen passen bij sommige kleine of smalle gezichten, maar er is geen universele grens voor kleine gezichten die een montuur voor iedereen geschikt maakt. Vergelijk de afmetingen en let op de positie in plaats van alleen te vertrouwen op de term “universele pasvorm” of op het uiterlijk.
Let op de volgende productpagina-informatie als die beschikbaar is: totale montuurbreedte, neusbrugbreedte, afmetingen van de glazen en lengte van de veren. Vergelijk deze vervolgens met een bril die je al comfortabel draagt. Deze vergelijking is alleen een eerste controle; de gecentreerde positie en het comfort in de praktijk bepalen uiteindelijk het resultaat.
| Afmeting of signaal | Waar je op moet letten | Mogelijk signaal dat het montuur niet goed past |
|---|---|---|
| Breedte van montuur en neusbrug | Het montuur blijft gecentreerd zonder overmatige ruimte aan de zijkanten | Te grote spreiding aan de zijkanten, verschuiven of een neusbrug die te hoog zit |
| Lengte en contact van de veren | De veren bereiken de oren zonder het montuur naar voren of achteren te duwen | Druk achter de oren, los contact of herhaaldelijk opnieuw rechtzetten |
| Positie van de glazen of camera | Beide zijden blijven tijdens normale beweging uitgelijnd | Kanteling, ongelijke hoogte of een verschuivend camerabeeld |
Bij smalle gezichten is een montuur dat er kleiner uitziet niet automatisch beter. Een strakkere optie kan beweging beperken, maar druk op de slapen of neusbrug veroorzaken; een lossere optie kan in eerste instantie prettiger aanvoelen, maar tijdens het lopen afglijden. Kies het montuur dat gecentreerd blijft met beheersbaar contact, niet het montuur dat het stevigst klemt.
Als afmetingen ontbreken of moeilijk te vergelijken zijn, worden de huidige ruil- en retourvoorwaarden belangrijker als risicocontrole. Controleer het actuele beleid van de verkoper voordat je bestelt of de verpakking opent; ga er niet van uit dat elke winkel dezelfde termijn, aanpassingsservice of retourvoorwaarden biedt.
Slimme brillen testen met hoeden en helmen
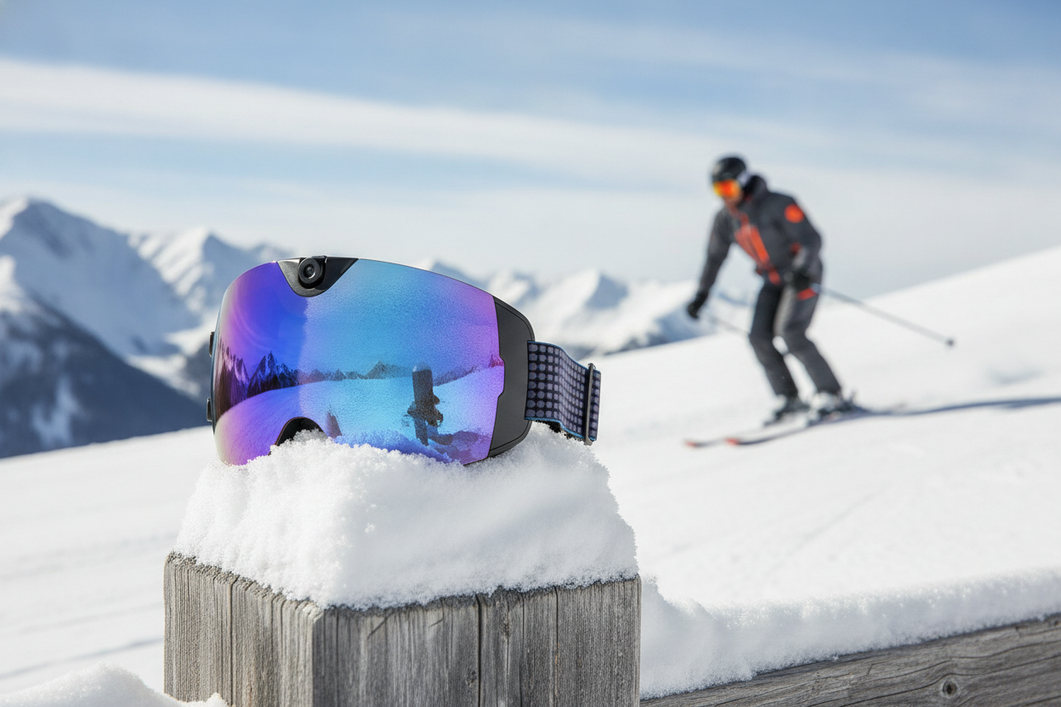
Test de slimme bril met precies de muts, pet, helm of ander hoofddeksel dat je wilt gebruiken. Een combinatie die op zichzelf goed aanvoelt, kan druk op de slapen veroorzaken, het montuur verschuiven of de uitlijning van camera en lenzen veranderen zodra de rand, band, vulling of schaal wordt toegevoegd.
- Bij een baseballpet of hoed met rand controleer je of de rand het montuur niet naar beneden drukt of dichter naar je neus duwt. Kijk omhoog, omlaag en naar beide kanten om te zien of de bril verschuift.
- Bij een gebreide muts of pet controleer je of de stof extra druk aan de zijkanten veroorzaakt of de pootjes naar binnen duwt. Herhaal de test nadat je de muts of pet hebt aangepast zoals je dat normaal zou doen.
- Bij een helm controleer je de ruimte rond de slapen, banden, vulling en het bevestigingssysteem. Beweeg je normaal en controleer of de helm goed op zijn plaats blijft zitten, in plaats van de bril te gebruiken om een opening op te vullen.
- Bij een veiligheidsbril, veiligheidshelm of ander persoonlijk beschermingsmiddel moet je eerst de oorspronkelijke pasvorm, zichtbaarheid en werking van het beschermingsmiddel behouden. De richtlijnen van OSHA voor de beoordeling van persoonlijke beschermingsmiddelen gaan over combinaties van beschermingsmiddelen; ze certificeren gewone slimme brillen niet als compatibel of beschermend.
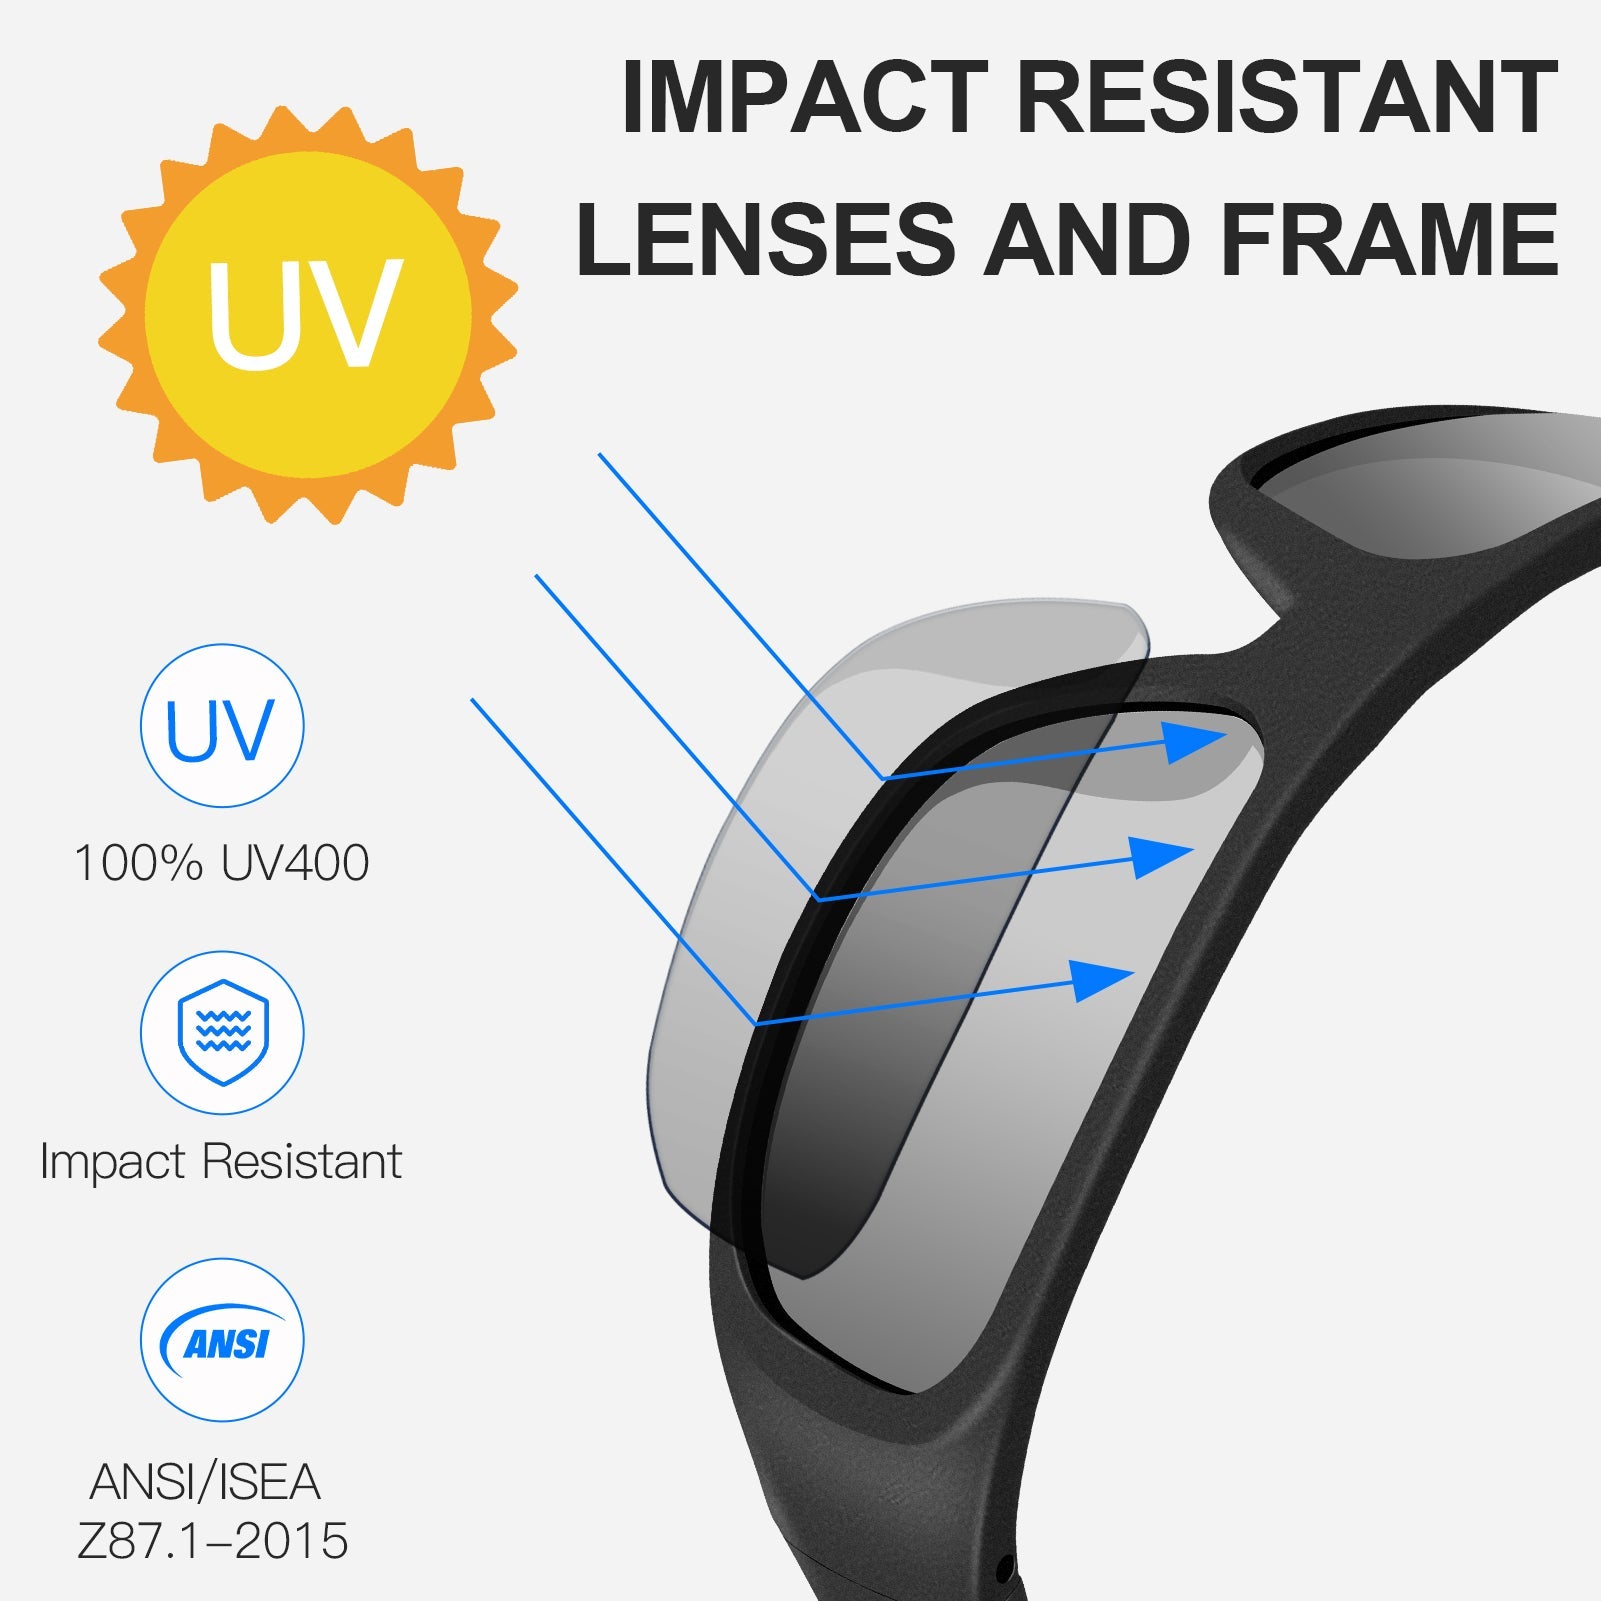
- In een omgeving met risico op stoten of spatten mag je uit het uiterlijk van een montuur van een slimme bril geen bescherming afleiden. De richtlijnen van de American Academy of Ophthalmology voor beschermende oogbescherming ondersteunen het gebruik van oogbescherming die geschikt is voor het risico; gewone slimme brillen zijn niet automatisch veiligheidsbrillen.
Stop de combinatietest als deze pijn, verminderd zicht, instabiliteit of gevaarlijke afleiding veroorzaakt, of de pasvorm van hoofddeksels of persoonlijke beschermingsmiddelen belemmert. Een comfortabel montuur is het niet waard om de werking van een helm of persoonlijk beschermingsmiddel te verzwakken.
Gebruik een test voor langdurig dragen om de definitieve beslissing te nemen
Met een korte pasbeurt kun je niet vaststellen of een slimme bril geschikt is om de hele dag te dragen. Houd een montuur alleen als het bij herhaald dragen tijdens je beoogde activiteiten stabiel en bruikbaar blijft zonder terugkerende pijnlijke druk. Stop anders met het gebruik en controleer de actuele informatie van de verkoper over ondersteuning, omruilen, garantie en retourneren.
- Begin met een korte sessie bij normaal gebruik. Draag het montuur terwijl je zit, praat en je op natuurlijke wijze beweegt. Noteer waar het ongemak begint en of het montuur verschuift.
- Leg het patroon vast, niet alleen het gevoel. Noteer het contactpunt, de activiteit, de positie van je hoofd en het geschatte moment in de sessie waarop de druk ontstaat. Zo kun je een eenmalig plaatsingsprobleem onderscheiden van een terugkerend pasvormprobleem.
- Verplaats het montuur één keer en test het opnieuw. Zet het montuur op natuurlijke wijze opnieuw op en kijk of het probleem verdwijnt of op dezelfde plek terugkomt. Blijf het montuur niet strakker zetten en forceer het niet herhaaldelijk in positie.
- Herhaal je werkelijke gebruikssituatie. Doorloop de woon-werkrit, werksessie aan een bureau, creatieve activiteit of andere routine die je verwacht. Voeg de hoed, pet, helm of persoonlijke beschermingsmiddelen toe als die deel uitmaken van die routine.
- Controleer de actuele voorwaarden van de verkoper vóór de betreffende deadline. Controleer de huidige productpagina of neem contact op met de verkoper voor de vereisten rond aanpassing, omruiling, garantie en retourneren. Vertrouw niet op een veronderstelde retourtermijn.
- Kies de volgende stap. Houd het montuur als het bij herhaalde tests voor het beoogde gebruik gecentreerd en bruikbaar blijft. Stop met het gebruik en vraag ondersteuning van de verkoper of fabrikant wanneer de druk aanhoudt, je zicht wordt belemmerd of het montuur herhaaldelijk verschuift. Als het probleem niet binnen de actuele opties van de verkoper kan worden opgelost, is omruilen of retourneren wellicht verstandiger dan het ongemak als normaal te accepteren.
Nadat je weet of je een camera, audio of een andere montuurstijl nodig hebt, kun je slimme brillen met camera als categorie bekijken. Controleer de actuele afmetingen en het beleid van elk model afzonderlijk.
Veelgestelde vragen
De veelgestelde vragen richten zich op specifieke situaties rond de pasvorm van slimme brillen, zoals langer dragen, smalle gezichten, hoofddeksels en terugkerende druk. Gebruik de antwoorden om een volgende stap te kiezen in plaats van aan te nemen dat elk montuur iedereen past.
Zijn slimme brillen comfortabel om de hele dag te dragen?
Niet bij elke drager of elk montuur. Als de druk tijdens elke sessie op dezelfde plek terugkomt, stop dan met het gebruik en bekijk de actuele opties van de verkoper voor ondersteuning, omruiling, garantie en retourneren, in plaats van het ongemak als een normale gewenningsperiode te beschouwen.
Past een slimme bril bij een klein gezicht?
Dat kan, maar er is geen algemene norm voor kleine gezichten die voor alle producten geldt. Vergelijk de vermelde afmetingen met een bril die je al comfortabel draagt en controleer het actuele beleid van de verkoper als afmetingen ontbreken.
Kun je een slimme bril onder een hoed of helm dragen?
Soms, afhankelijk van de combinatie. Test de normale ruimte en bewegingsvrijheid. Behoud bij helmen of persoonlijke beschermingsmiddelen de oorspronkelijke pasvorm en werking van de uitrusting, omdat gewone slimme brillen niet zijn gecertificeerd als beschermende oogbescherming.
Hoe verminder je druk op je slapen door een slimme bril?
Verplaats het montuur één keer zonder kracht te zetten. Als de druk terugkomt, stop dan met het gebruik en neem contact op met de verkoper of fabrikant in plaats van het montuur te buigen, verwarmen of aanpassen zonder goedgekeurde instructies.


Laat een reactie achter
Deze site wordt beschermd door hCaptcha en het privacybeleid en de servicevoorwaarden van hCaptcha zijn van toepassing.