















Bedankt dat u voor ons heeft gekozen
Gebruikershandleiding
Neem voordat u begint even de tijd om de instructies voor uw specifieke model te lezen. Het behandelt installatie, bediening, onderhoud en veiligheid, zodat u veelvoorkomende fouten kunt voorkomen, de beste prestaties kunt krijgen en uw bril op de lange termijn in goede staat kunt houden.
Ga binnen enkele minuten aan de slag
Handleiding
Vind aan de rechterkant de handleiding voor uw specifieke model. Tik op de pijl naast uw productnaam om de pdf te bekijken. Als u niet zeker weet welk model u heeft, controleer dan de originele verpakking of de winkel waar u het product heeft gekocht.
Kunt u uw model niet vinden?Zoek op deze pagina met Ctrl+F (pc) of 'Zoeken op pagina' (mobiel).
Brave-4K-camerabril
Edge Pro-Camera & AI-vertaalbril
GlobeEarAI vertaalbril
Primex EIS-2K & EIS camerabril
Edge-camera en Bluetooth-bril
Vidsoul-Full HD-camerabril
Elite-Bluetooth-audiobril
Pulse-Bluetooth-audiobril
Elingo-AI vertaalbril
Focus-Full HD-camerabril
- ee
- ee
- ee
Livi-Full HD-camerabril
Ease-Bluetooth-audiobril
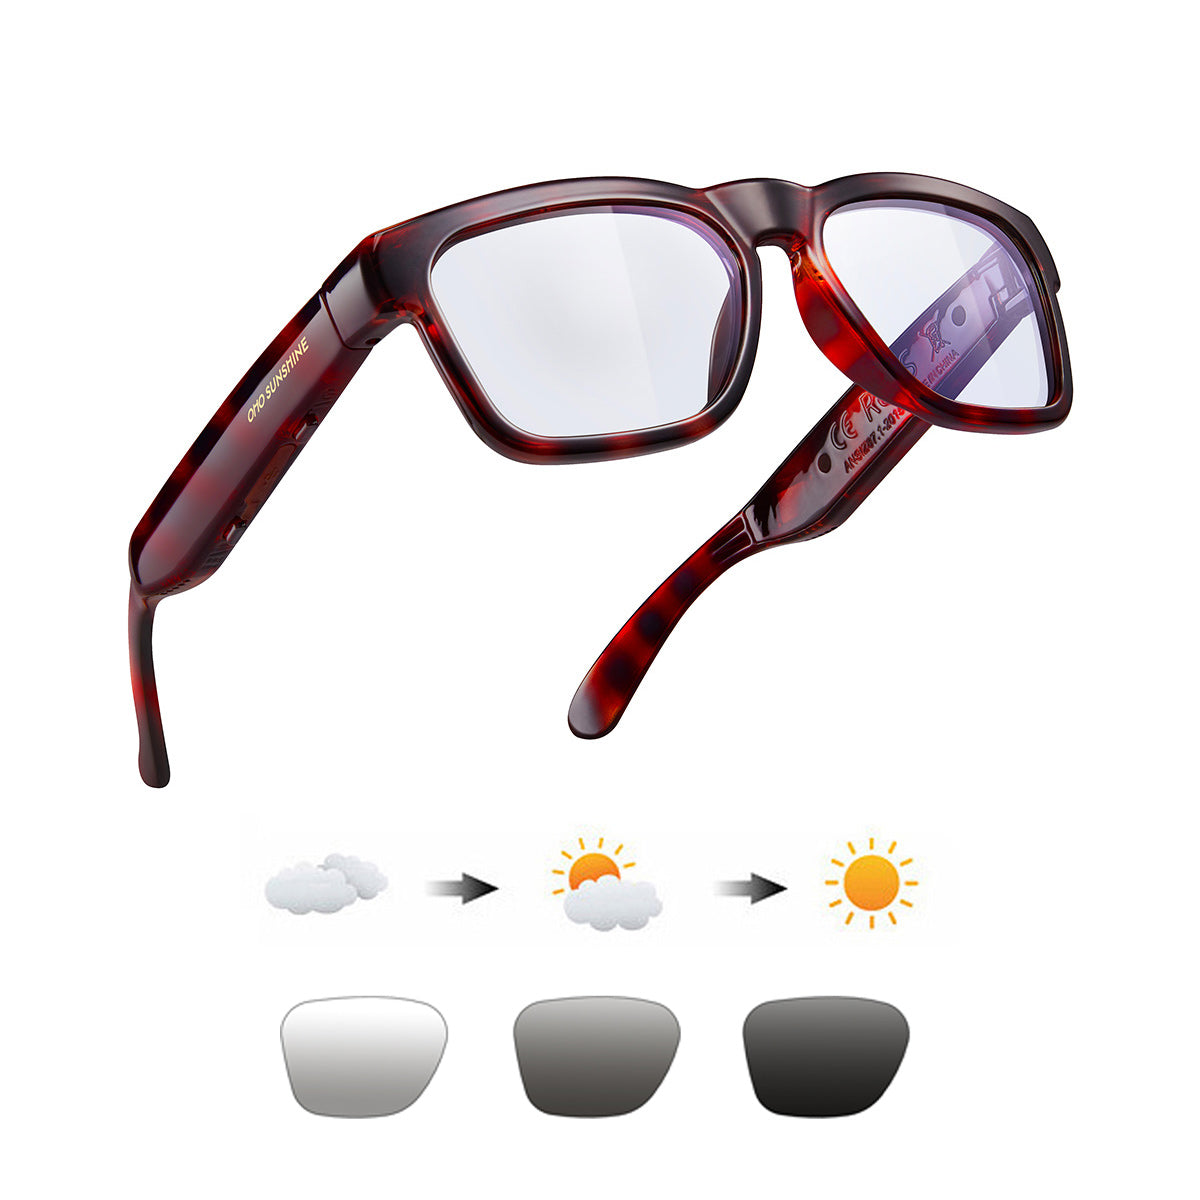
Sunblazer-Bluetooth-audiobril
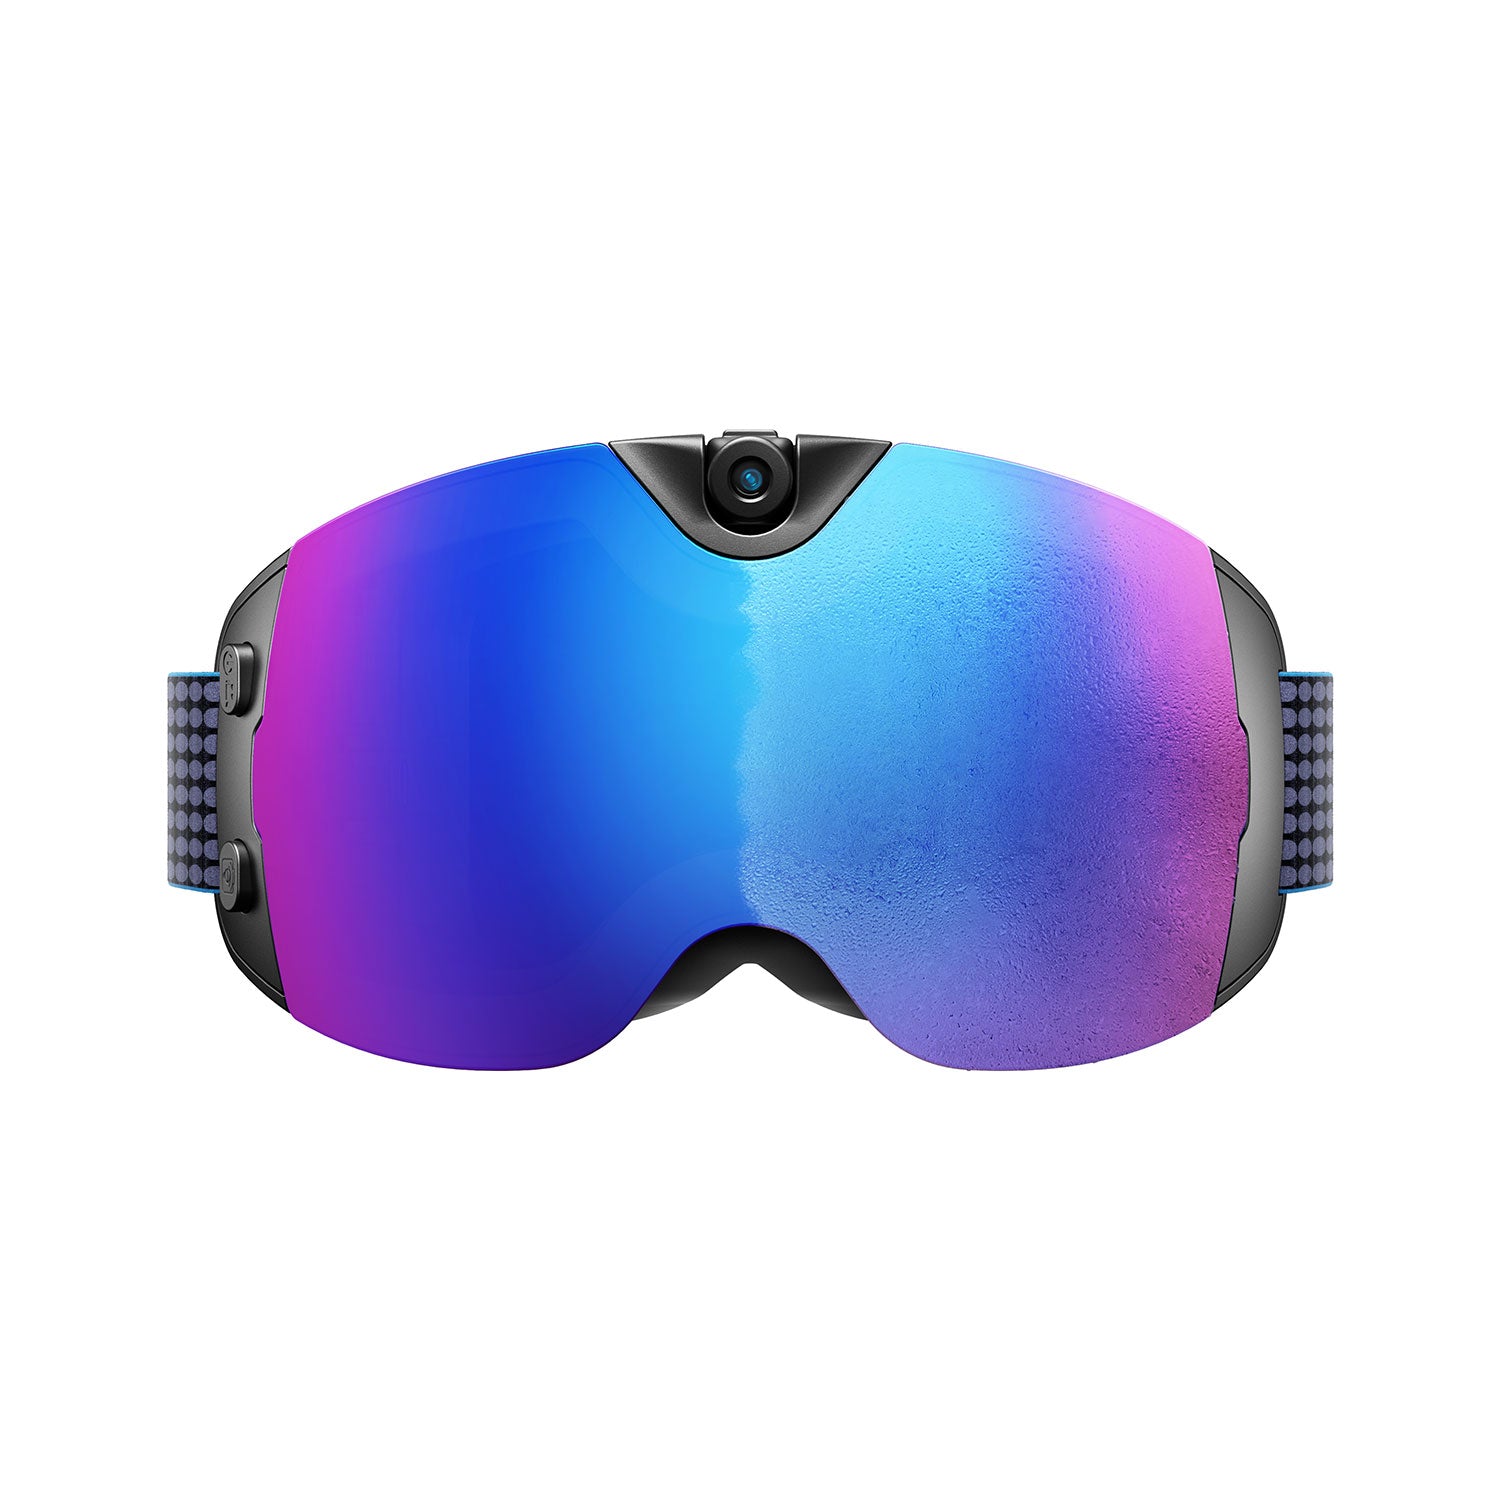
Skyshot-4K camera-skibril
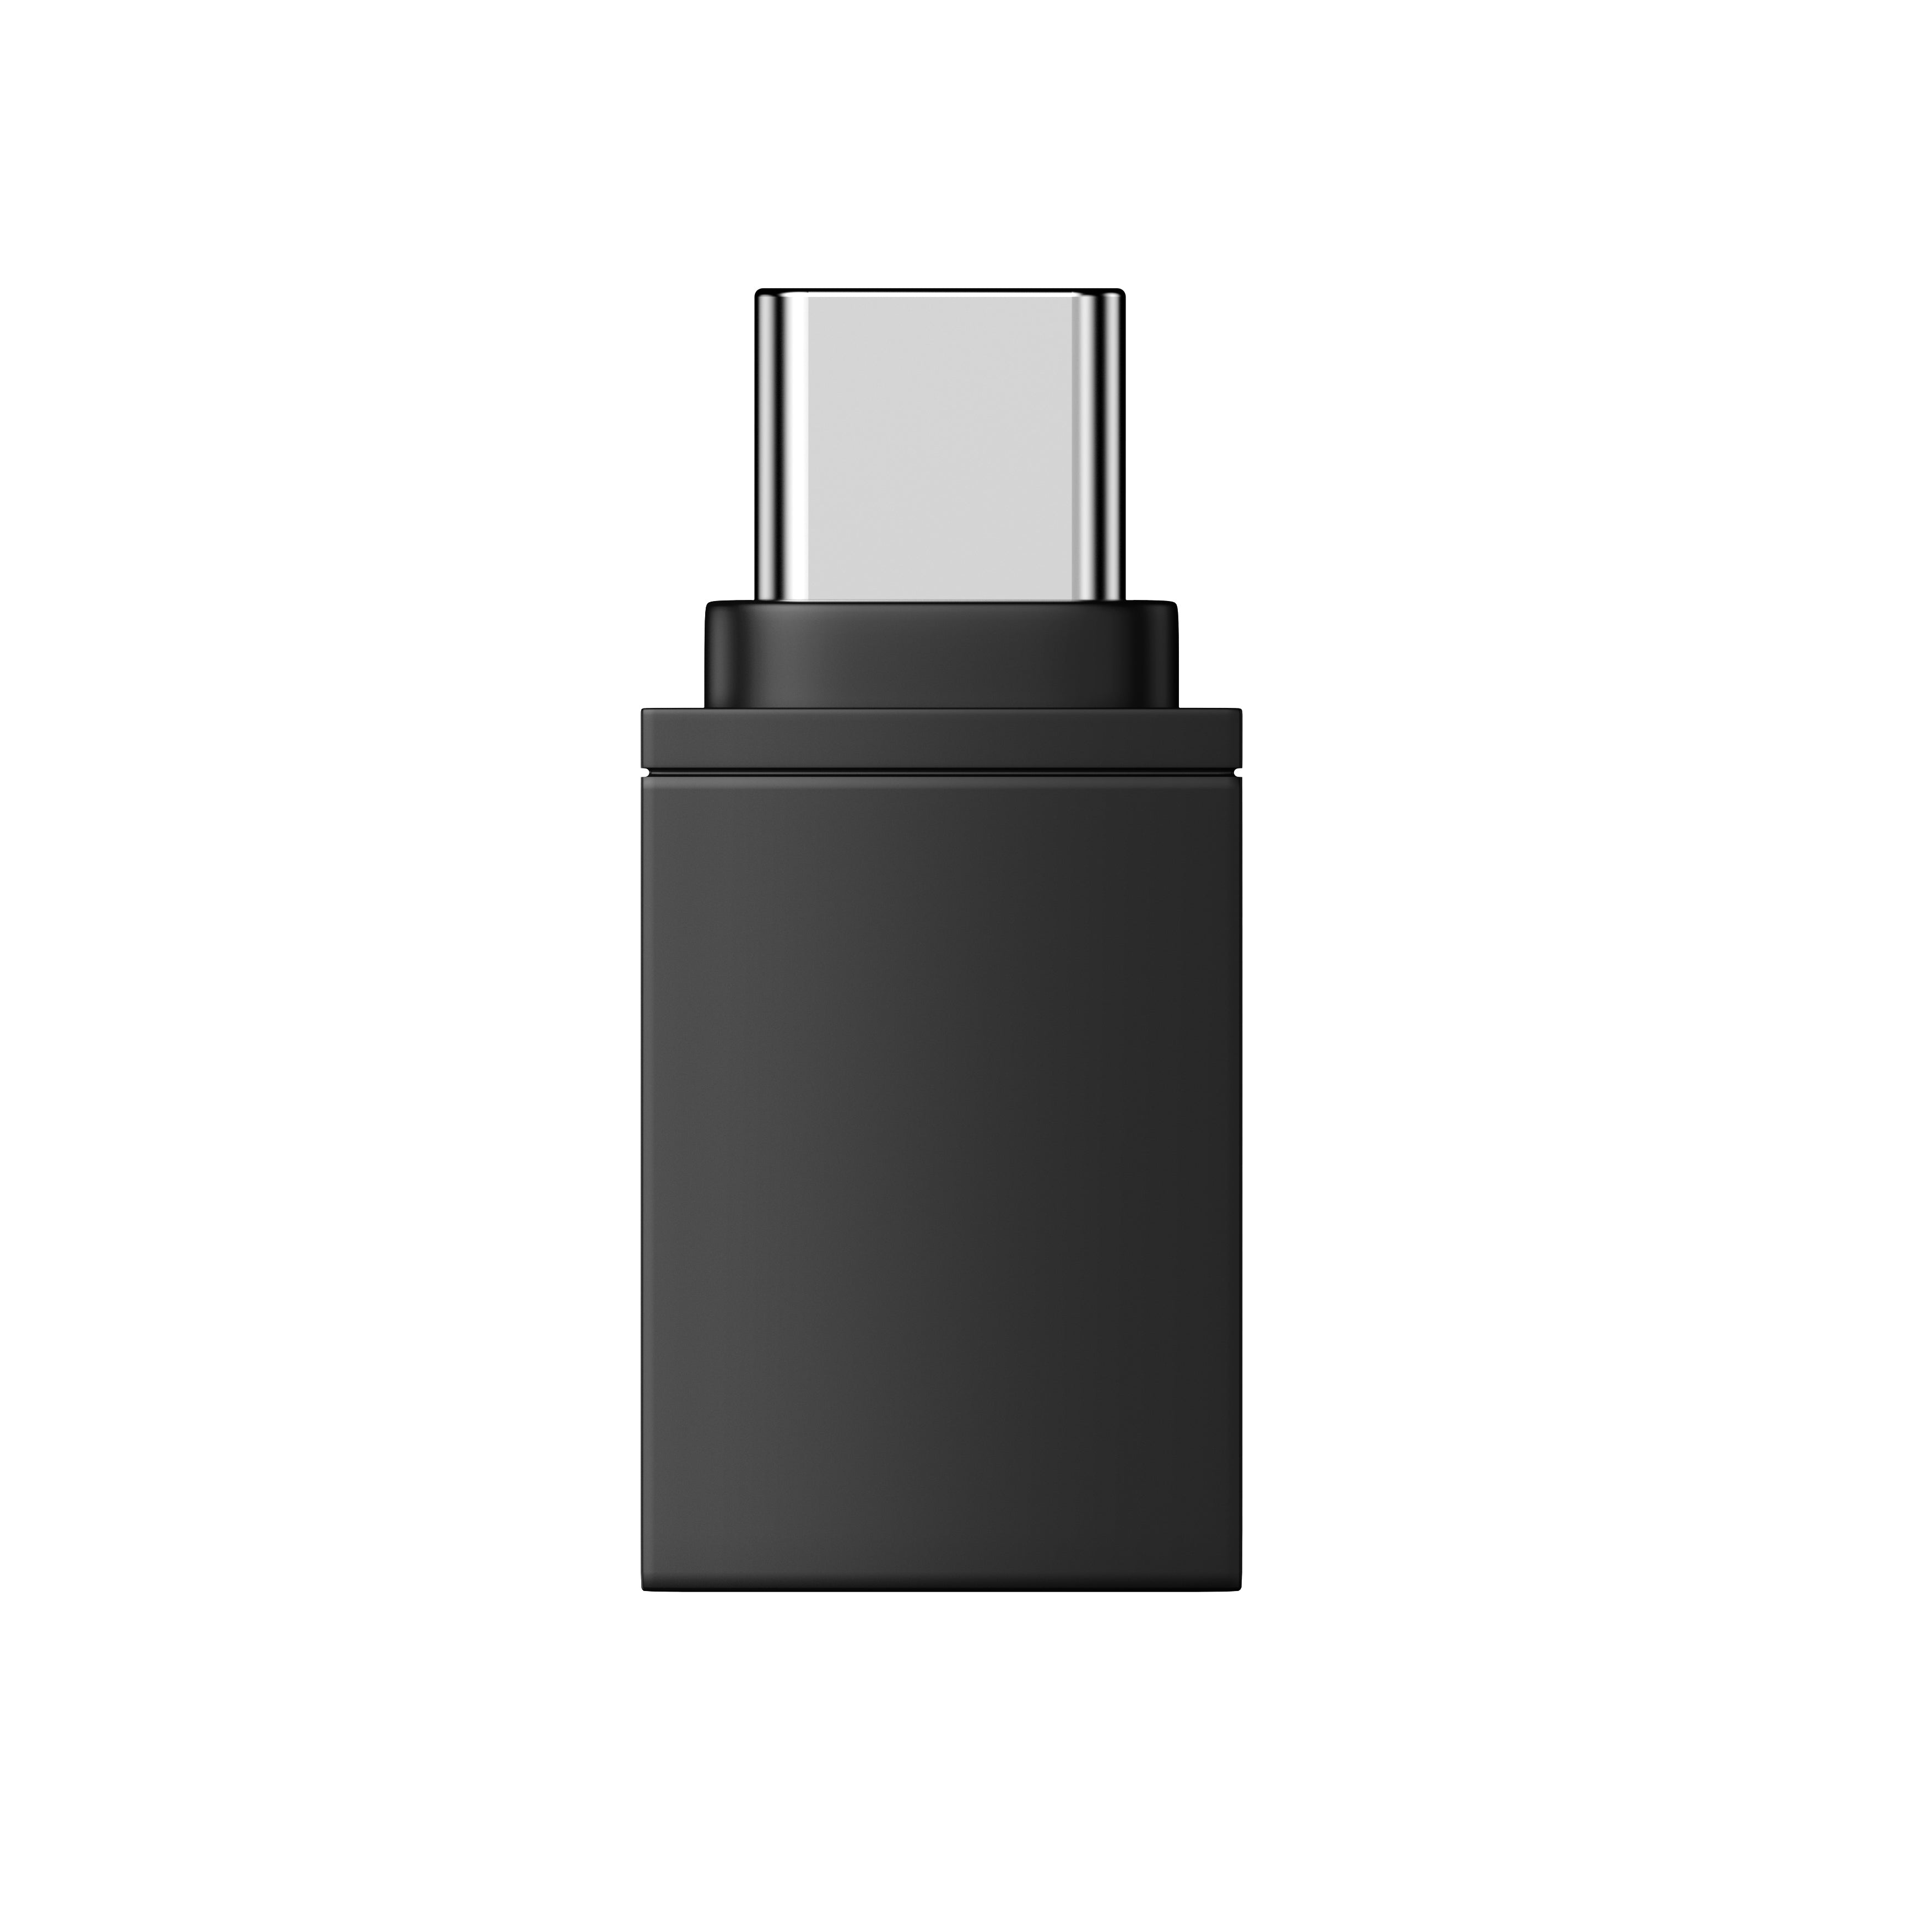
OTG Adapter for OHO SUNSHINE Glasses
How-to Videos
General Opperation


Vind uw model. Kijk en leer.
Videogidsen per model
Selecteer hieronder uw product om stapsgewijze video-tutorials te bekijken die speciaal voor dat model zijn gemaakt. Van installatie tot geavanceerde functies: elke gids begeleidt u bij alles wat uw bril kan doen.




Trouble Shooting
If your config.txt file opens as unreadable symbols or mixed languages, it's usually not a problem with the file itself. Notepad sometimes displays the formatting incorrectly.
Try this:
- Open the file with WordPad (Windows) or TextEdit (Mac) instead.
- The content should appear normally.
This is just a display issue — your configuration settings are intact.
The iPhone 13 Pro Max uses a Lightning port, while our glasses and included cable use USB-C. To connect them, you'll need a Lightning to USB-C OTG adapter — available at most electronics stores or online.
Once you have the adapter:
- Plug the USB-C end of our cable into your glasses.
- Connect the other end to the OTG adapter.
- Plug the adapter into your iPhone.
Your iPhone will recognize the glasses, and you can access your files through the Files app.
The OHO Sunshine glasses feature built-in storage, allowing you to capture and record videos without needing a phone nearby. To view and transfer this media, you can utilize the OTG (On-The-Go) function, which allows your smartphone to read the glasses as if they were a standard USB flash drive.
This method requires no apps, no Wi-Fi, and no computer - just the included cable and a compatible smartphone.
Compatibility Check:
Before you begin, ensure you have a compatible device. This feature works with USB-C Android phones and iPhone 15 models or later
Step-by-Step Instructions:
1. Connect the GlassesTake the provided USB-C cable and plug it firmly into the port on your OHO Sunshine glasses.
2. Attach the OTG AdapterInsert the other end of the cable (the standard USB end) into the OTG adapter.
3. Connect to Your PhonePlug the OTG adapter directly into your smartphone's charging port. Your phone should recognize the glasses as external storage and automatically open a file explorer app.
4. Access Your MediaIf the file explorer does not open automatically, manually open your phone's Files app. Navigate to the DCIM folder, and then select the Movie folder. Here, you will be able to view, copy, or transfer your recorded content directly to your device.

The Elite model does not have AI or translation features, so it doesn't need to connect to the OHO app. No pairing code is required.
The OHO app is designed for our AI translation glasses(Elingo, GlobeEar, Edge Pro). If you're using Elite, you can skip the app entirely.
Here is the guide vide.

Your video file isn't corrupted. Our glasses record using a high-efficiency codec (H.265/HEVC) that some default media players — like Windows Media Player or QuickTime — can't decode properly. That's why you hear sound but see only a black screen.
The fix is simple: use VLC Media Player. It's free, works on both Windows and Mac, and handles all common video codecs out of the box.
Download it here: https://www.videolan.org/vlc/
Once installed, open your video with VLC and it should play normally — both picture and sound.
Follow these steps to connect your Livi glasses and stream live video to your phone:
- Download the app — Install Vizen Cam on your phone first.
- Power on — Turn on your glasses. The red LED will flash.
- Enable Wi-Fi — Double-press the power/function button. The blue LED will stay on, meaning Wi-Fi mode is active.
- Connect your phone — Go to your phone's Wi-Fi settings, find a network named "Sunglasses_xxxx", and connect to it.
- Stream — Open the Vizen Cam app. You'll now see a live view from your glasses on your phone.

To correct the time and date on your footage, follow these steps:
- Connect your glasses to your computer using the included USB cable.
- Open the drive named "glasses" and find the file config.txt.
- Open it with a text editor like Notepad.
- Change the first line from N to Y to enable editing mode.
- Update the second line to the correct date and time. Use this format:
YYYYMMDD HHMMSS (Example: 20260115 143000) - Save the file and safely eject the USB drive.
- Turn your glasses off and back on. The correct time will now appear on all new recordings.
Neem contact met ons op
Nog steeds hulp nodig?
Wij zijn er voor jou. Neem op elk gewenst moment contact op.


