













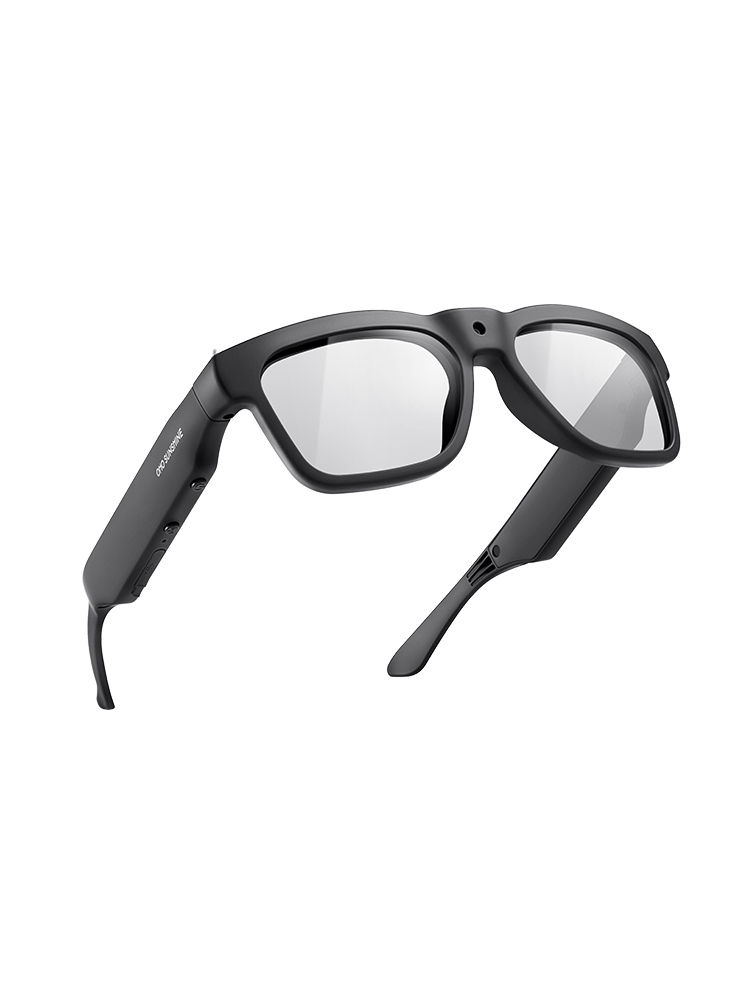

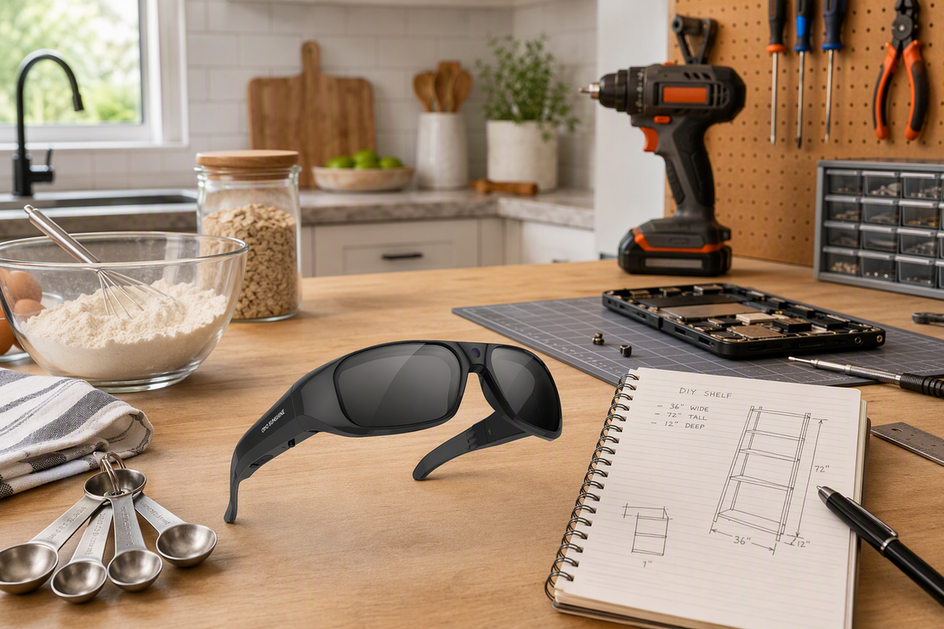
Glasses that record video can work for cooking and DIY when both hands are busy, the first-person view adds value, and wearing the device does not affect the task. Use a phone, tripod, or separate camera when you need a locked frame, a fixed distance, or dependable narration, and test the room before filming a full tutorial.
Do Camera Glasses Make Sense for Cooking and DIY?
Use the two checks below to decide whether wearable capture fits your project. Match the task, viewer perspective, and framing needs before you commit to it.

When Wearable POV Helps
- Both hands stay free for mixing, measuring, assembly, or repair work.
- With video-recording glasses, viewers get your actual working perspective instead of a fixed overhead shot.
- The video breaks into short, repeatable steps rather than one long uninterrupted take.
When Another Setup Is Better
- The shot needs a locked wide frame or a repeatable close-up that a moving head cannot deliver.
- The task requires a fixed viewing position or a setup that does not affect your attention.
- Narration or multi-person interaction carries the lesson and needs dependable, hands-off audio control.
How Should You Frame POV Cooking and DIY Videos?
Good POV framing starts with a dry run, not a red recording light: aim the glasses at the counter or workbench and confirm your hands and the active step land inside the frame before anything is actually cooking or spinning. Cooking and bench work need slightly different adjustments, covered in the two checklists below.
Counter and Stovetop Framing
Set the main prep area where a natural downward glance already includes your hands and the ingredients, then run the motion once without turning on any heat. Watch whether the bowls, utensils, and the active step stay visible as you move, and adjust your stance rather than tilting your head sharply.
Maker-Bench and Close-Up Framing
Orient your work so your hands approach from the lower center of the frame instead of drifting to the edge, which keeps the cut, joint, or repair visible without constant head correction. Break long head movements into short, deliberate pauses, and plan a second detail shot for small parts, measurement marks, or tool contact points that the eye-line view will not capture clearly. These pacing habits are the same ones that keep any stable first-person video watchable, whether you are filming a repair or a recipe. When a fixed, repeatable close-up matters more than your first-person perspective, a tripod or a separate camera gives you steadier control over that shot.
What Controls and Audio Do Hands-Busy Tutorials Need?
You need a way to start, stop, and confirm recording without touching a phone, plus honest expectations about the built-in microphone. Test both before you commit to a full tutorial, not after you have already shot it.
Controls You Can Use Without a Phone
- Confirm exactly how recording starts and stops, and check for a light, sound, or on-screen cue that confirms it actually started.
- Some camera glasses rely on a physical button, which keeps operation simple when one hand is briefly free.
- Others add voice commands or a companion app on top of a button, giving you more ways to start a take when both hands stay occupied; verify the exact command behavior in the current product manual before relying on it.
Indoor Voice Capture Test
- Record a short spoken sample with the range hood, fan, or shop tools running exactly as they would during the real shoot.
- Play it back and listen for speech intelligibility, room echo, and how much task noise competes with your voice.
- A built-in microphone means audio capture is part of the design, not that your narration will be clear in your kitchen or garage.
- If narration carries the entire lesson, use a setup with more dependable audio control, like a clip-on mic paired with a phone, rather than assuming the built-in mic will keep up.
What Changes the Setup: Lighting, Heat, Tools, Privacy, and Consent?
Lighting, heat, tools, and the people around you can all override whatever device you picked. Check each one before you press record, and be ready to stop or switch setups when the conditions are not suitable.
Light and Cooking Conditions
- Check for glare on the lenses, deep shadows over the work surface, and backlighting that hides your hands or ingredients.
- Test your exact filming position near the counter or stovetop without moving the glasses into heat, steam, or splash.
Tools, Bystanders, and Consent
- Recording convenience never replaces task-specific protective equipment or safe tool operation. OSHA's woodworking-tool vibration guidance covers maintaining equipment, alternating vibrating and nonvibrating tasks, limiting exposure, and taking hourly breaks. Filming does not replace those work practices.
- Stop recording and switch to a separate camera setup if wearing or operating the glasses would put you near open flames, hot surfaces, sparks, rotating tools, chemical splash, or any task where the device gets in the way of protective equipment or your attention.
- In a shared kitchen or workshop, tell people before you record them and check the rules that apply where you live. US recording and consent guidance explains that federal law requires consent from at least one party, while some states require consent from everyone. Recording in a private place can raise separate privacy concerns, so check applicable state law before recording conversations or people who may be heard.
What Should You Capture and Edit After the Shoot?
The fastest path from a hands-free recording to a finished tutorial is a short, repeatable sequence, not one long take. Review the test before you continue, then change the setup when framing or audio cannot serve the lesson.
A Short Capture-to-Publish Sequence
- Decide the viewer's first question and the exact step your POV shot has to answer.
- Record short takes with a clear start/stop confirmation instead of one uninterrupted session.
- Review the framing, spoken narration, background noise, and file transfer before you shoot the rest of the project.
- Edit out searching, wide head swings, setup pauses, and repeated motions, and drop in a separate detail shot wherever the eye-line view left something unclear.
- Publish only after checking that any bystanders or private conversations in the footage were recorded and handled appropriately.
When to Switch Setups
- Use a phone, tripod, or separate camera when you need a locked overhead, wide, or repeatable close-up shot.
- Use a setup with stronger audio control, such as a clip-on microphone, when narration carries most of the tutorial.
Stabilized-Camera vs. Camera-plus-Audio Glasses: Which Fits Your Workflow?
Once framing, controls, and safety are settled, the remaining choice comes down to which listed capability matches your biggest bottleneck. Movement, detail, and hands-busy control point to two different profiles in our lineup.
Stabilized-Camera Glasses
Our Primex EIS camera glasses list electronic image stabilization, a built-in microphone, button control, and 2K Ultra HD video. This profile fits creators whose biggest problem is visible head movement, making it the starting point to investigate when reducing movement matters more than choosing the highest listed resolution. The listed specs do not establish perfectly steady footage or clear indoor speech, so run the framing and audio checks above before you shoot a full project.
Camera-Plus-Audio Smart Glasses
Our Edge Pro camera-plus-audio glasses list 4K / 30 fps video, button, voice, and app control, a built-in microphone, and an open-ear speaker. This profile fits creators who need finer visual detail for close-up steps or who want more ways to start and stop a recording without a free hand. The supplied facts do not establish image stabilization or clear indoor audio, so test head movement and narration before relying on it for a fast-paced shoot.
Make the Choice by Bottleneck
Pick the stabilized-camera profile when your project involves frequent head turns or walking between stations and visible shake is your main editing headache. Pick the camera-plus-audio profile when the finished clip depends on fine visual detail or you want button, voice, and app control options for a genuinely hands-busy session, provided a short test confirms the framing holds up. The table below lists the supplied capabilities side by side; use it to shortlist a starting point, then test framing and audio before you buy.
| Listed capability | Primex EIS | Edge Pro |
|---|---|---|
| Electronic image stabilization | Listed | Not listed in supplied facts |
| 2K Ultra HD video | Listed | Not listed in supplied facts |
| 4K / 30 fps video | Not listed in supplied facts | Listed |
| Button control | Listed | Listed |
| Voice control | Not listed in supplied facts | Listed |
| App control | Not listed in supplied facts | Listed |
| Built-in microphone | Listed | Listed |
| Open-ear speaker | Not listed in supplied facts | Listed |
FAQs
Can Glasses That Record Video Work While Your Hands Are Busy?
Yes, if the glasses have an accessible recording control and the task is suitable for wearable capture. They are best for short first-person clips; use another setup when you need locked framing or more dependable audio.
Are Camera Glasses Good for Tutorial Videos?
They work well for short, first-person demonstrations where viewers benefit from seeing your working perspective. They are a weaker fit for a polished tutorial that needs a locked wide shot, a consistently controlled close-up, or dependable narration, since those depend more on framing control and audio setup than on the glasses themselves.
How Do You Frame POV Cooking Videos?
Aim the glasses at the work surface during a dry run before the heat or ingredients are active, keep your hands and the key ingredients centered in the frame, slow down your head turns, and capture a separate detail shot whenever a small step needs to be unmistakable to a viewer.
Can Camera Glasses Capture Clear Voice Indoors?
A listed built-in microphone means audio capture is part of the device, not that your voice will be clear in every kitchen or workshop. Record a short test with your hood, fan, or tools running, and switch to a setup with more dependable audio control if narration is the main teaching content.


Laat een reactie achter
Deze site wordt beschermd door hCaptcha en het privacybeleid en de servicevoorwaarden van hCaptcha zijn van toepassing.