















The fastest way to record a ski lesson without losing the run is to capture short, purposeful clips instead of one continuous video. Pick one technique question before you push off, then start recording just before the drill begins and stop once you have enough footage to review. Camera ski goggles make this hands-free, so you can keep both hands on your poles and your eyes on the trail ahead.
This approach protects your attention during the lesson and gives you one focused clip to watch with your coach, instead of an hour of footage you will never open. The rest of this guide walks through the exact preparation, timing, consent, and review steps that keep the workflow safe and usable.
The Short-Clip Workflow for a Ski Lesson
A short-clip workflow beats continuous recording because it gives you one useful segment per question instead of hours to sort through later. Two habits make it work: a quick pre-run check, and a clear start-stop rule tied to the drill itself.

Set One Question Before the Run
Decide what you want to see before you clip into your bindings: turn timing, line choice through a specific section, or how your body position holds through a bump.
- Choose one observable issue to review, such as turn timing, line choice, or body position, rather than a vague sense of "how did that look."
- Confirm the goggles are powered and ready without needing mid-run adjustments once you're moving.
- Practice the glove-friendly camera controls once while standing still, and check the recording indicator before you push off.
For example, if your instructor just corrected your pole plant, your question for the next attempt might simply be whether the pole plant happens before or after your ski tips turn.

Use a Start-Stop Clip Plan
Because changing settings, stopping, or checking a display can distract you from the slope, every timing decision here follows one rule: only touch the camera when you can stay in control and visible to other skiers and riders around you.
| Lesson moment | Action | Reason | Example label |
|---|---|---|---|
| Before the drill | Start recording | Captures the approach and setup | "carving-01" |
| During the useful section | Keep recording | Preserves the technique in motion | "carving-01-turn" |
| Right after the evidence | Stop recording | Ends the clip once you have enough to review | "carving-01-stop" |
| After the run | Confirm and label | Locks in the file name before the next attempt | "carving-01-final" |
This routine gives every clip a clear start and finish tied to one attempt, so you are never scrubbing through a full run to find the ten seconds that mattered. A label built around the attempt, not the date, also makes several drills from the same lesson easy to tell apart later.
How to Frame a Technique Clip and Handle Audio
Point the camera along your natural forward line of sight, the same view you would have without the goggles on. That framing keeps your line, speed, and body position visible without any extra adjustment mid-run.
- Check your first clip for excessive sky, snow, or an obstructed lens edge, and adjust the goggle position before your next attempt.
- Expect one angle to show line and movement, not every technical detail, since a single POV clip cannot capture what happens outside its field of view.
- Treat recorded audio as supplemental. Wind, distance from your instructor, and moving snow can garble or drop spoken instruction even when the visual clip is clear.
When the audio doesn't hold up, keep the visual clip anyway and add a short written or spoken note right after the run describing what your instructor said. That note preserves the coaching cue even if the microphone missed it.
How to Keep Lesson Clips Manageable
Purposeful segments keep your footage manageable because you only save the seconds tied to a specific question, not an entire session. Label each clip immediately, before you move to the next drill, so you never have to guess which attempt it shows.
- Capture only segments connected to your one-question plan, and skip continuous recording of full runs.
- Label each clip by drill or attempt right after you stop, such as "carving-02," instead of relying on a generic date stamp.
- Check available storage before the lesson starts, and protect the clips you want to keep by moving them off the goggles before deleting anything.
- Remove footage you don't need, especially any clip that includes another person without an agreed use for it.
This routine takes less than a minute per clip and keeps your storage from filling with footage you will never open again. It also makes deleting easier, since unlabeled clips are the ones most likely to pile up unreviewed.
Consent and Safety Boundaries for Lesson Footage
Recording another person, especially an instructor or another rider, requires permission before you press record, not after. That permission should cover how the clip will be stored, shared, or removed once the lesson ends.
- Ask your instructor, other participants, or a parent or guardian in advance who may appear on camera and how the footage may be used, following the same advance permission and media agreement approach many ski schools already use.
- Keep the camera securely attached and choose a stationary, out-of-traffic position for any setup or adjustment.
- For minor athletes connected to U.S. Ski & Snowboard or a member-club program, the policy scope for instructional sessions rules out recording in locker rooms or changing areas and requires parent or guardian consent before any public sharing.
- Before sharing anything beyond your own review, run through a ski POV privacy check to catch faces, voices, or location details you didn't intend to include.
These checks take only a few extra minutes, but they decide whether a clip is one you can review freely or one you can't share at all. When the required permission or applicable rule hasn't been satisfied, don't record or publicly share identifiable footage of that person.
How to Review a Ski Technique Clip
Reviewing a lesson clip works best when you compare it against one question, not a general impression of whether the run looked okay. Watch it once for the overall sequence, then watch it again focused only on the technique question you set beforehand.
| Technique question | Observable evidence in the clip | Coach follow-up question |
|---|---|---|
| Does my pole plant lead the turn? | Pole touches snow before or after ski tips turn | "What should the timing feel like on a steeper pitch?" |
| Is my weight centered through the bump? | Upper body position relative to skis at impact | "Where should my weight sit as the terrain changes?" |
Once you've confirmed the clip captured what you needed, transfer ski goggle videos to your phone or laptop so you can review it on a larger screen away from the cold. Write down only what you can actually see, such as when the turn begins or where the skis point, and keep that separate from your guess about why it happened. Bring the one resulting question to a qualified coach rather than diagnosing the movement yourself from the footage alone.
Is a Camera Ski Goggle a Fit for This Workflow?
A camera ski goggle fits this short-clip workflow when it records hands-free, shows the same forward view you'd have without a camera, and lets you move clips off the goggles without a complicated transfer. Battery and storage matter too, since running out mid-lesson means losing the ability to capture your next question.
- Hands-free operation so your hands stay on poles or straps.
- A forward-facing view wide enough to show your line and body position.
- Simple controls you can operate with gloves on.
- An easy way to move clips off the goggles for review.
- Enough planned battery and storage for the segments you intend to record.
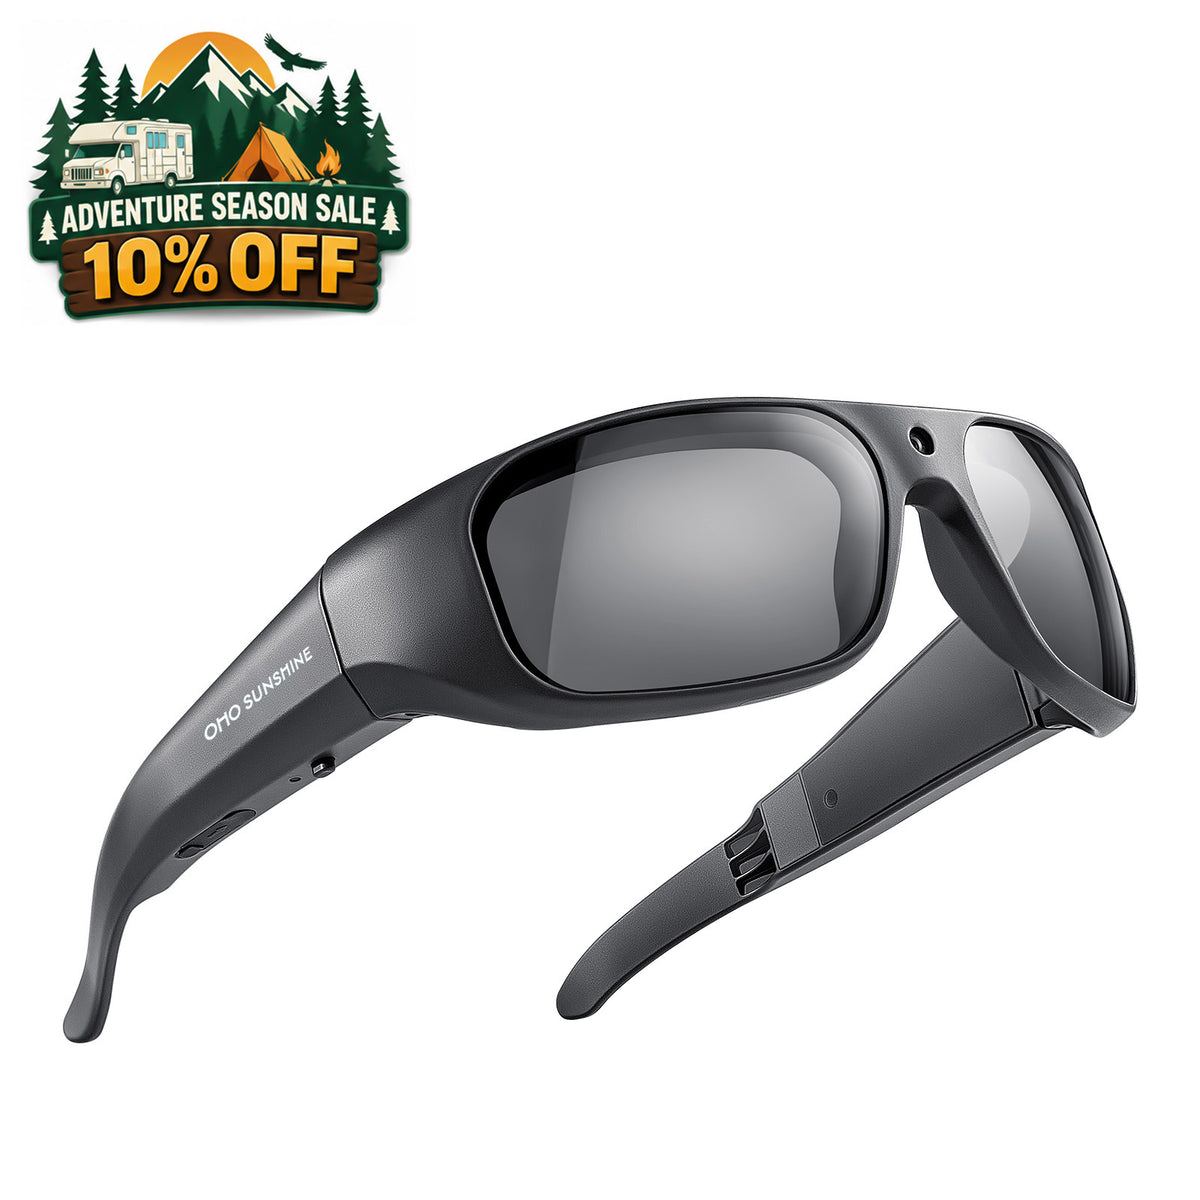
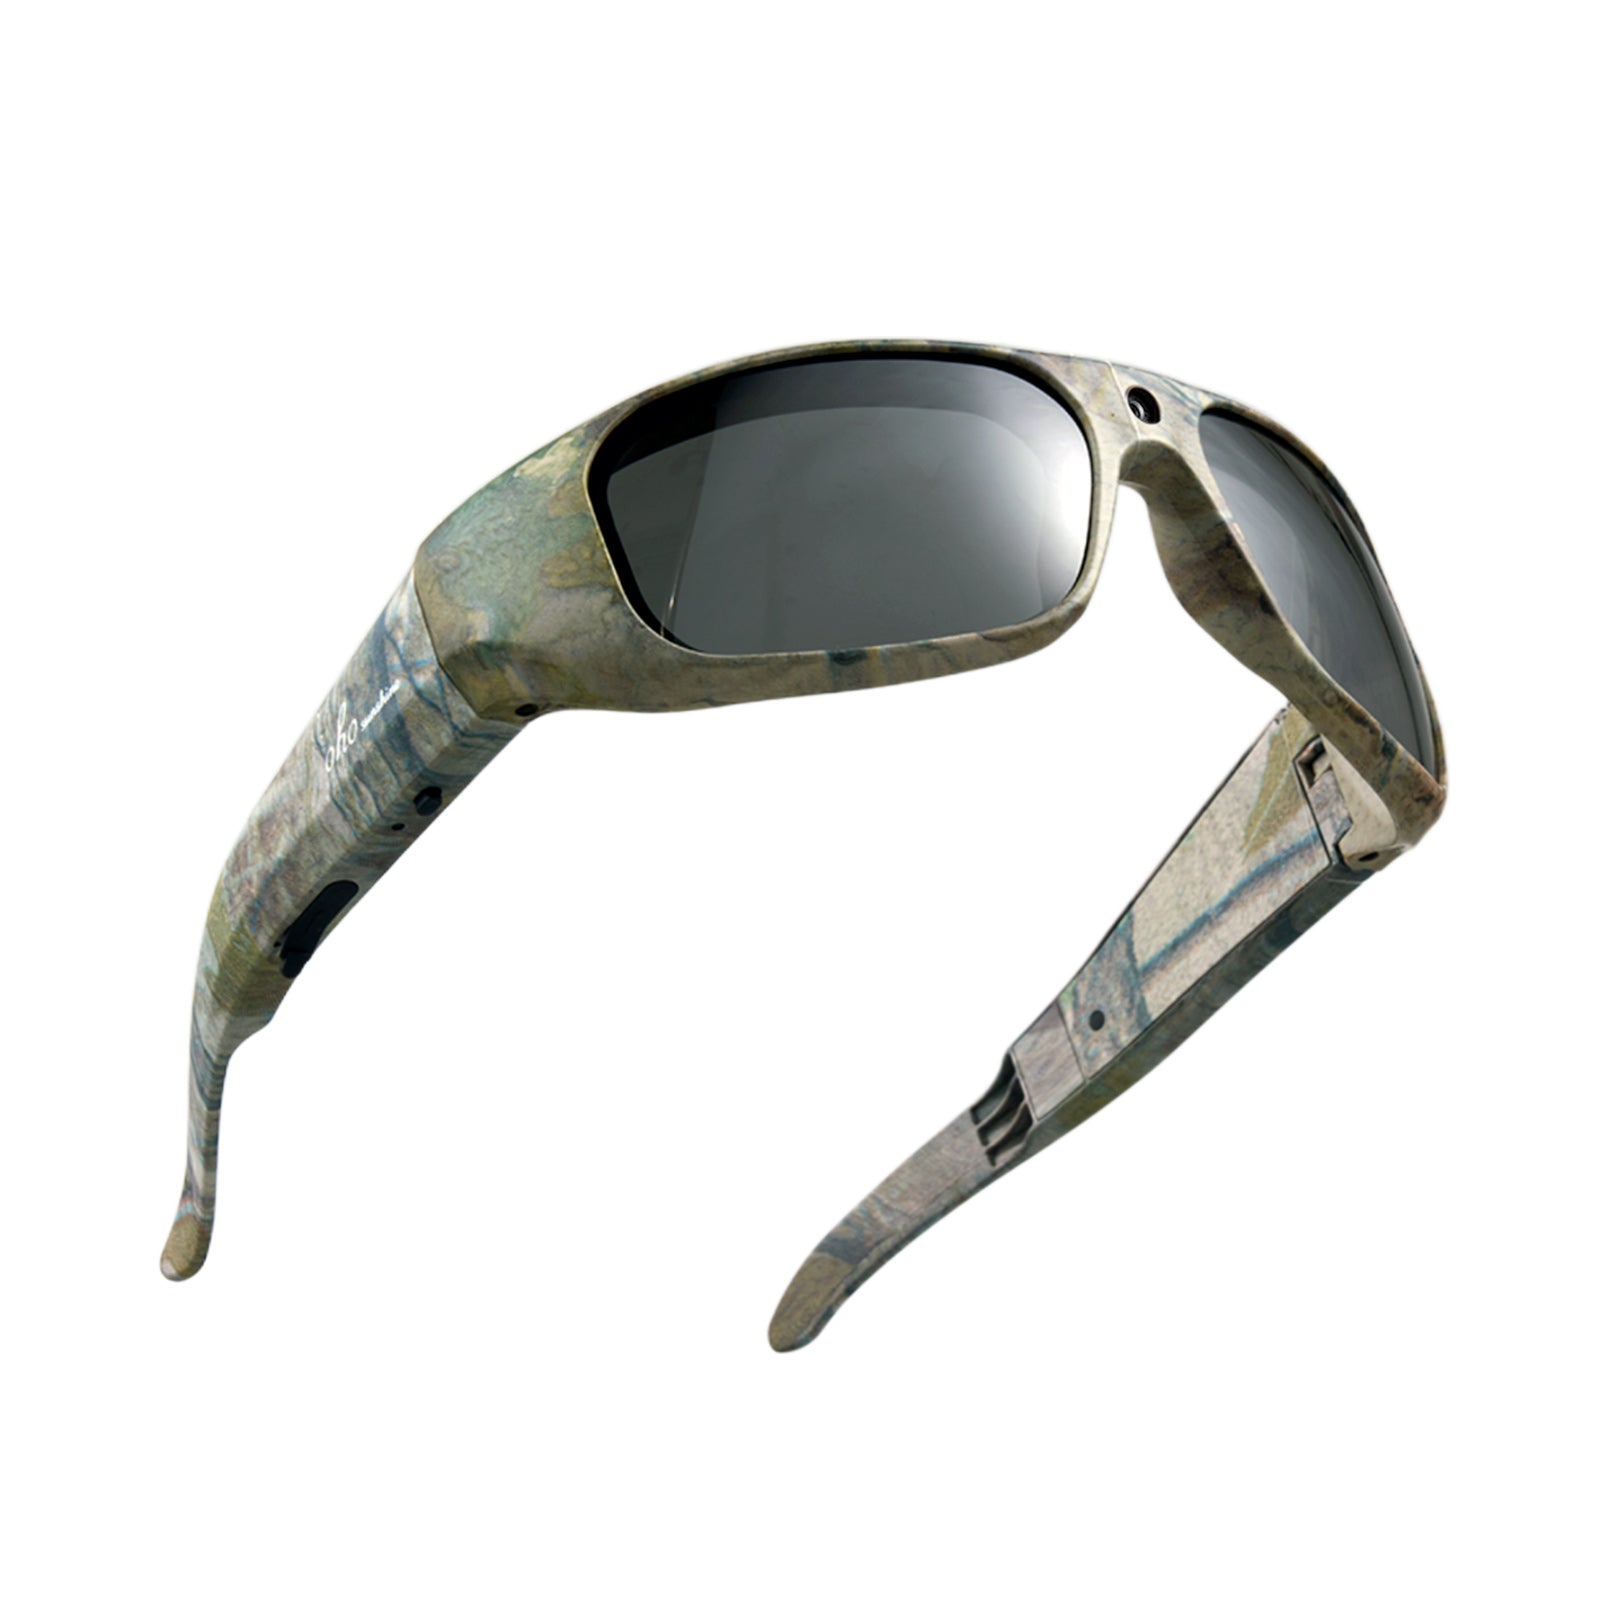
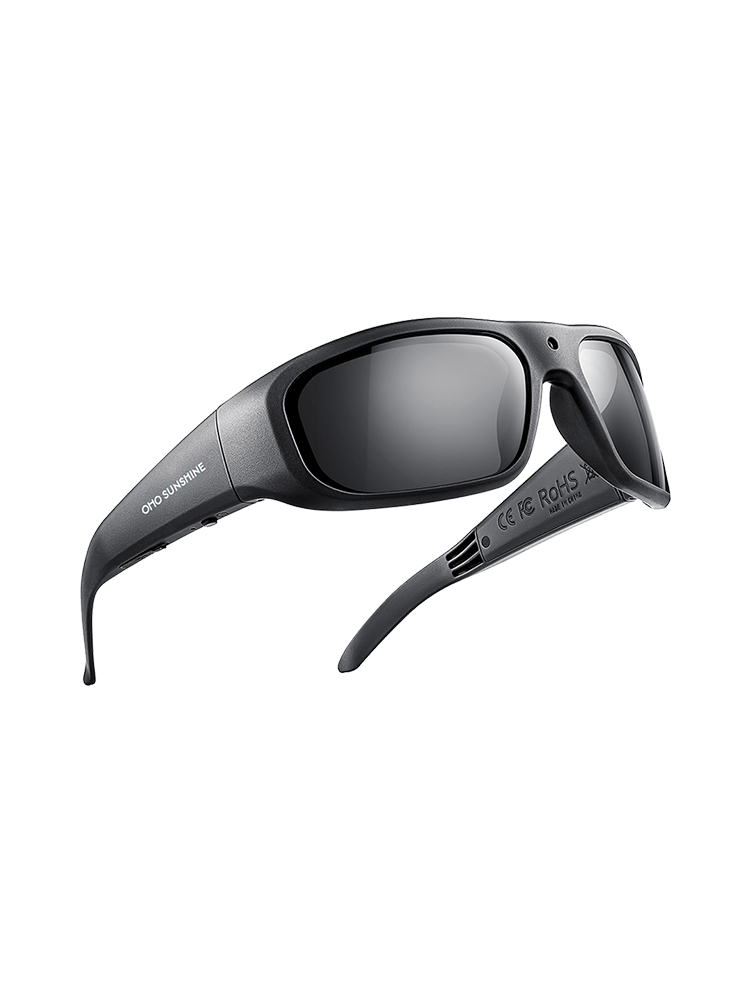
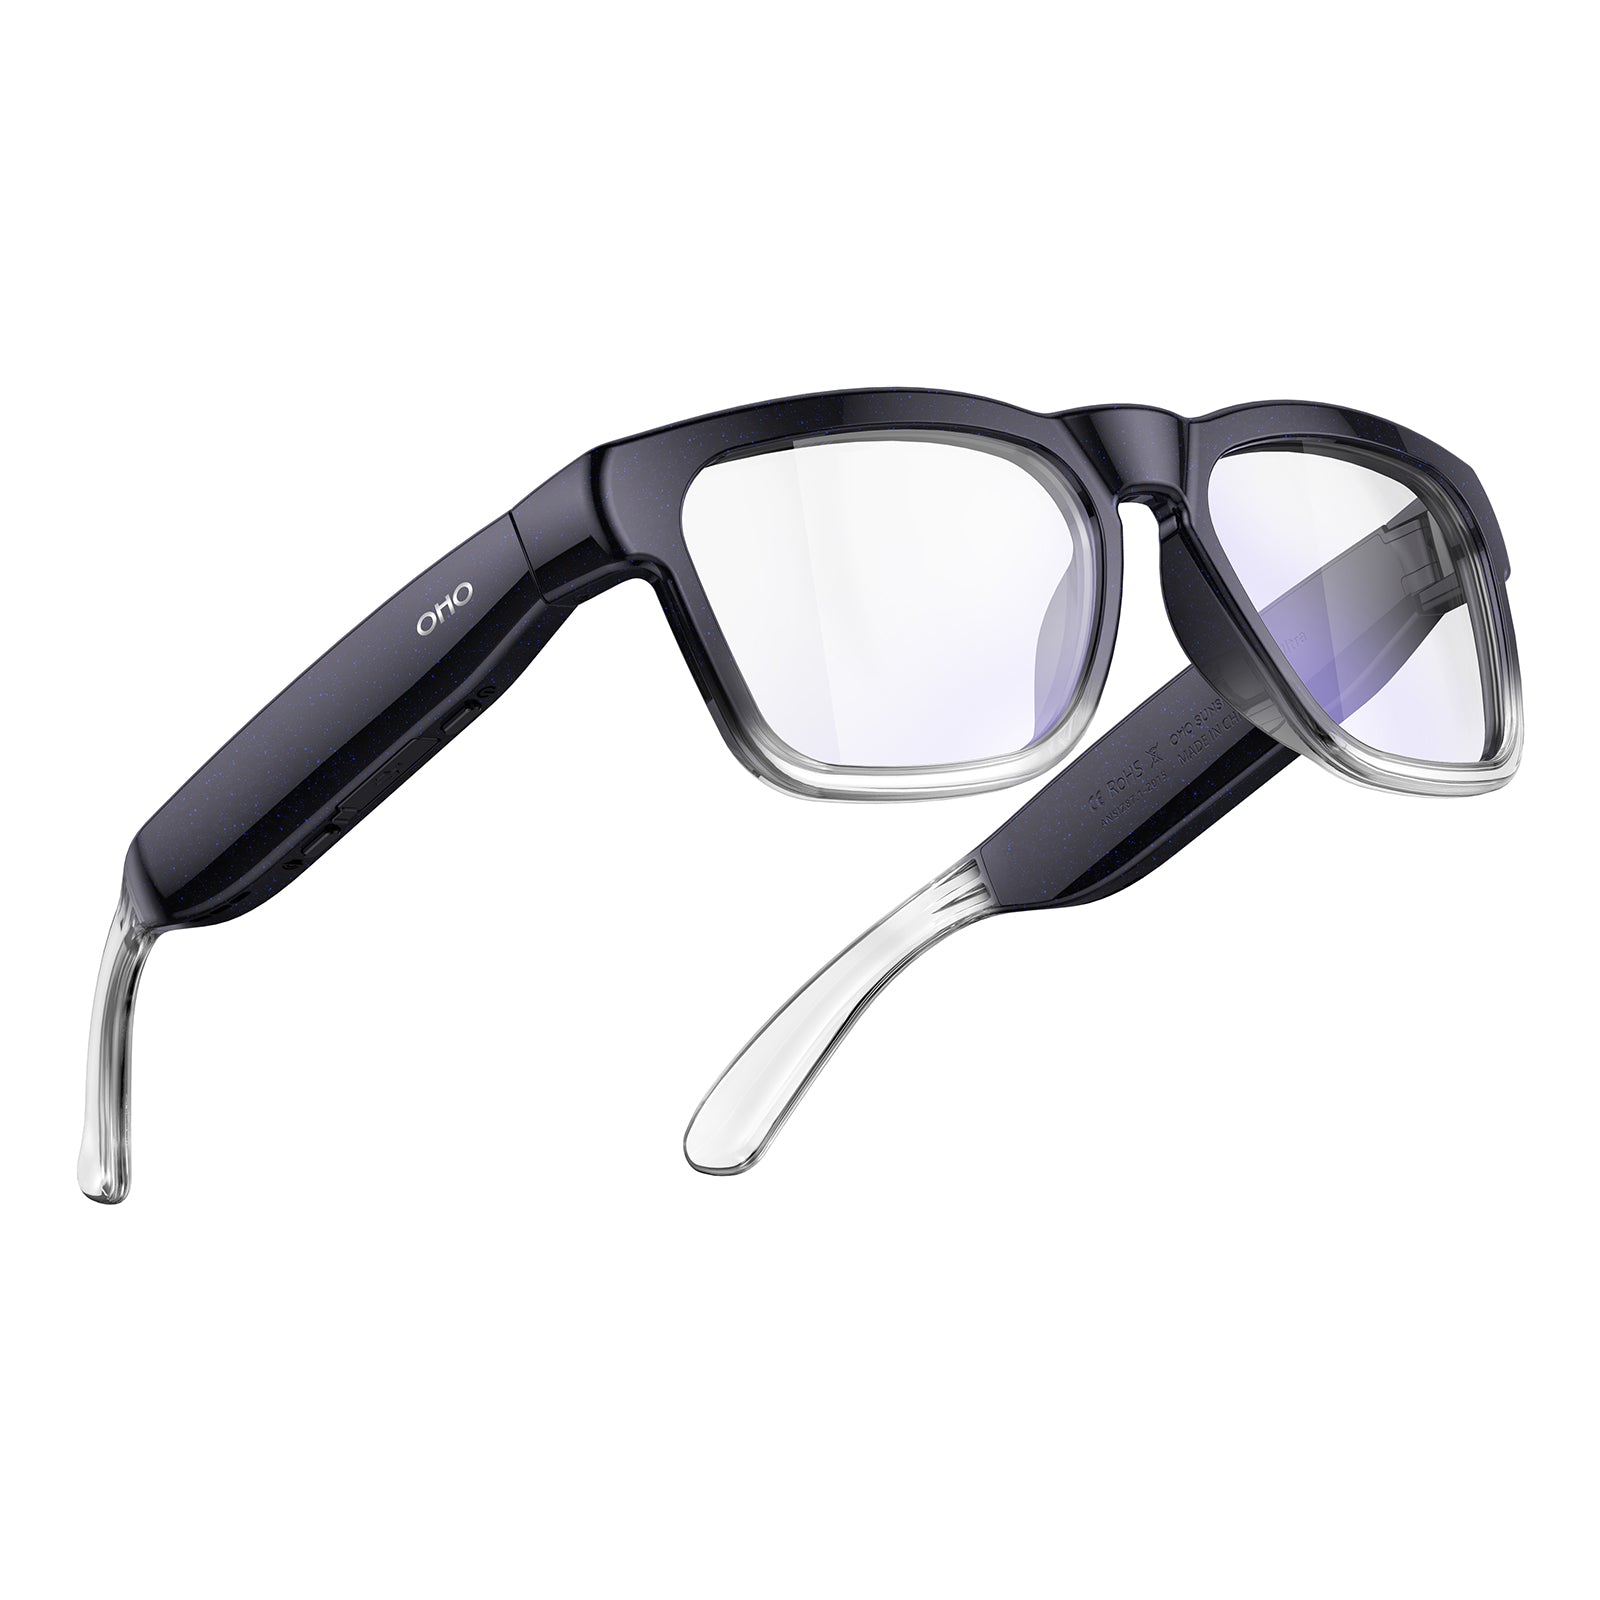
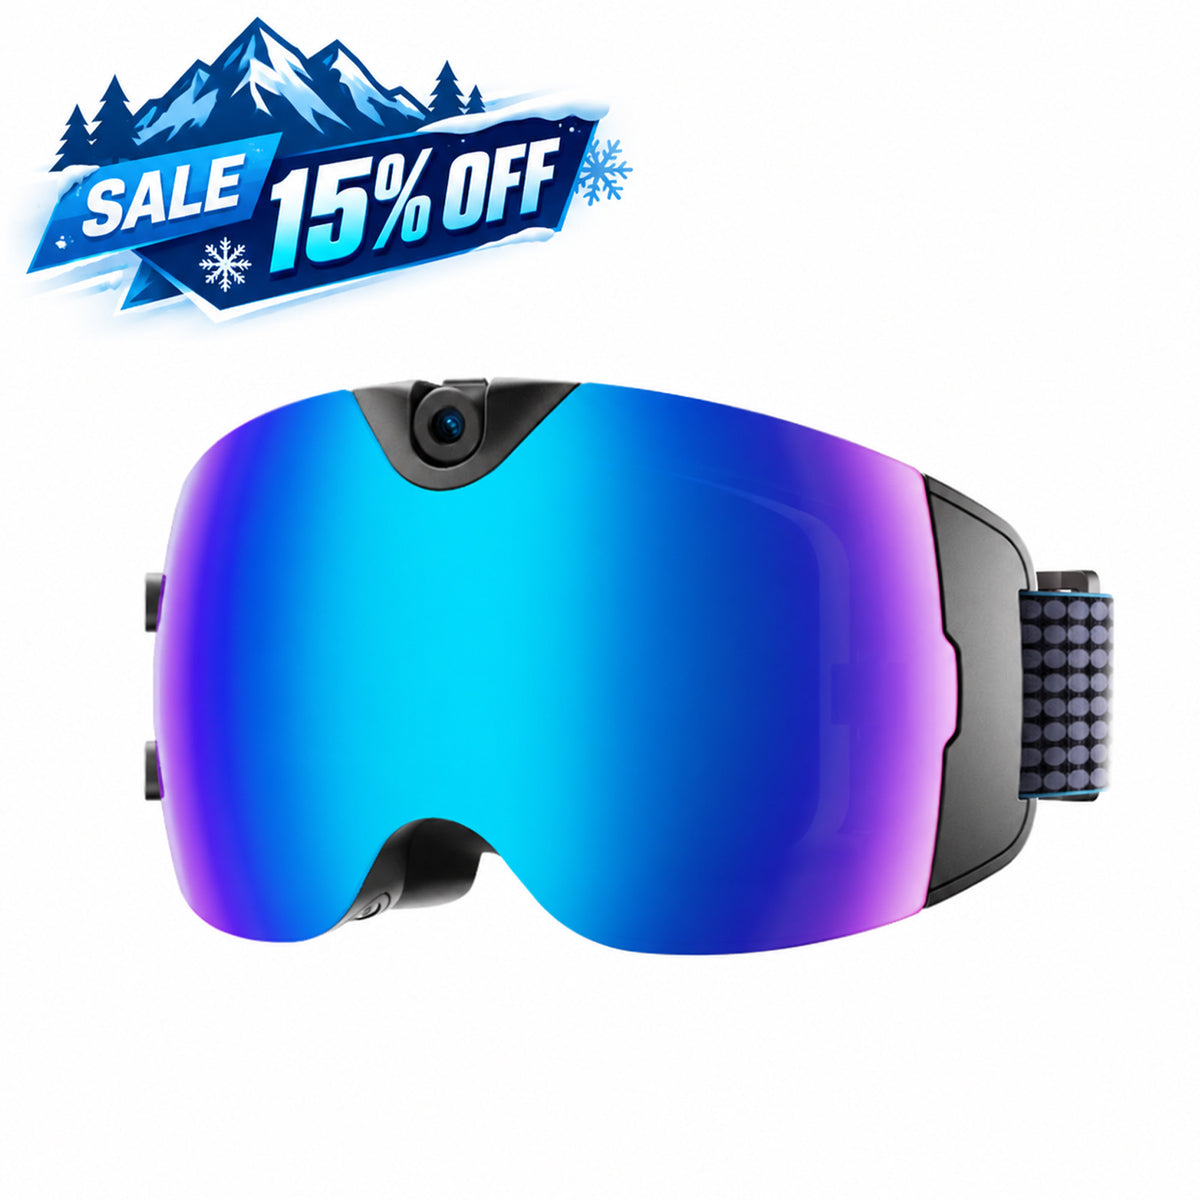
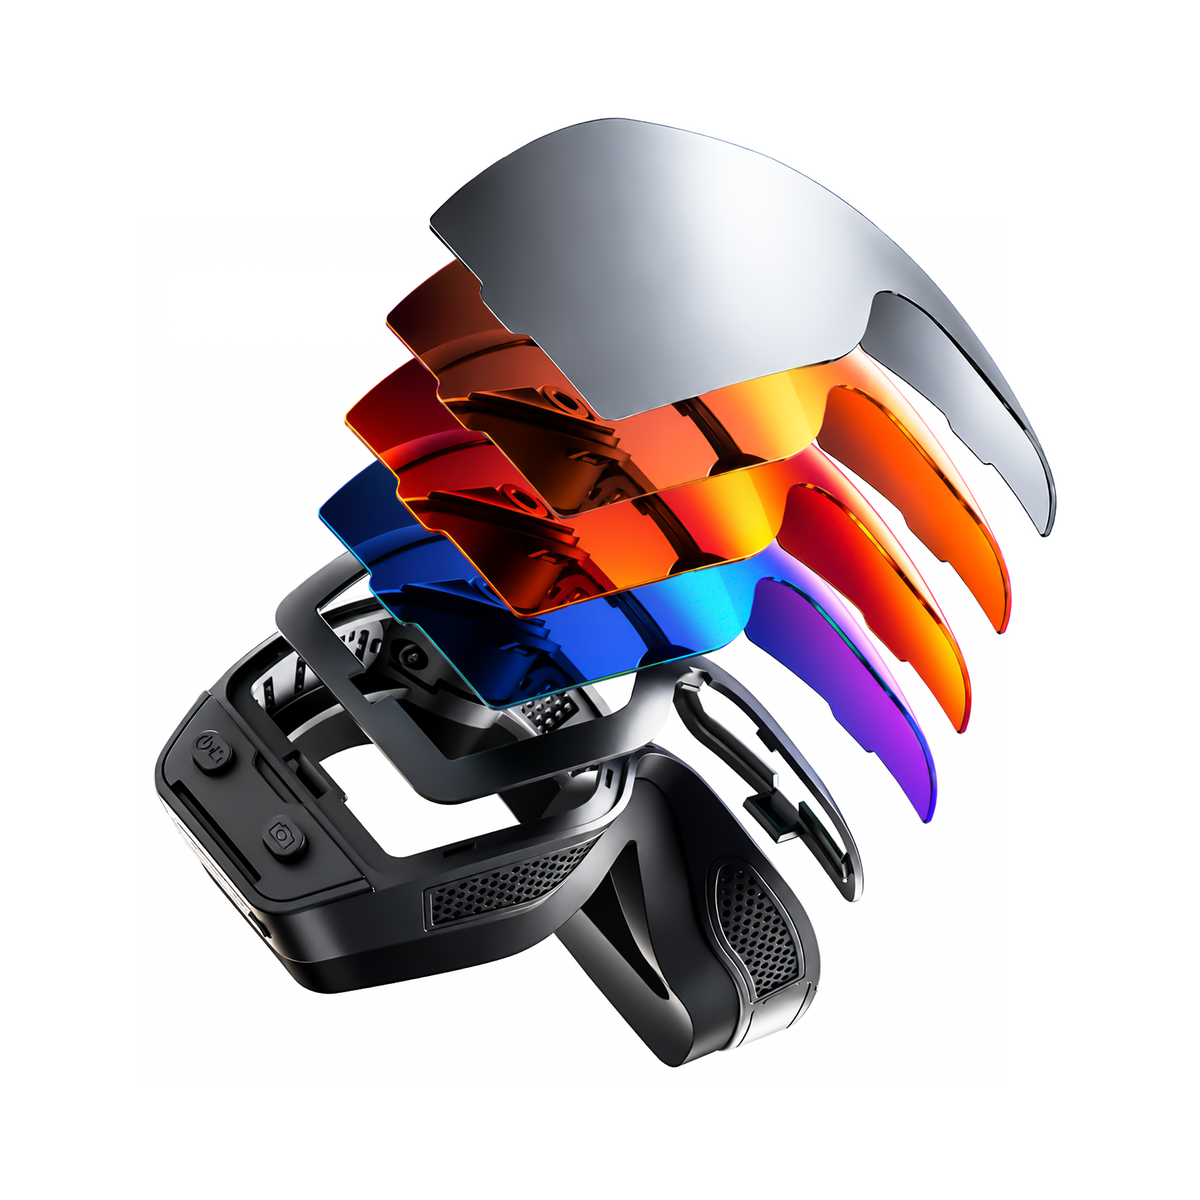
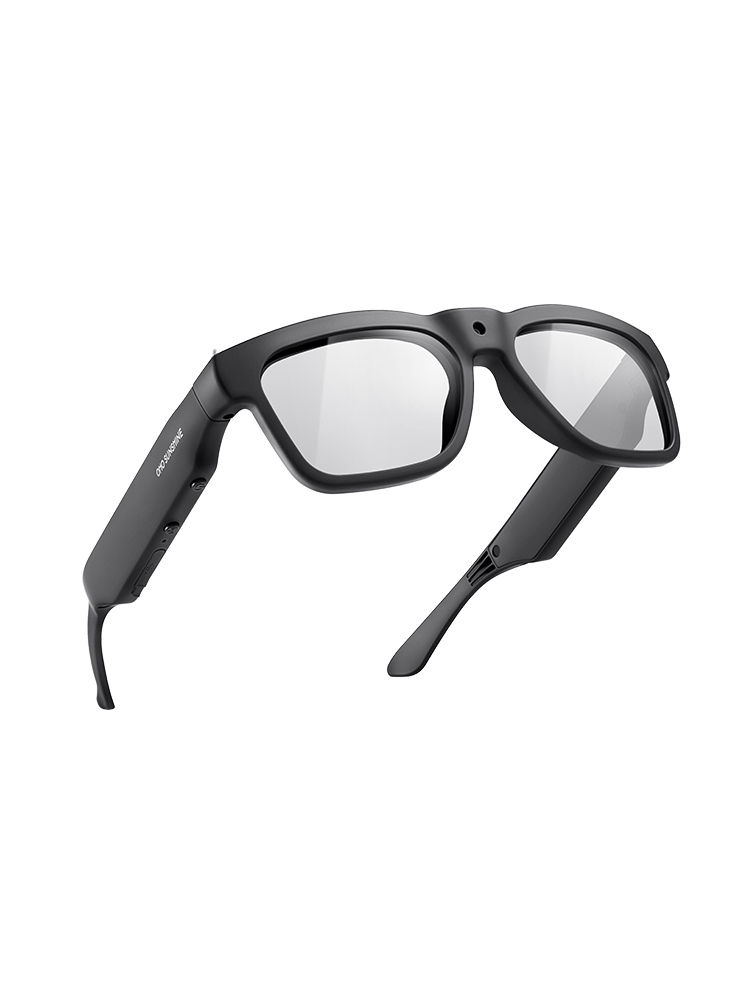
Our 4K Camera Smart Ski Goggles list a 140-degree wide-angle camera, 4K video at 30 fps, a built-in microphone, Wi-Fi and USB-C transfer, button controls, and an anti-fog lens, along with a stated 90-minute battery life. That feature set lines up with the short-clip plan above: wide enough to capture your line, simple enough to start and stop between drills, and quick to move clips off for review. Plan around the stated battery window for a half-day or full lesson rather than assuming all-day continuous recording, treat the listed specs as manufacturer information rather than a guarantee of audio clarity or performance in every snow condition, and browse our smart snow goggles collection to select the right model before your next lesson.
Conclusion
Recording a ski lesson works best as a short, deliberate habit: pick one question, capture only the segment that answers it, and stop once you have enough. Get advance permission before anyone else appears in frame, keep clips labeled, and review each attempt with your coach as a prompt rather than a coaching substitute. Following this hands-free sequence leaves you with clear, actionable technique evidence instead of hours of unreviewed footage.
FAQs
Can I record my ski instructor during a lesson?
Only with advance permission covering how the clip will be used, stored, and eventually deleted. If you didn't set that up beforehand, keep the footage private or crop your instructor out before you share it or discuss it with anyone else.
How long should a ski lesson video be?
There's no fixed length that works for every lesson. Stop recording once the clip answers your one technique question, then start a fresh, separate clip for the next question rather than stretching one file to cover several drills.
What should I do if wind makes the audio unusable?
Keep the visual clip anyway, since it's still useful without clear audio. Add a quick written or spoken note about what your instructor said right after the run, and raise the audio gap with your coach instead of assuming the movement itself was the problem.
Can I share a ski clip that includes other riders?
Treat sharing as a separate decision from recording. Check the clip for identifiable faces, voices, or location clues, get permission from anyone who appears, and never publicly post identifiable footage of a minor athlete without the required parent or guardian consent.


Laisser un commentaire
Ce site est protégé par hCaptcha, et la Politique de confidentialité et les Conditions de service de hCaptcha s’appliquent.