














Snow goggles for men should be chosen by how they fit—not by the label. Start with centered coverage, even contact across the bridge and temples, and stable movement. Then test the exact strap-and-helmet combination. If you’re comparing snow goggles with a camera, make housing clearance and easy control access with gloves the final purchase checks.
Run a Face-Fit Pass-or-Reject Check Before Choosing Snow Goggles for Men
A pair is worth testing further only if it sits centered, contacts your face evenly, and stays comfortable without excessive strap tension. Adult goggles may be sold in small, medium, large, or XL sizes, but those labels are starting points, not guarantees. The REI face-fit guidance likewise puts the wearer’s face first.
Use a mirror and the frame you intend to buy or wear. Follow this five-step pass-or-reject check:
- Center the frame. Position the goggles naturally over your eyes and nose. Don’t judge the fit by the product label or by how tightly the strap pulls.
- Check coverage and gaps. Look for even contact around your face with no obvious opening along the foam or frame edge. Uneven coverage means the frame isn’t ready for helmet testing.
- Check the nose bridge. The bridge should make comfortable, even contact without sharp pressure or a visible gap. If it doesn’t, try another contour instead of tightening the strap.
- Check the temples and brow. Watch for concentrated pressure at either temple, the brow, nose, or eye socket. A snug fit is useful; pinching means reject the pair.
- Move normally. Turn your head, look up and down, and make ordinary facial movements. Keep the pair only if it stays centered and comfortable instead of rocking, shifting, or depending on strap tension to stay in place.
The decision is straightforward: even coverage, comfortable contact, and stable movement mean you can continue to the helmet check. A gap, pinch, rocking frame, or strap-dependent fit means changing the size or shape. Tightening the strap can’t fix a mismatch between the frame and your face. If you have a wider face, you can also compare this wider-face goggle guide after identifying the specific problem.
Use this table as a categorical decision aid, not a fit score:
| Observed result | Decision | Next action |
|---|---|---|
| Centered frame, even coverage, comfortable contact, and stable movement | Pass | Continue to the exact helmet pairing |
| Overhang or an edge gap | Change | Try a smaller or differently shaped frame |
| Narrow coverage or temple pinch | Change | Try a larger or roomier shape without forcing the strap tighter |
| Uneven bridge contact | Change | Try a different bridge or frame contour |
| Rocking, shifting, or strap-dependent stability | Reject | Don’t force the frame; change the size or shape |
Choose the Next Goggle Size or Shape From the Fit Result
Let the failed observation determine what you try next. Small, medium, large, and XL are useful comparison directions, not universal face measurements or promises of fit.
For Smaller or Medium Faces, Remove Overhang and Gaps
If the frame extends awkwardly beyond your face or leaves an edge gap, try a smaller or differently shaped frame. Keep it only if it sits centered with even contact across the nose and temples. A smaller label alone doesn’t prove that the frame fits.
For Larger or XL Faces, Protect Coverage Without Temple Pinch
If coverage feels narrow or the temples are pinched, try a larger or roomier shape that improves side-to-side coverage without creating concentrated pressure. Treat XL as a comparison direction, not a universal solution. Independent large-frame testing shows why a roomy frame can still pair differently with another helmet, so don’t treat a large label as helmet approval.
For Low or High Bridges, Change the Shape Before Tightening
If the bridge leaves a gap or presses unevenly while the frame is centered, compare a low-bridge or differently contoured frame. REI’s explanation of low-bridge frame fit supports changing the contour to improve contact. The next step isn’t more strap tension: keep the shape that provides even support without sharp pressure.
Set the Strap and Confirm the Exact Helmet Pairing
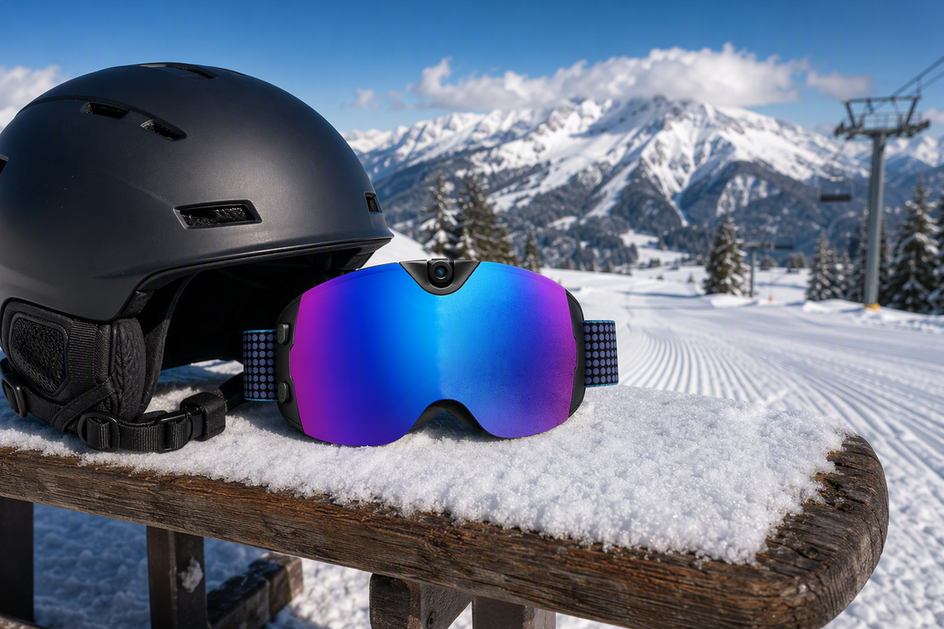
Test the goggles with the helmet and headwear you’ll actually use. Set the strap only tight enough to hold the frame securely, then inspect the top edge, brow, nose, and temples with the helmet in position. The exact helmet-and-goggle fit matters because a pair that feels acceptable off the helmet can change when the helmet pushes the goggles down or creates a gap.
Look for a flush, comfortable fit at the top edge without forced tilt, helmet interference, or new pressure. Turn and nod your head normally. If the goggles rock or shift, the strap migrates, coverage becomes off-center, or comfort worsens, change the frame, strap setup, or helmet pairing. If a gap, forced tilt, or pressure remains after a reasonable adjustment, don’t keep that exact pairing. Strap adjustment secures a compatible setup; it doesn’t make every helmet work with every pair of ski goggles.
Verify Camera-Control and Brow Clearance Before Checkout
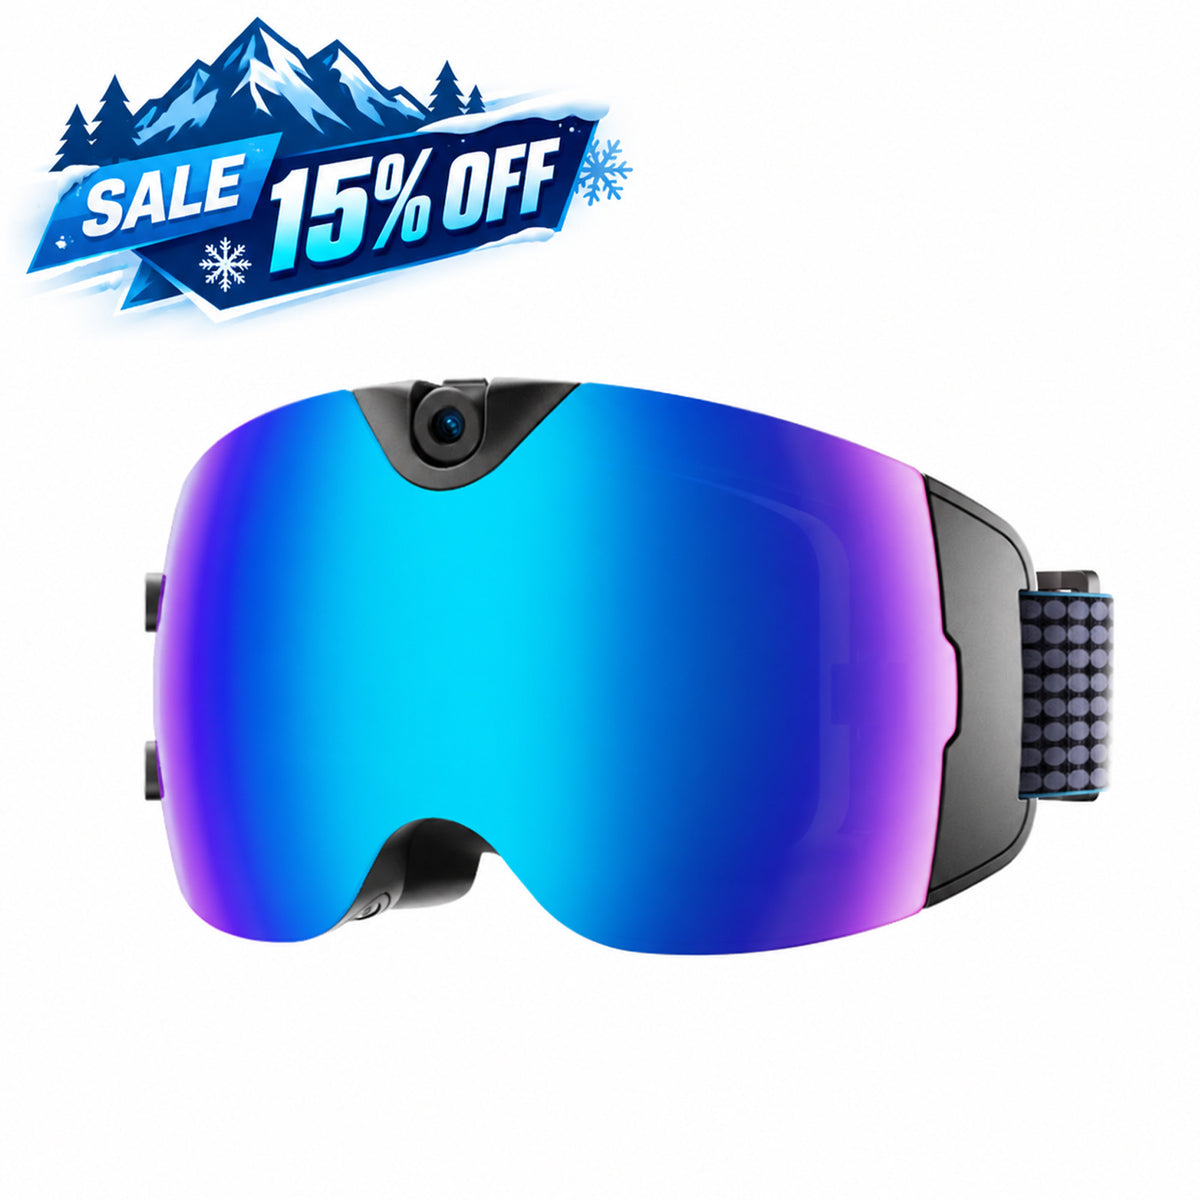
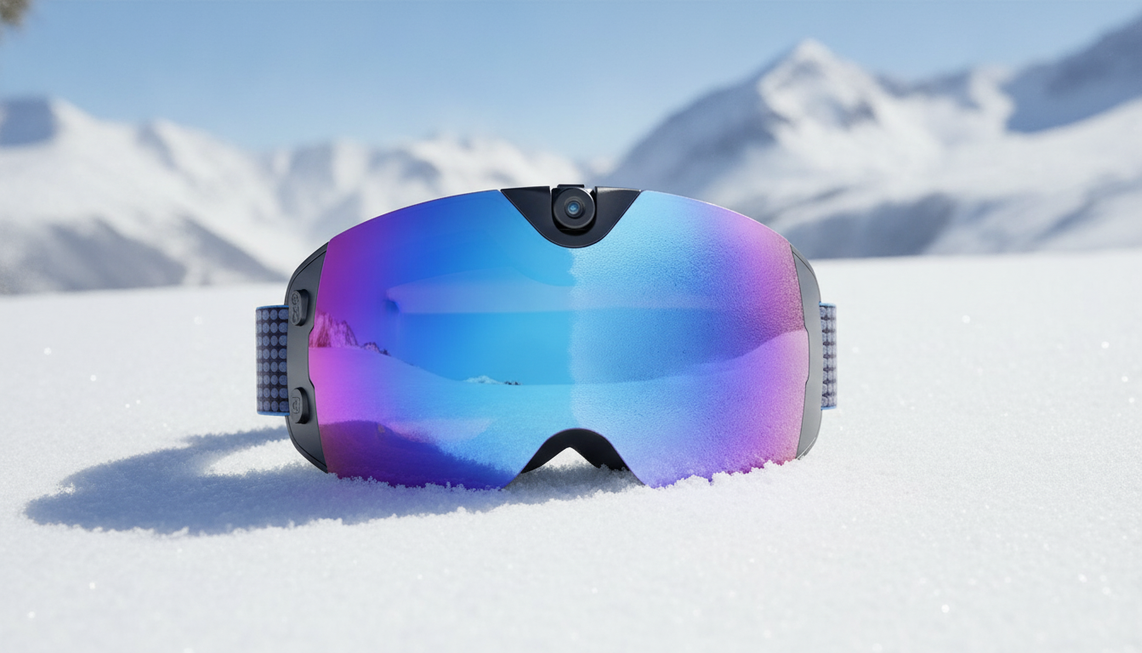
Integrated camera goggles suit buyers who want a hands-free point-of-view setup without managing a separate camera mount. The trade-off is added hardware around the frame or strap, so check comfort and clearance only after the face and helmet fit passes. A review of integrated camera hardware documents how model-specific housings can affect pressure and space, making camera hardware clearance a real purchase check rather than an assumed benefit.
With the intended helmet on, inspect the camera housing around your brow and temples. Make sure it doesn’t create pressure, a gap, forced tilt, or movement that shifts the goggles. Then operate the exact controls with the gloves you plan to wear. Control location and glove usability are model-specific; the glove-control example shouldn’t be generalized to every camera goggle. If you can’t find or use the controls without disturbing the fit, reject that exact setup.
For shoppers seeking 4K video recording and 24M photos in an integrated setup, Skyshot camera ski goggles are one store example to compare. They suit buyers who want those stated recording features built into the goggles rather than managed through a separate camera mount. The trade-off is that the exact housing and controls still need to clear your face, helmet, and gloves. Keep this model only if it passes the face, strap, helmet, housing, and control-clearance checks. Shoppers comparing the broader setup can use this camera-and-helmet fit checklist before checkout.
Keep one exact pair only when it passes the face-fit, strap, helmet, and camera-clearance checks. If any check fails, change the size, shape, pairing, or camera setup before ordering.
FAQs
How Should Men’s Ski Goggles Fit?
They should sit centered with even coverage and comfortable contact across the bridge and temples. Test stability again with the intended helmet; gaps, pinching, rocking, or shifting mean you should reject or exchange the pair.
What Size Ski Goggles Do Men Need?
There’s no universal men’s size. Use small, medium, large, or XL as a direction for what to try, then follow the face and helmet result rather than the gender label.
Are Men’s Ski Goggles Different From Women’s?
The label may describe marketing or a product range, but it doesn’t replace a direct fit check. Choose the frame that provides comfortable coverage, bridge contact, strap stability, and a secure helmet pairing for the wearer.
Can Larger Faces Wear Camera Ski Goggles?
Yes, conditionally. A larger face can use camera snow goggles when coverage and pressure are comfortable and the exact housing, controls, gloves, and helmet pairing remain clear. Confirm the exact pair instead of assuming every camera goggle fits a larger face.



Laat een reactie achter
Deze site wordt beschermd door hCaptcha en het privacybeleid en de servicevoorwaarden van hCaptcha zijn van toepassing.