



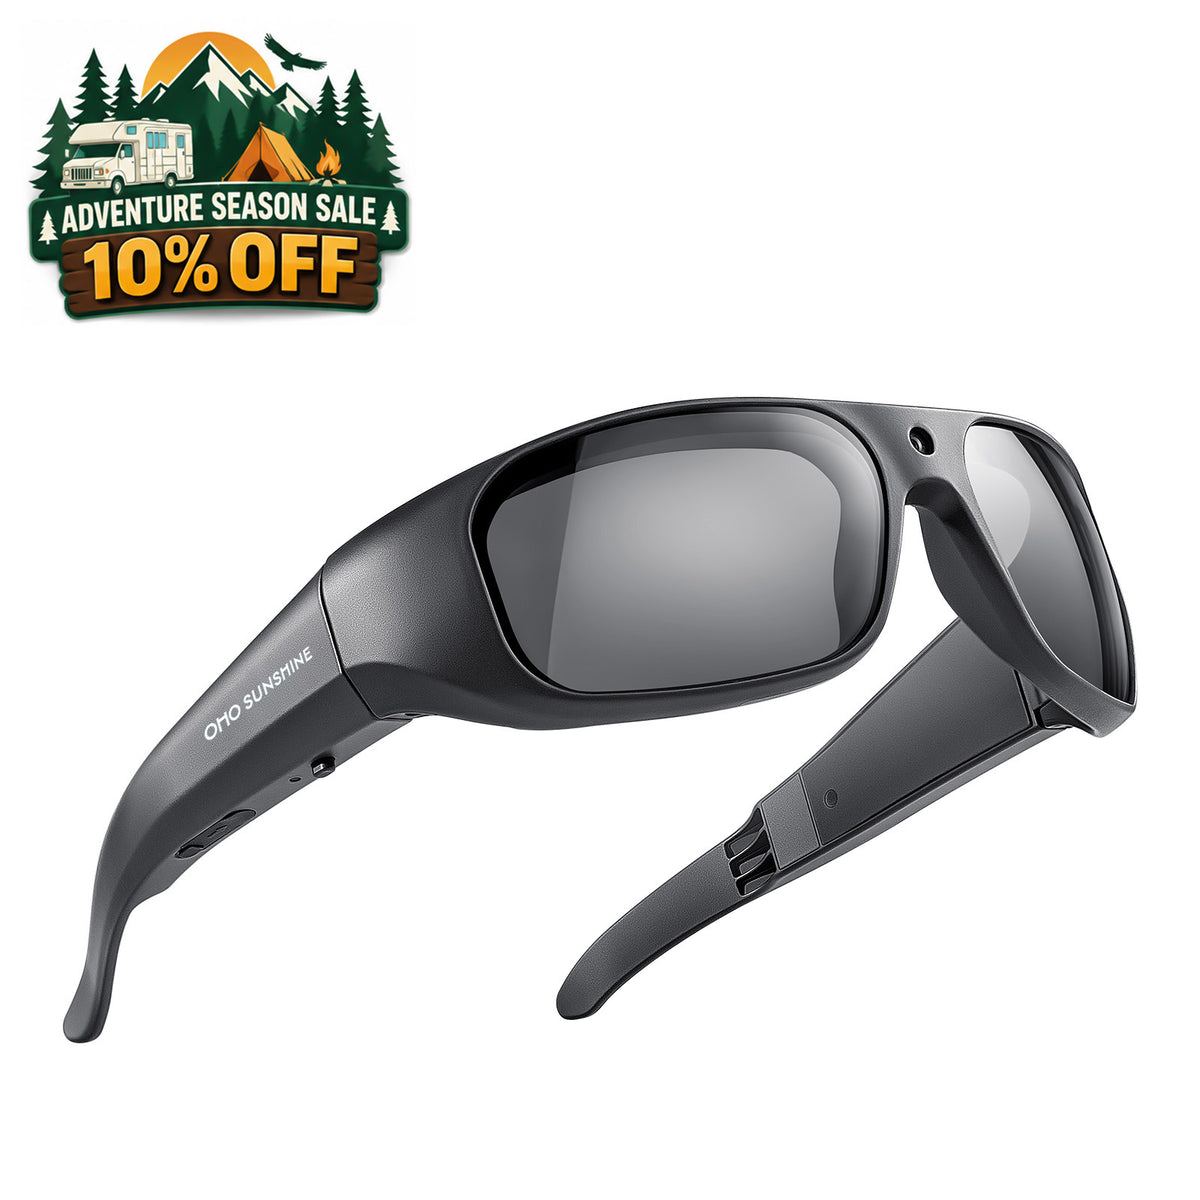


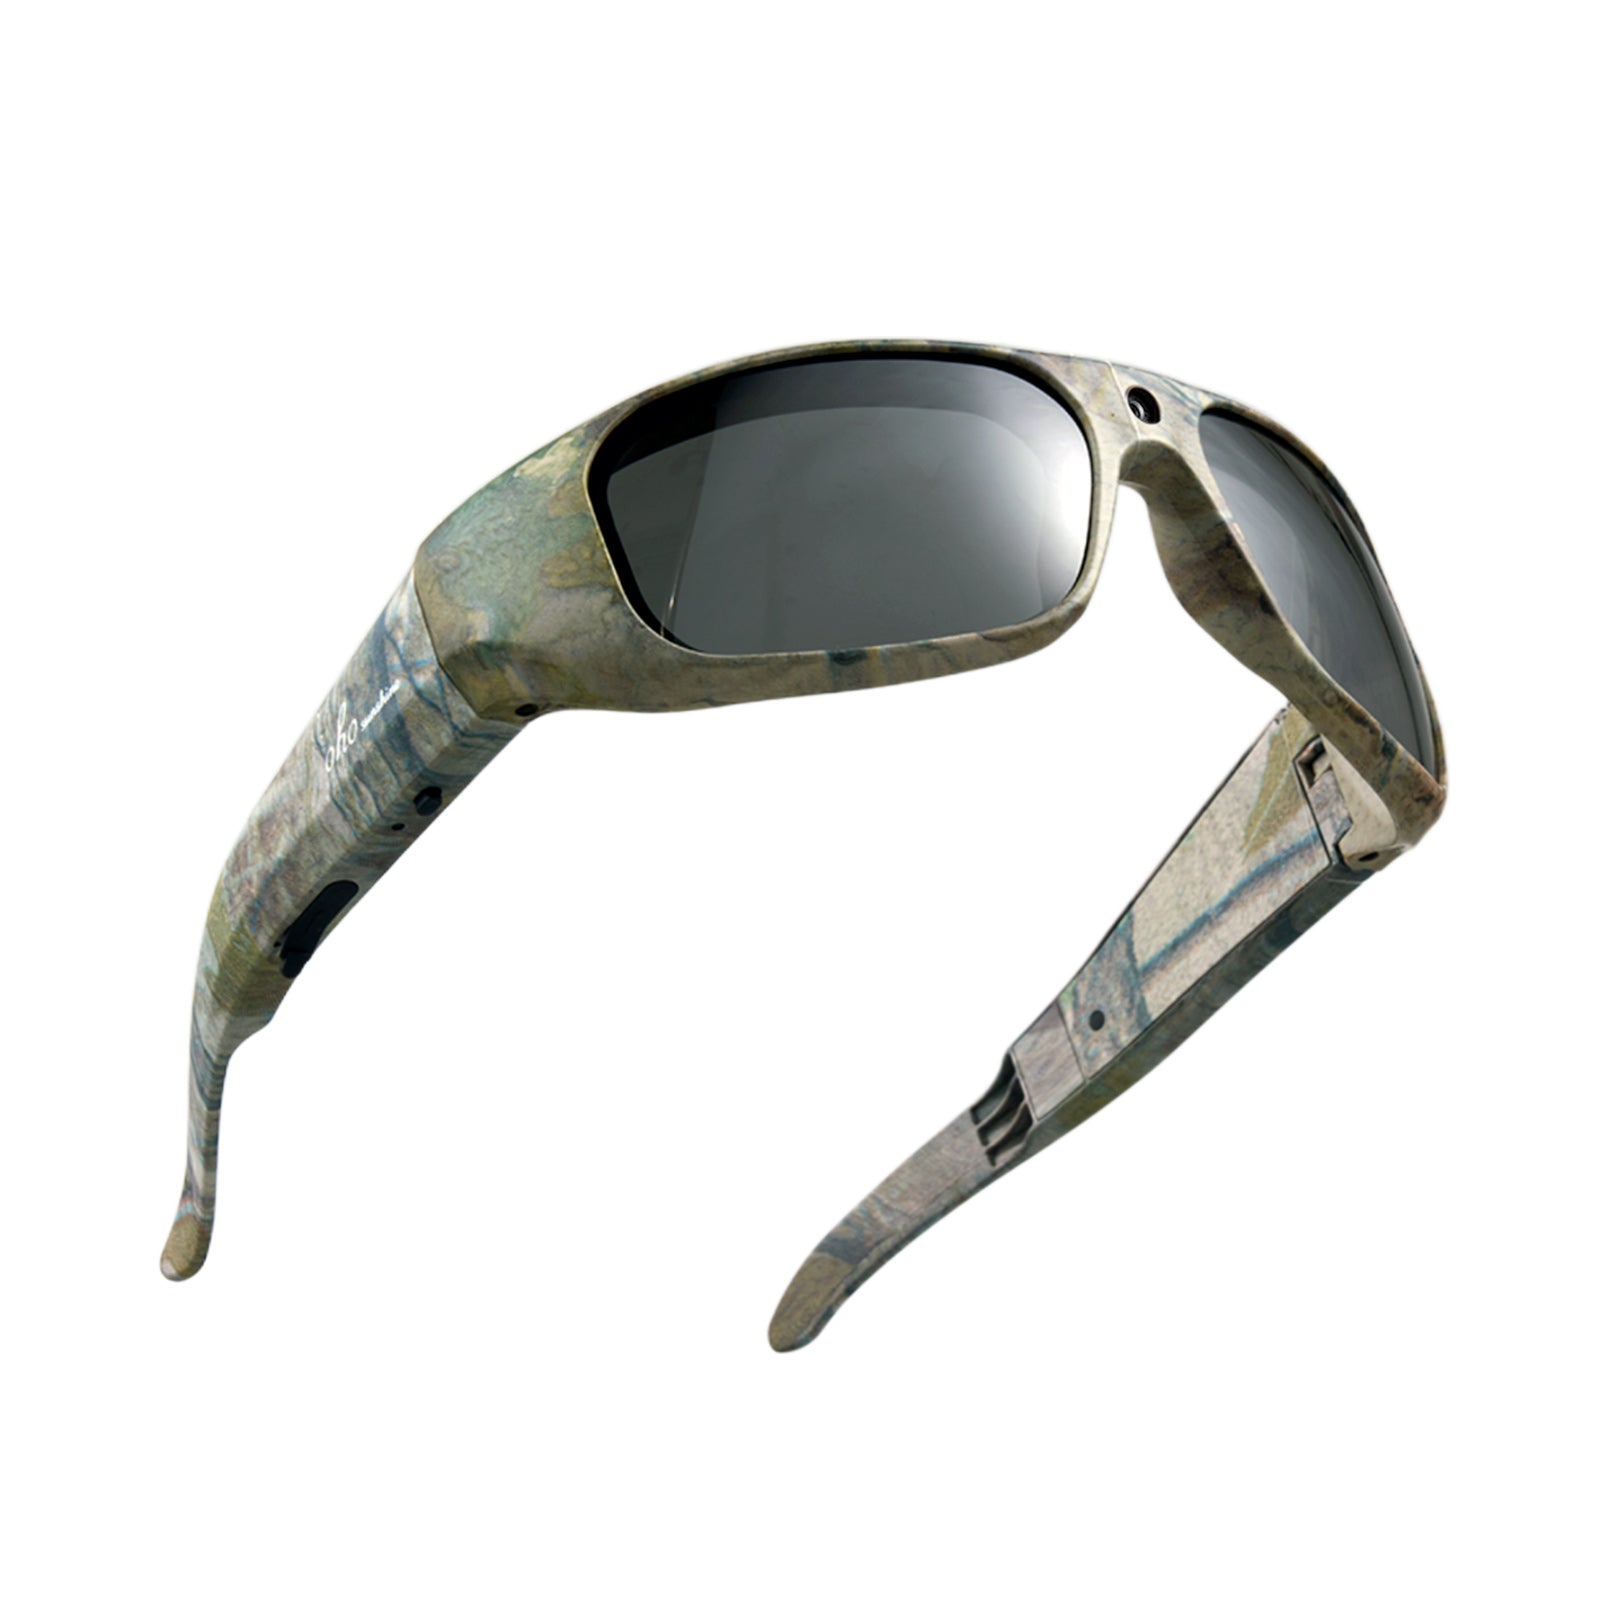


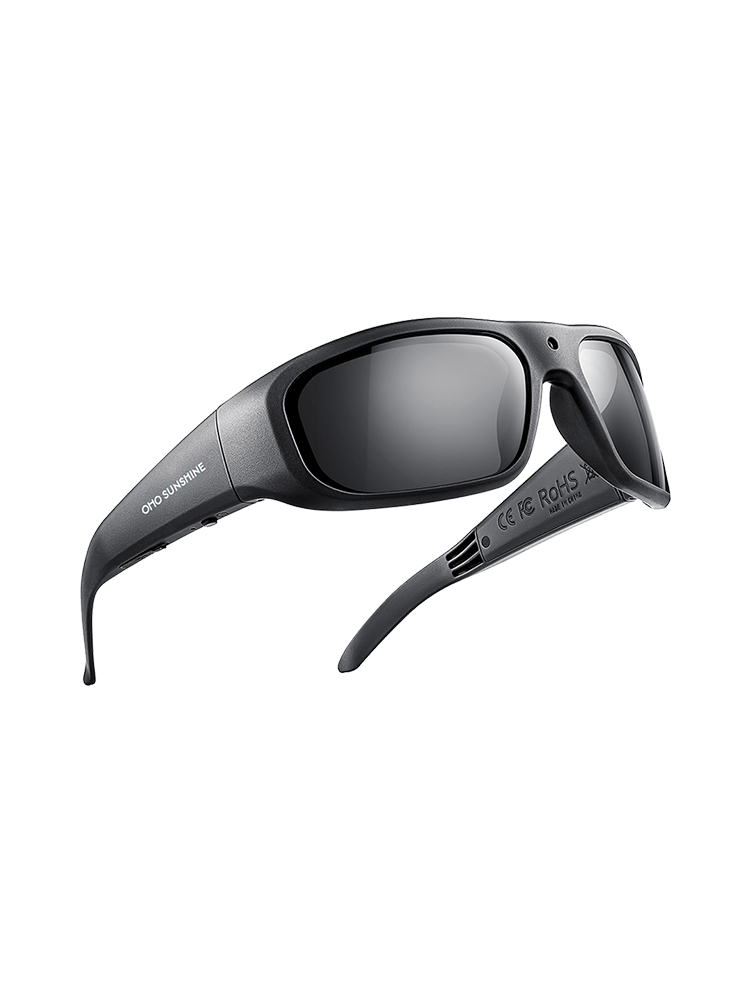


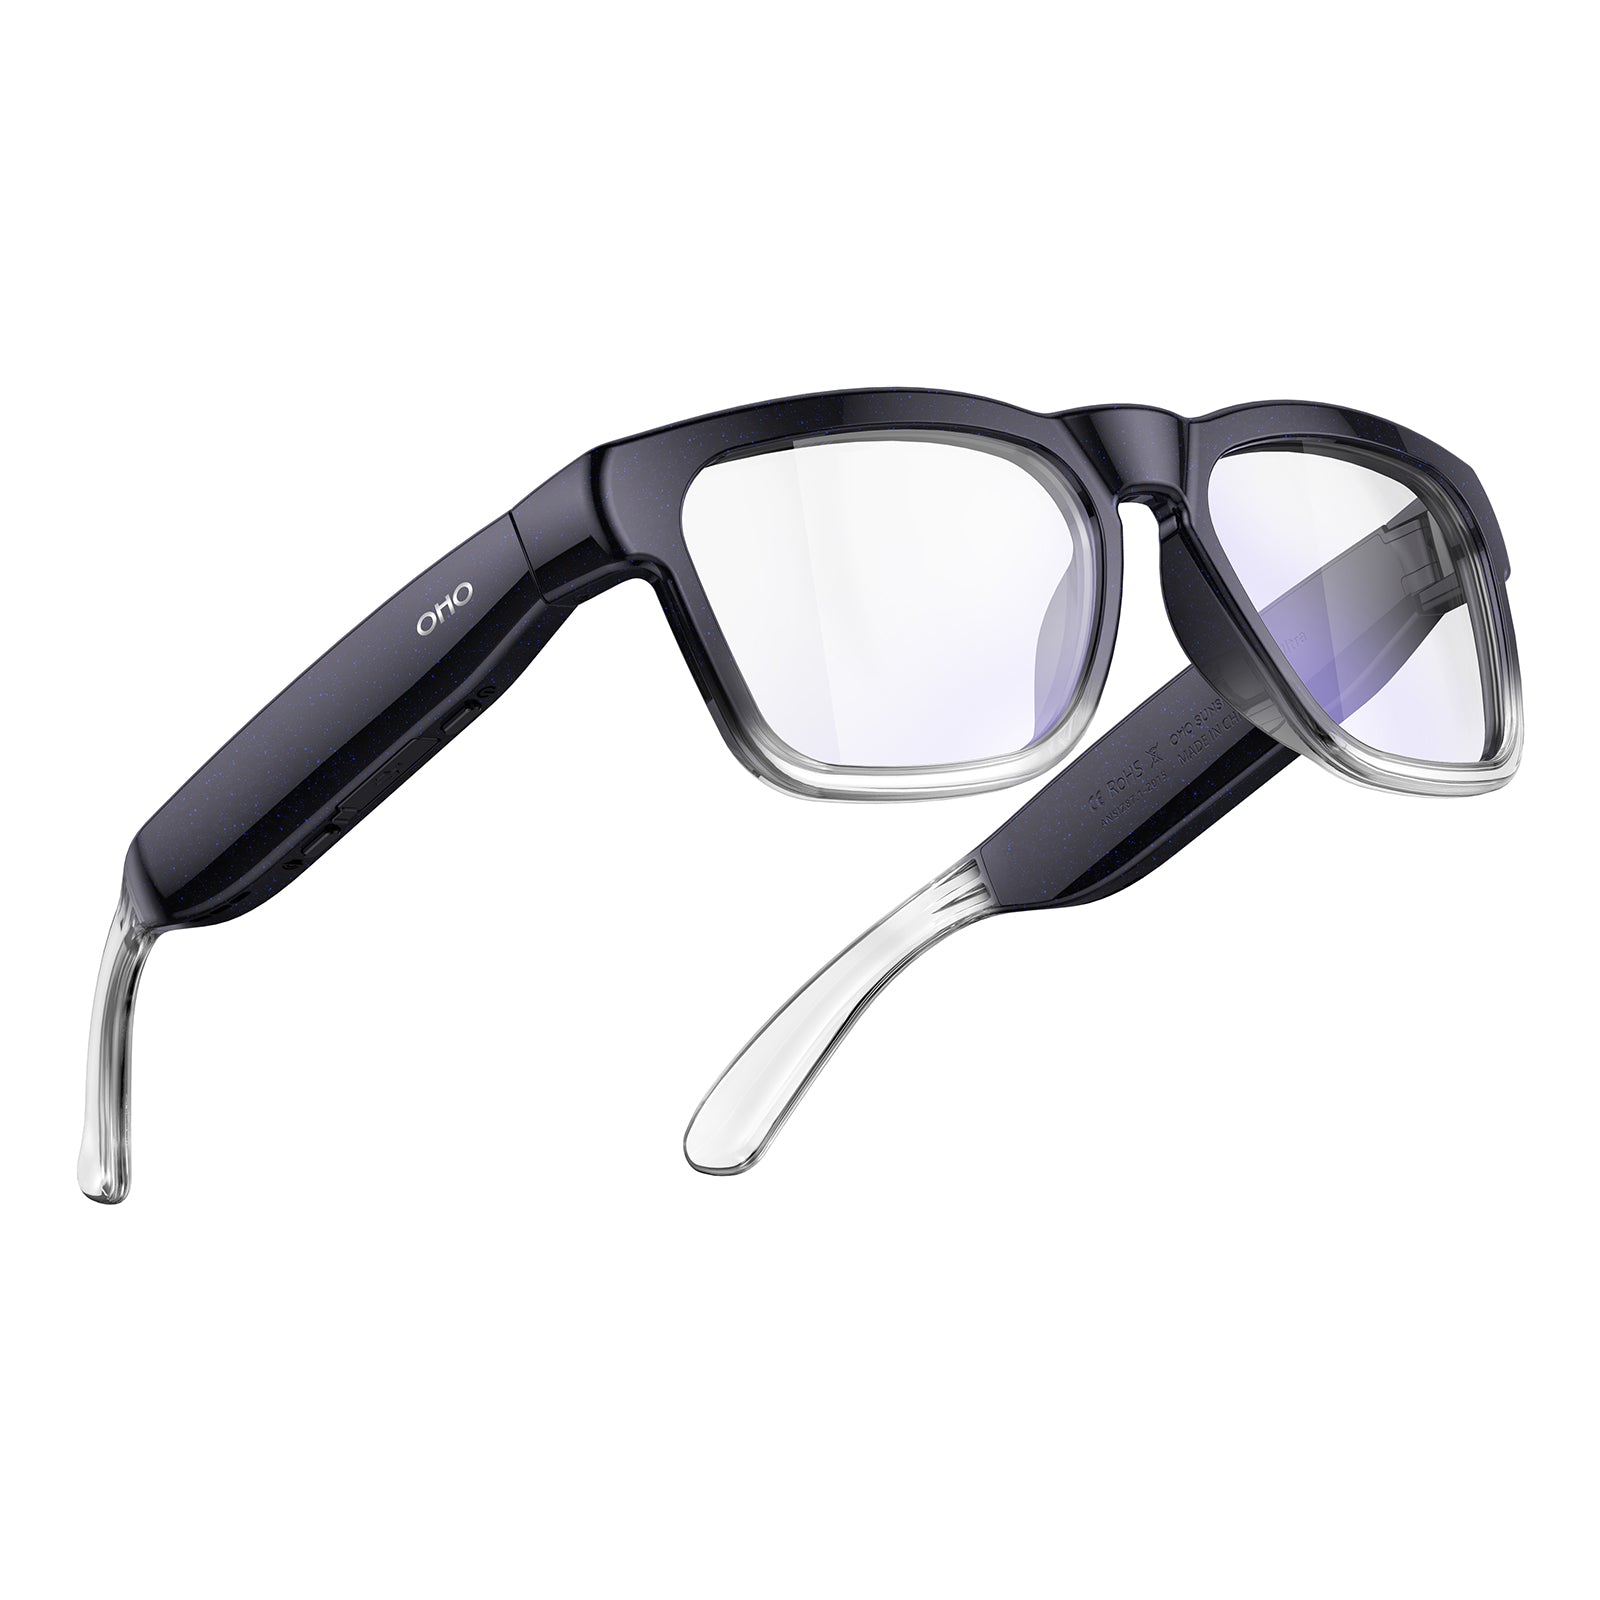


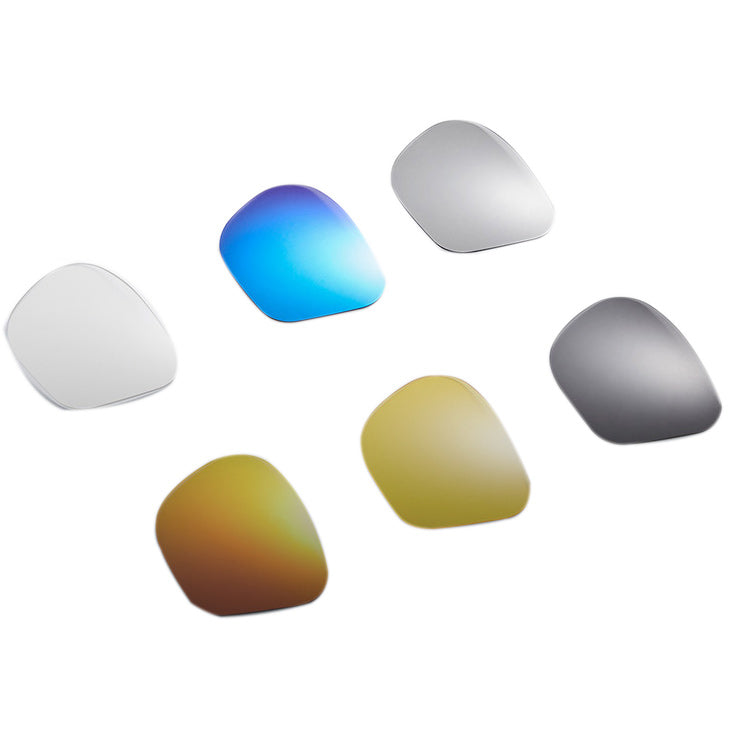
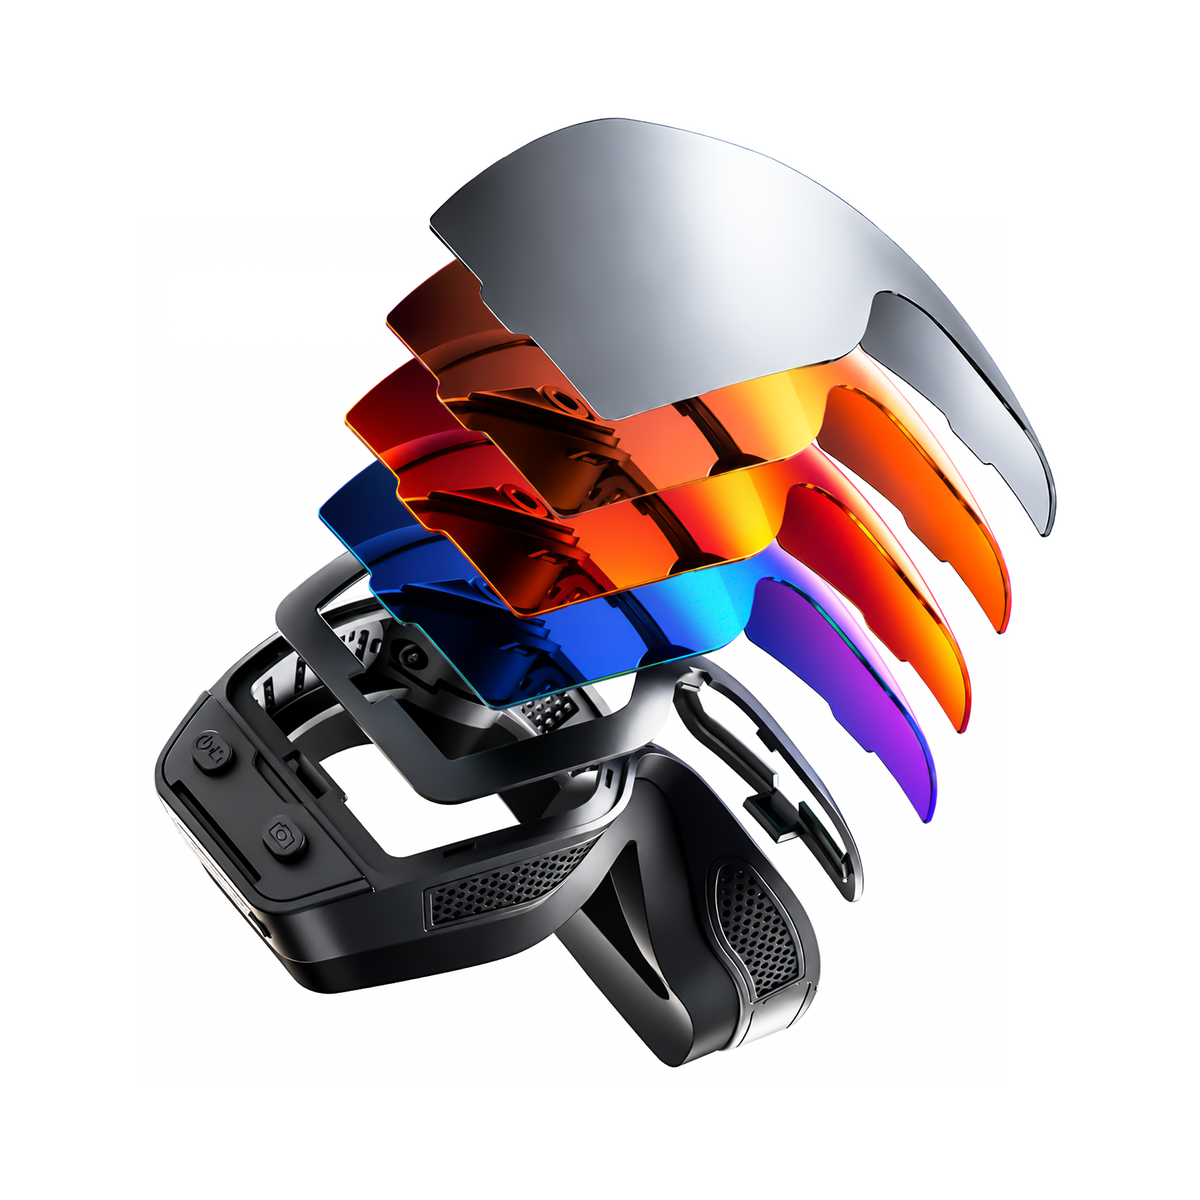

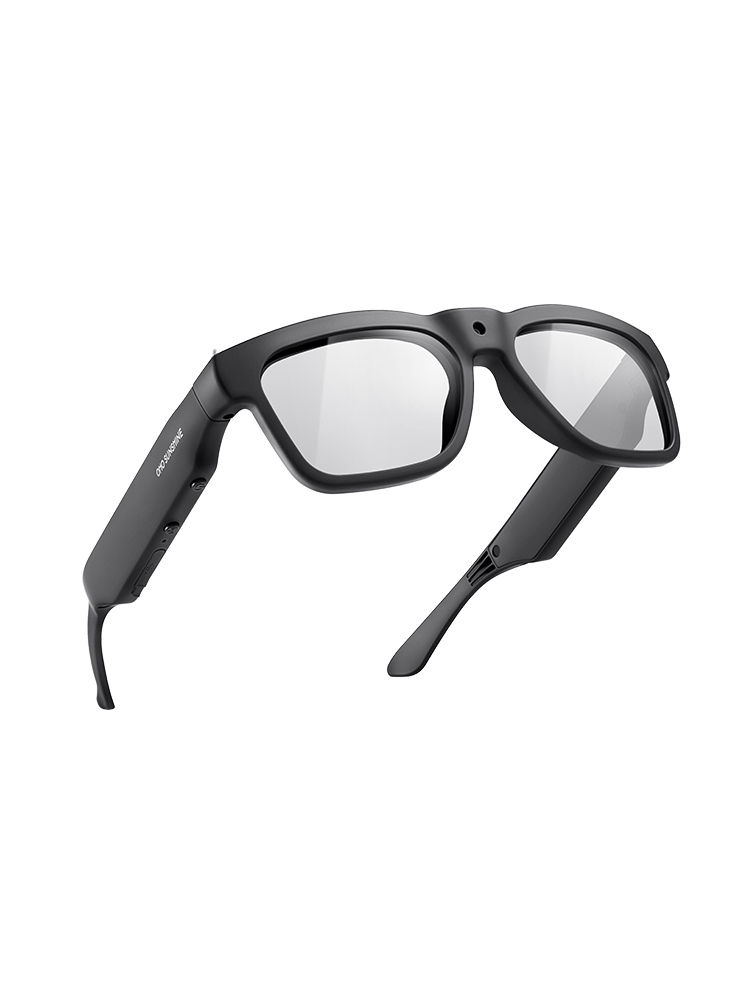


Solo appraisers can use smart glasses with camera as a hands-free, extra record of a home walkthrough. First, a short trial has to show that the saved clip and the stills you pull from it are actually usable. The footage backs up your notes and photos, but it does not replace your in-person observation or make your file dispute-proof.
Judge three things from the real file, not the spec sheet. Does walking motion keep details readable? Do room corners and key features show up? Can you verify when each still was captured? If any answer is no, reshoot that area or document it another way.
Run a Trial Before Using Camera Glasses for an Appraisal
Before you record house conditions with camera glasses on a live assignment, run one practice walkthrough. Then decide from the saved files. Keep the decision tied to what you can see on playback, not to a stated field of view or how the live preview looked.
- Pick a practice space. Choose a room you are free to record, like your own home or office. It should include a tight corner, a closet, and a window. Use the exact pair, settings, and export path you plan to use on the job, whether that is a pair of Bluetooth smart glasses or another model. If you are still comparing work recording glasses, run the same trial on each pair.
- Record one continuous clip. Walk at your normal inspection pace and turn toward each corner the way you would during an appraisal.
- Move the file to your report computer. Play it back on the screen you use for reports, not on the phone app's preview.
- Review motion and coverage. Use the playback checks in the next section.
- Export a few stills and check their time data. Follow the extraction steps further down.
- Make the call. If the saved clip and stills show what you meant to document, use the glasses as a supplement. If not, stick with your regular camera for that task.
Keep the footage in its supporting role. The Appraisal Foundation defines a personal inspection as an in-person observation of the subject property as part of the assignment's scope of work. A recording can support what you observed. It does not show that the observation happened, so describe your inspection in the report the way it actually took place.
Judge Motion and Room-Corner Coverage From the Recording
Watch the saved clip at normal speed and ask one question: can you still read the features you meant to capture? These checks are a practical self-test you run yourself, not an official appraisal pass/fail standard.
- Motion that hides detail. Mark any stretch where walking, head turns, or stepping through doorways blurs or shakes the image so much that a feature is hard to identify. Examples include flooring transitions, a water stain on a ceiling, or the condition of a cabinet face. If a needed detail is lost, slow down and hold your head still at that spot on the next take. You can also shoot that item as a still photo. For a deeper look at how stabilization affects footage, try our walking-video stability test.
- Corners that never appear. Pause the clip in each room and look at each corner you care about. Also check the floor-to-wall joints and ceiling areas you plan to note. A wide-angle label or a field-of-view number does not prove that this bedroom's back corner made it into the frame. Glasses record where your head points, so an unplanned glance can skip a corner completely.
- Features you meant to show. Check off windows, fixtures, visible damage, and room features against your notes. When something is missing, go back to that spot and aim at it on purpose. If the glasses can't frame it well, such as a low corner behind a door, use a handheld camera there.

Once you know where the glasses struggle, follow the same route every time. Enter the room, stop, and turn slowly toward each corner in the same order. A repeatable path makes gaps easier to spot during review.
Extract Stills and Check Their Timestamps
Pulling still frames from video is easy. Proving when each frame was captured is a separate job. Treat them as two steps.
- Extract frames with a general video tool. FFmpeg's documentation includes an example that exports one frame per second from a video as numbered image files. It also lets you cap the number of frames, limit the duration, or start at a chosen point in the clip. For example, starting at the moment you entered the kitchen saves you from sorting through hundreds of hallway frames. FFmpeg is a general tool you use after recording. It is not a built-in feature of any pair of glasses.
- Keep the original clip. Name each still so it points back to its source file and position in the clip, like "kitchen, 02:14." Store both according to your usual file process. Our guide to file-transfer and retention steps covers routines for repeated workdays.
- Check the time data separately. Open the original video's metadata and see which date and time fields it actually contains. None of these count as a verified capture time: the one-per-second interval, the image file's "created" date on your computer, or a frame's place in the clip. If you can't confirm when a still was recorded, don't call it timestamped. Label it as a frame taken from a named clip.
- Match the still to the report's rules. For assignments within its scope, Fannie Mae's Selling Guide outlines required appraisal report exhibits, including interior photos for applicable reports. It also asks appraisers to include the information needed to support the opinion of market value. Check the governing form, the client's instructions, and the assignment's requirements before using video-derived stills in place of regular photos.
Set Recording Permissions and File Handling Before the Walkthrough
Settle permission and file handling before you press record, not after. Recording rules and file rules depend on the engagement, the client, and the jurisdiction, so no single U.S. rule covers every job.
- Permission to record people. Check the engagement instructions and any privacy or recording procedures that apply before occupants, agents, or other people end up on camera. If permission is unclear, do not record people until it is resolved.
- File destination. Decide where clips go after the walkthrough, such as a specific folder on your work computer, before the card or app fills up.
- Access. Know who can open the raw footage and the selected stills, and keep everyone else out.
- Handoff. Confirm how selected images reach the client or report platform, and whether video-derived stills are acceptable for that handoff.
- Retention. Identify which retention process governs the originals and the stills, and follow it instead of deleting clips on your own schedule.
If permission or the approved file path is still unclear on the day of the job, use your regular camera and notes for that assignment. Our checklist for permission and file handoff walks through labeling and retention in more detail.
FAQs
What should I do if an exported still has no verifiable capture time?
Use it only as a labeled video frame, such as "living room, clip 3, 01:42," and keep the original clip it came from. When the exact capture time matters for the report, take a regular photo with your camera for that item instead of relying on the frame.
Should I delete the original video after pulling stills?
Not on your own schedule. The original clip is the reference that ties each still back to its moment in the walkthrough. Keep it for as long as your governing retention process and the client's instructions say, then delete it the way that process specifies.
What if I notice a missed room feature after leaving the property?
The footage can't fill a gap it never captured, so don't reconstruct the feature from memory. Note the gap in your workfile and follow the assignment's scope and client process to decide whether you need another visit or another source. On future jobs, add a deliberate pause and turn at that spot on your route.
Do AI smart glasses change how I should test the footage?
No. Whether you wear basic smart camera glasses or AI smart glasses, the saved video and exported stills are what you judge. Run the same playback review and time-data check. Features advertised by any smart glasses with camera don't replace seeing the corners and details in your own recording.


Commenta
Questo sito è protetto da hCaptcha e applica le Norme sulla privacy e i Termini di servizio di hCaptcha.