









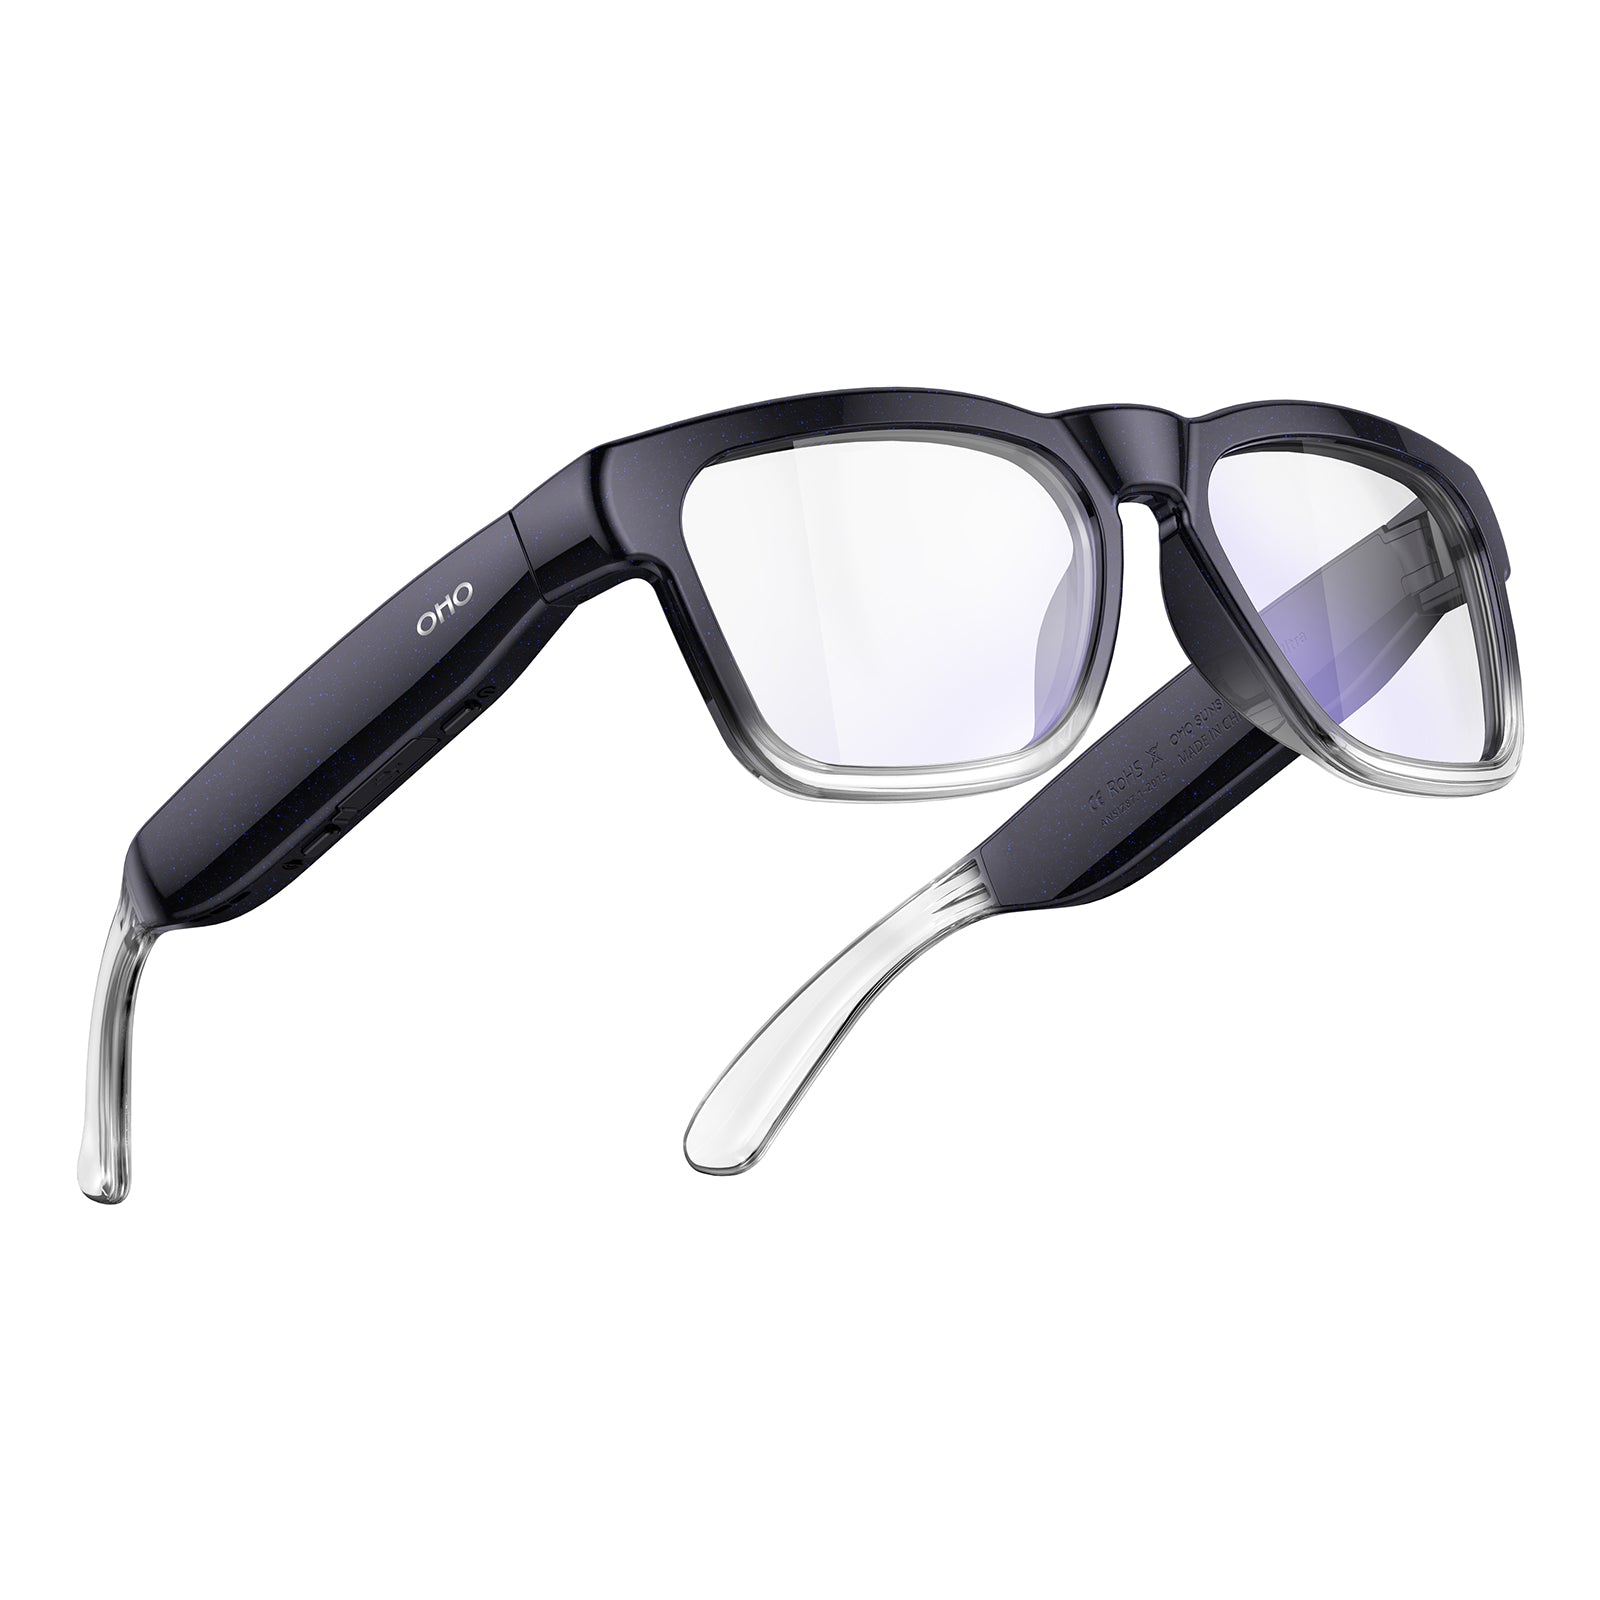




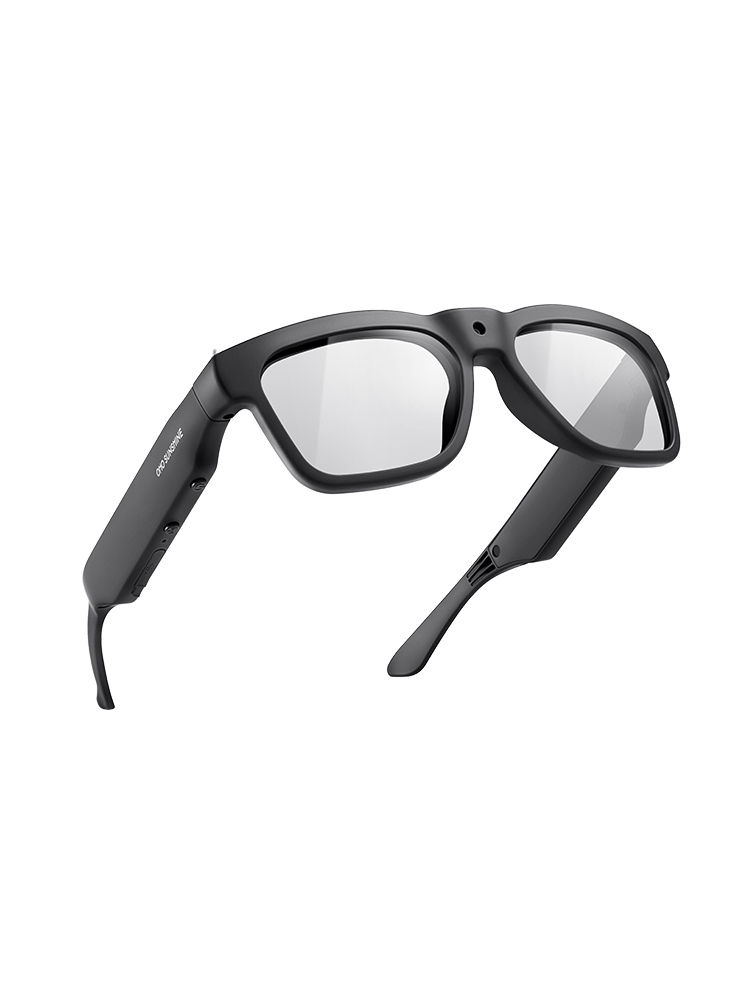

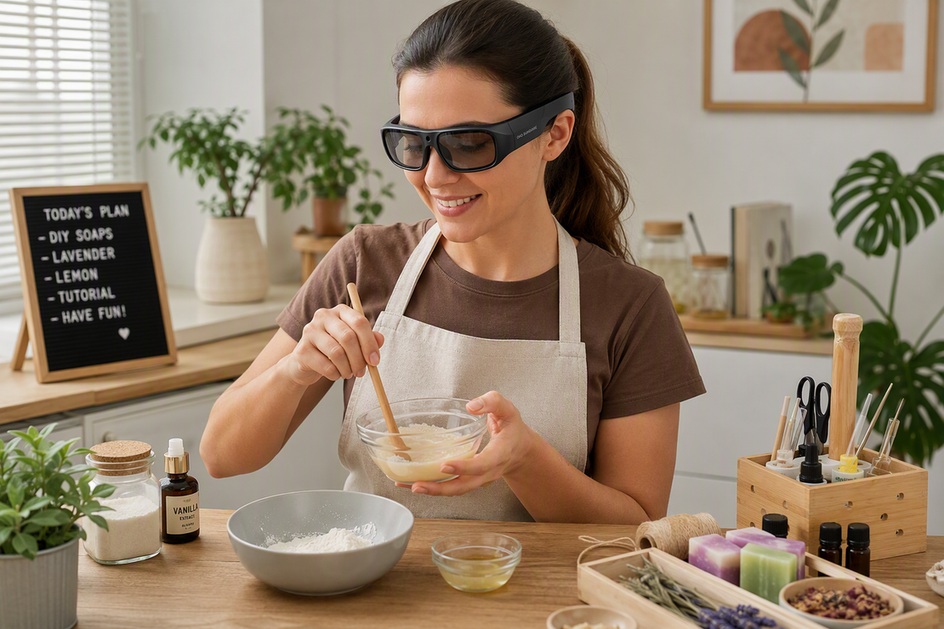
Clear-lens glasses with a built-in camera can capture usable point-of-view footage for kitchen and craft demonstrations, but only after you test four variables: indoor lighting, overhead LED flare, close-range focus on your hands, and horizontal alignment on the tabletop. A short test clip in your real setup tells you more than any spec sheet.
This guide walks through each check in order, then covers which product specifications actually matter before you choose glasses with a built-in camera for this kind of recording.
Start With a Short Indoor POV Test
Before you record a full recipe or craft session, run one short test clip in the exact setup you plan to use. That single clip should tell you whether to proceed or fix one specific problem first.

- Put on the glasses and level them the way you'll actually wear them while working, not by holding them in your hand.
- Reproduce the overhead or artificial light you'll use for the real demonstration.
- Place the nearest ingredient, tool, or hand detail exactly where it will sit during filming.
- Record 15 to 30 seconds of that setup.
- Play back the clip and check four things: overall visibility, sharpness of the nearest detail, flare or reflections, and whether the tabletop looks level.
- Fix only the variable that failed, then record a second short clip before committing to the full demonstration.
If all four checks pass, the setup is ready for a complete demonstration. If one check fails, the next four sections explain how to correct it without changing your intended point-of-view shot.
Check Indoor Lighting and Exposure Before Recording
Exposure is something you judge in the recorded clip, not a spec printed on any pair of glasses. Keep your light source and camera position the same as your final setup, then evaluate the result in playback.

Make the Light Repeatable
Use the same overhead or countertop light you'll have during the actual demonstration, and keep it in the same position each time you test. Clear a simple, uncluttered background behind your hands so ingredients or tools stay easy to read against it.
Review the Clip, Not Just the Preview
A live preview can look fine while the recorded clip shows problems, so always check the saved footage. Look closely at the nearest work area, any reflective surfaces like a countertop or metal bowl, and the darker corners of the frame for shadow. If you see heavy grain, dark shadows on your hands, or blown-out highlights near a light source, treat that as a reason to adjust the lighting arrangement rather than push the exposure higher, since excessive exposure introduces grain and distortion instead of fixing the shot. Retest with a short clip after any change.
Reduce Overhead LED Flare Without Losing the POV
Overhead LED flare usually comes from the light itself, not from the glasses, so fix the light first. Keep your head and the work area in the same position so you don't lose the intended point-of-view framing.
Change the Light Before the Camera Angle
Move the overhead LED slightly to one side or add a diffuser, such as a lampshade or a sheet of parchment paper, before you tilt the glasses away from your hands. An angled, softened light works as a practical starting point: flat-lay photographers commonly use a 45-degree light angle on the subject rather than pointing straight overhead.
Check the Frame Corners
After adjusting the light, record another short clip and look at the corners of the frame, not just the center. Bright reflection patches on a countertop, a washed-out spot near the light, or flare that appears when you turn your head slightly all mean the light still needs work. Keep your hands and the tabletop in the same position between clips so you're comparing only the light change. Clear or polarized lenses affect how much glare comes off bright surfaces, but no lens configuration is documented to eliminate reflections outright, so the light adjustment above remains the primary fix.
Test Close-Range Focus on Hands and Tools
Close-range focus depends on how near your hands are to the camera, not on video resolution. Test the exact distance you'll be working at before you trust the shot.
Test the Nearest Working Position
Identify the closest point the viewer actually needs to see clearly, such as a fingertip mincing garlic, a threaded needle, or a tool tip. Place that detail at its real working position and record a short clip focused on it. Camera lenses have a documented closest focusing distance, and subjects placed closer than that focus limit will not appear sharp no matter how good the lens is; the same physical limit applies to the small built-in lens in a pair of camera glasses.
Choose the Workable Distance
If the nearest detail looks soft in playback, try moving your hands or the ingredient a few inches farther from your face while keeping the demonstration natural. When the task genuinely can't move, such as a very fine stitch, look for a model with a closer focus distance the manufacturer actually documents, and retest that exact task before relying on it. Don't assume a higher resolution number or a clear lens fixes a focus problem; those are separate specifications that don't substitute for a documented focus limit.
Level the Glasses for Tabletop Framing
A level, forward-facing view depends on how you position the glasses over the table, not on a camera setting. A straight reference line makes this easy to check.
Use a Straight Reference
Line up the front edge of your table, a cutting board edge, or a straight cutting-mat line while wearing the glasses in your natural working posture. Flat-lay photographers use the same idea with a level: keeping the camera parallel with the surface being shot prevents the image from distorting, and the same principle applies to a worn camera pointed down at a tabletop.
Check the Hands and Horizon
Record a short clip and check whether the table edge runs straight across the frame or slants to one side. Confirm your hands and tools stay centered rather than drifting toward one edge once the horizon looks level. Only fine-tune light direction after the view is level, since chasing flare before leveling can undo a good adjustment.
Verify Product Specs Before Choosing Glasses With a Built-In Camera
Choosing glasses with a built-in camera comes down to whether the listing documents the specifications that affect this exact task. A resolution number alone doesn't tell you about focus range, color, exposure, or flare.
What the Listing Must Document
Before buying, confirm the listing states:
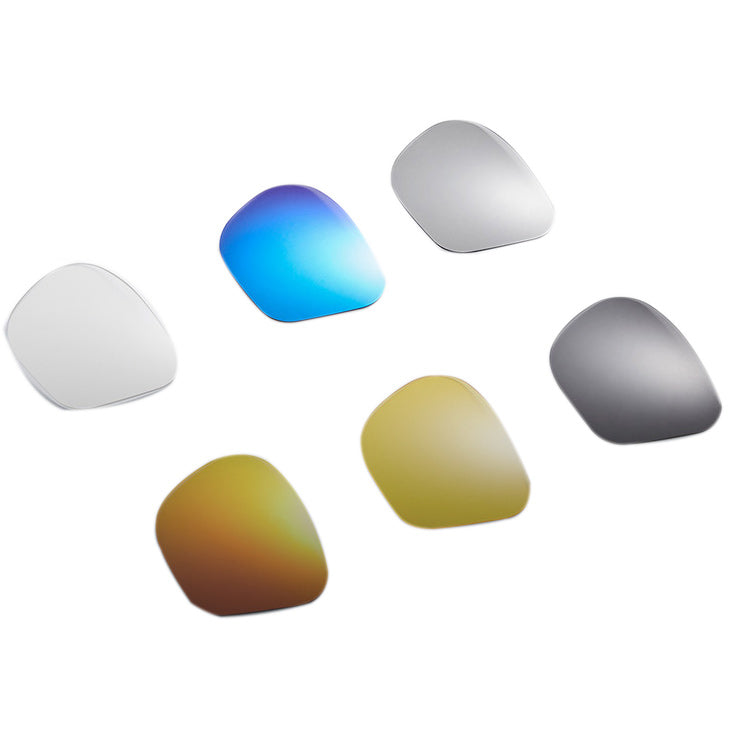
- Lens configuration, including whether your chosen tint or coating is described as clear indoors
- Camera placement and field of view, since these affect how much of the tabletop appears in frame
- Closest focusing distance, if documented, for near hand-work
- Video resolution and frame rate for the recording mode you'll actually use
- Microphone, storage capacity, and battery duration for your expected session length
- Controls and file-transfer method for moving footage off the glasses afterward
What the Brave Listing Does and Does Not Establish
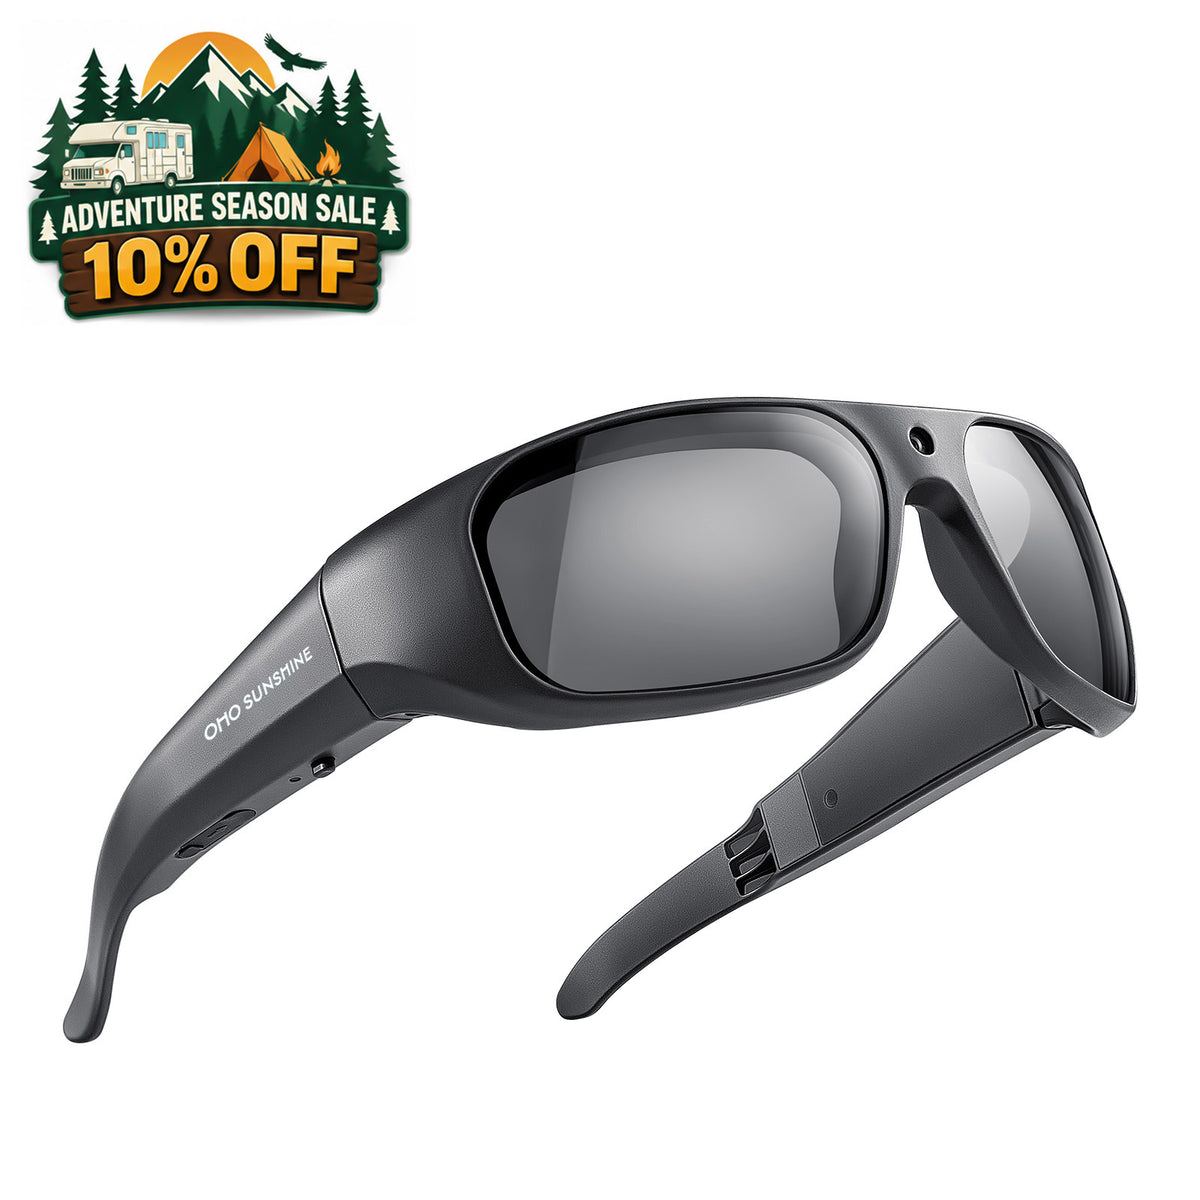
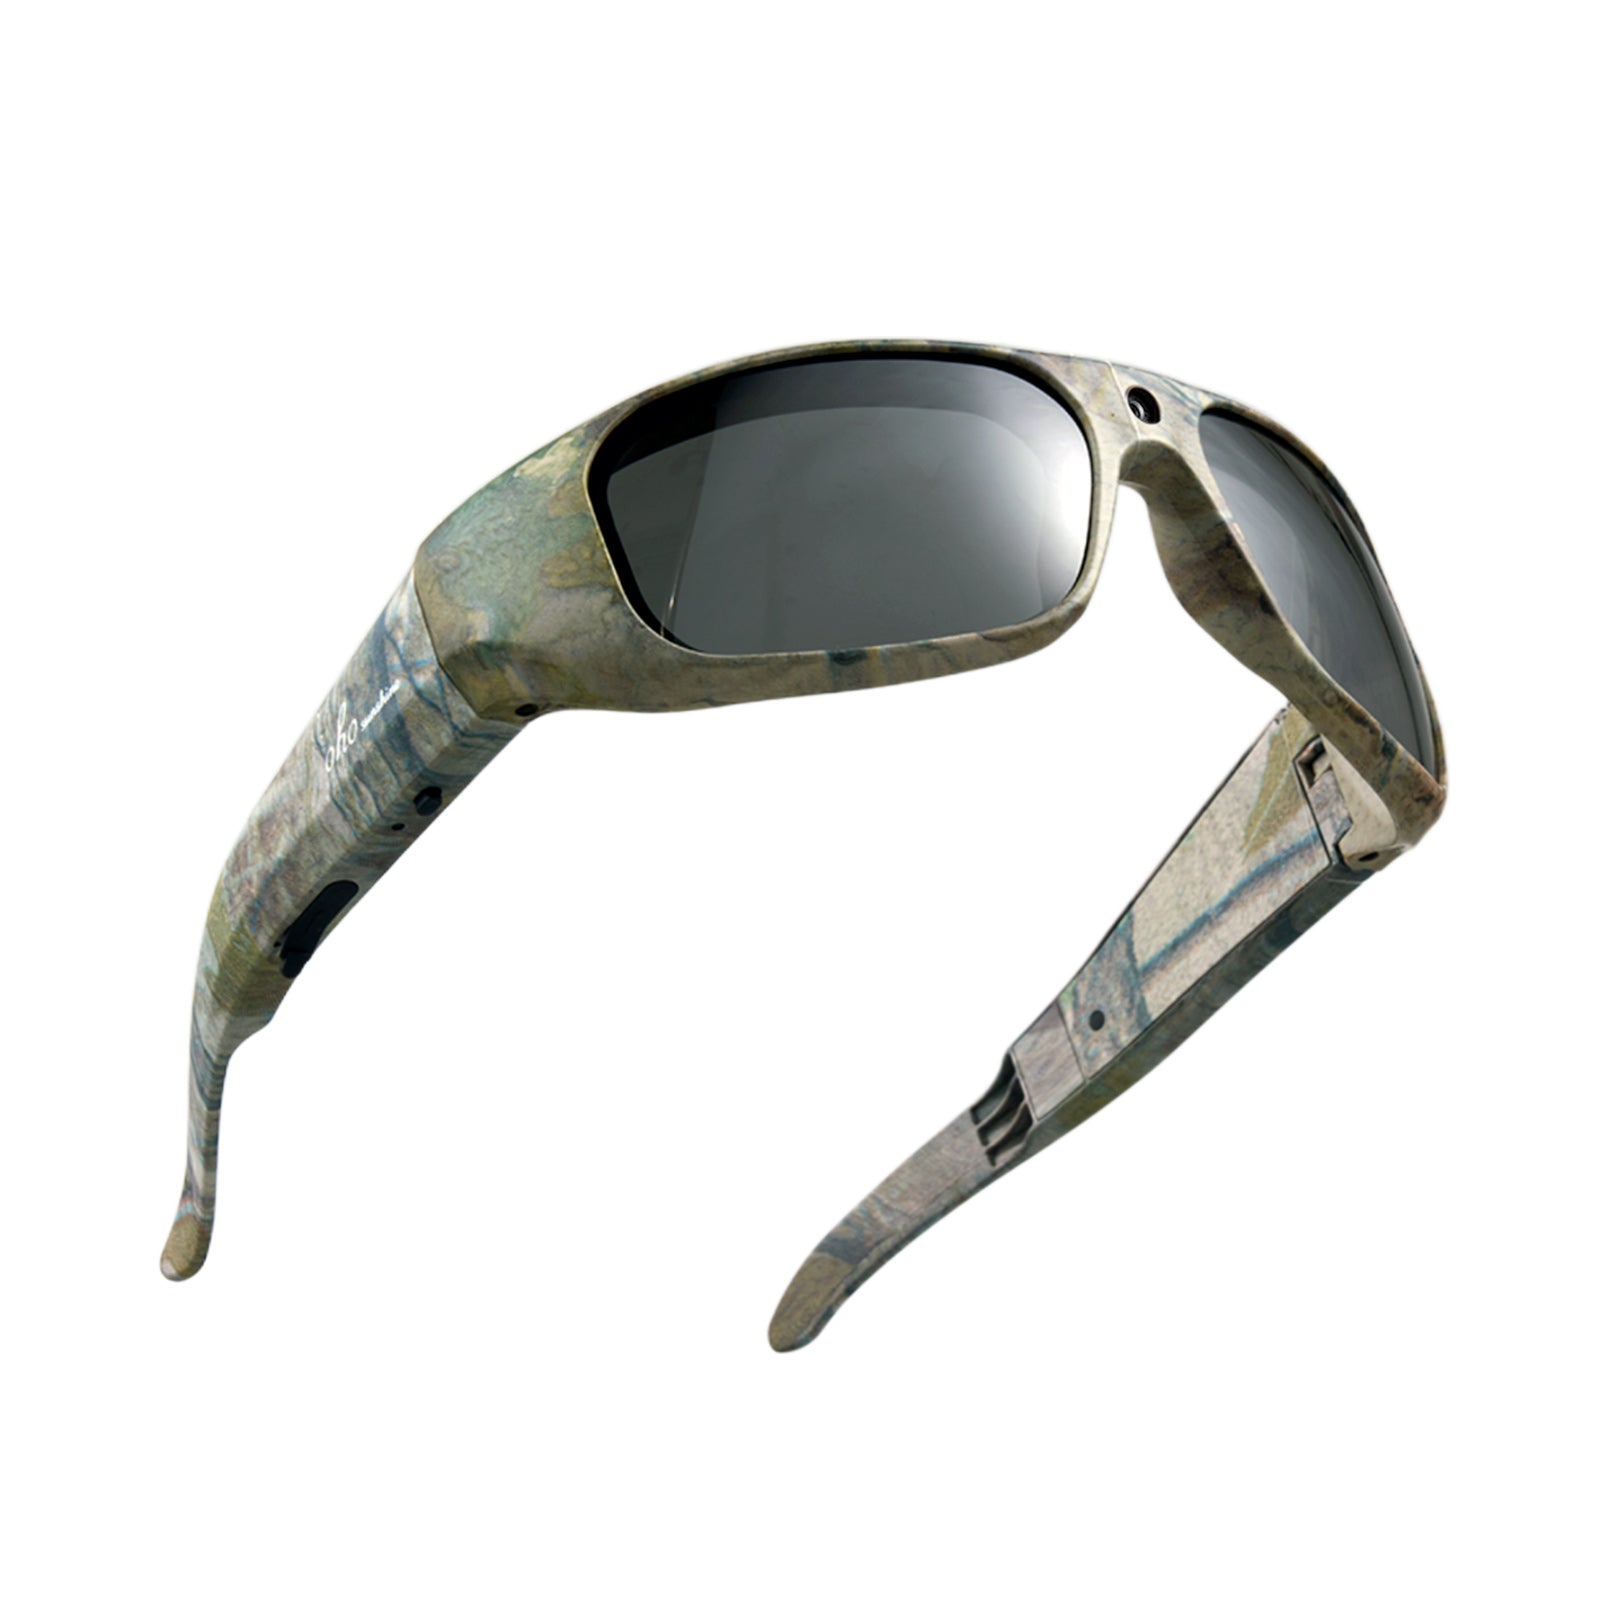
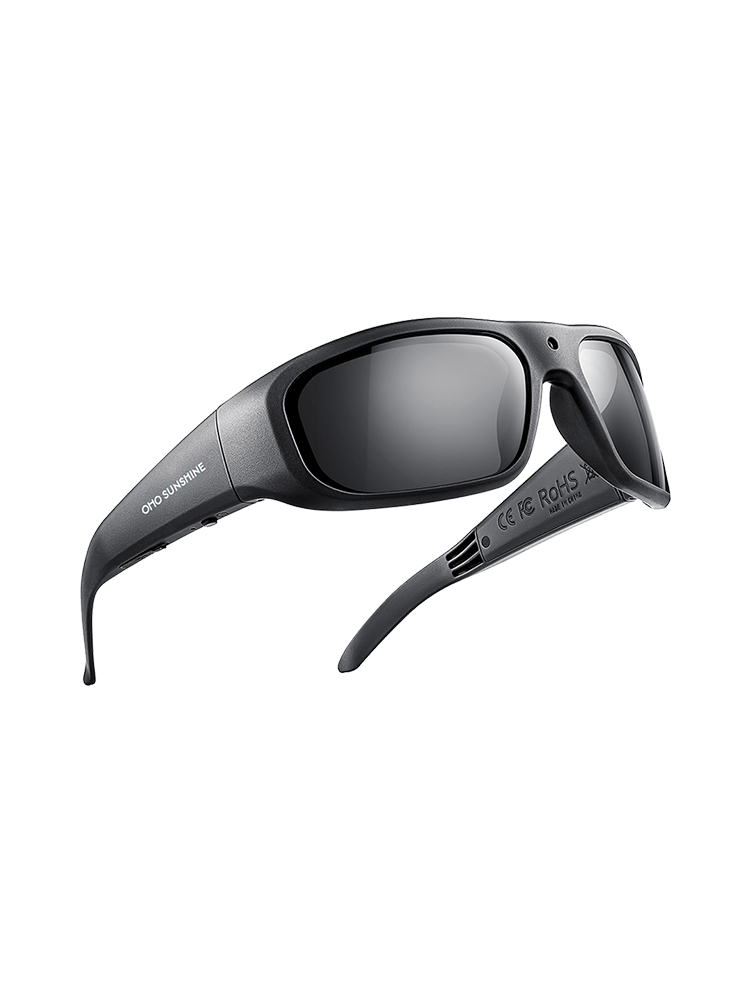
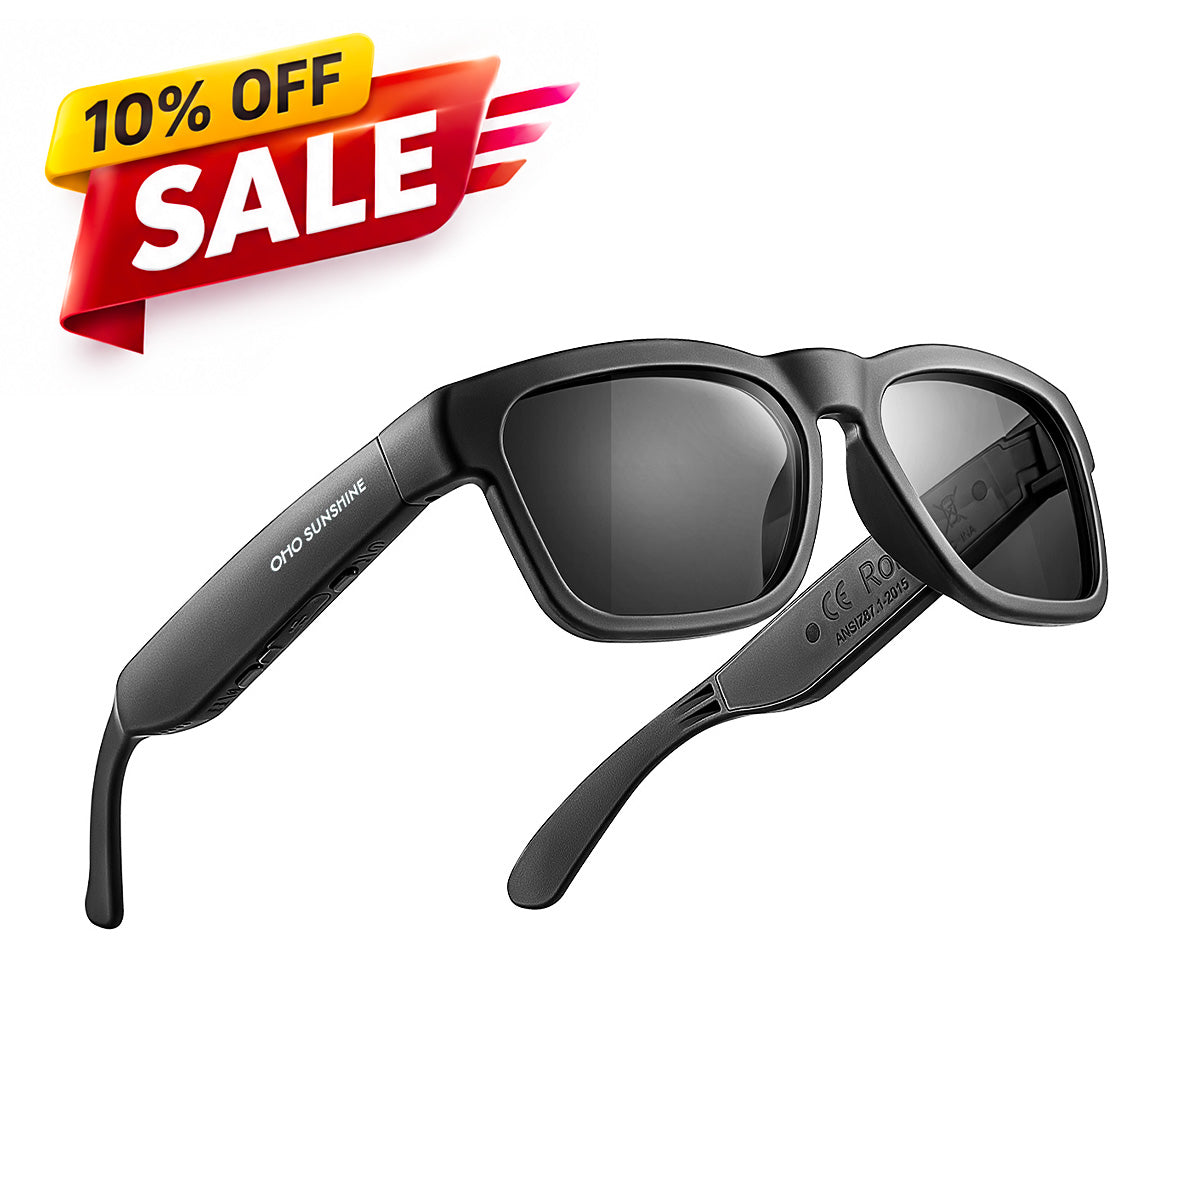
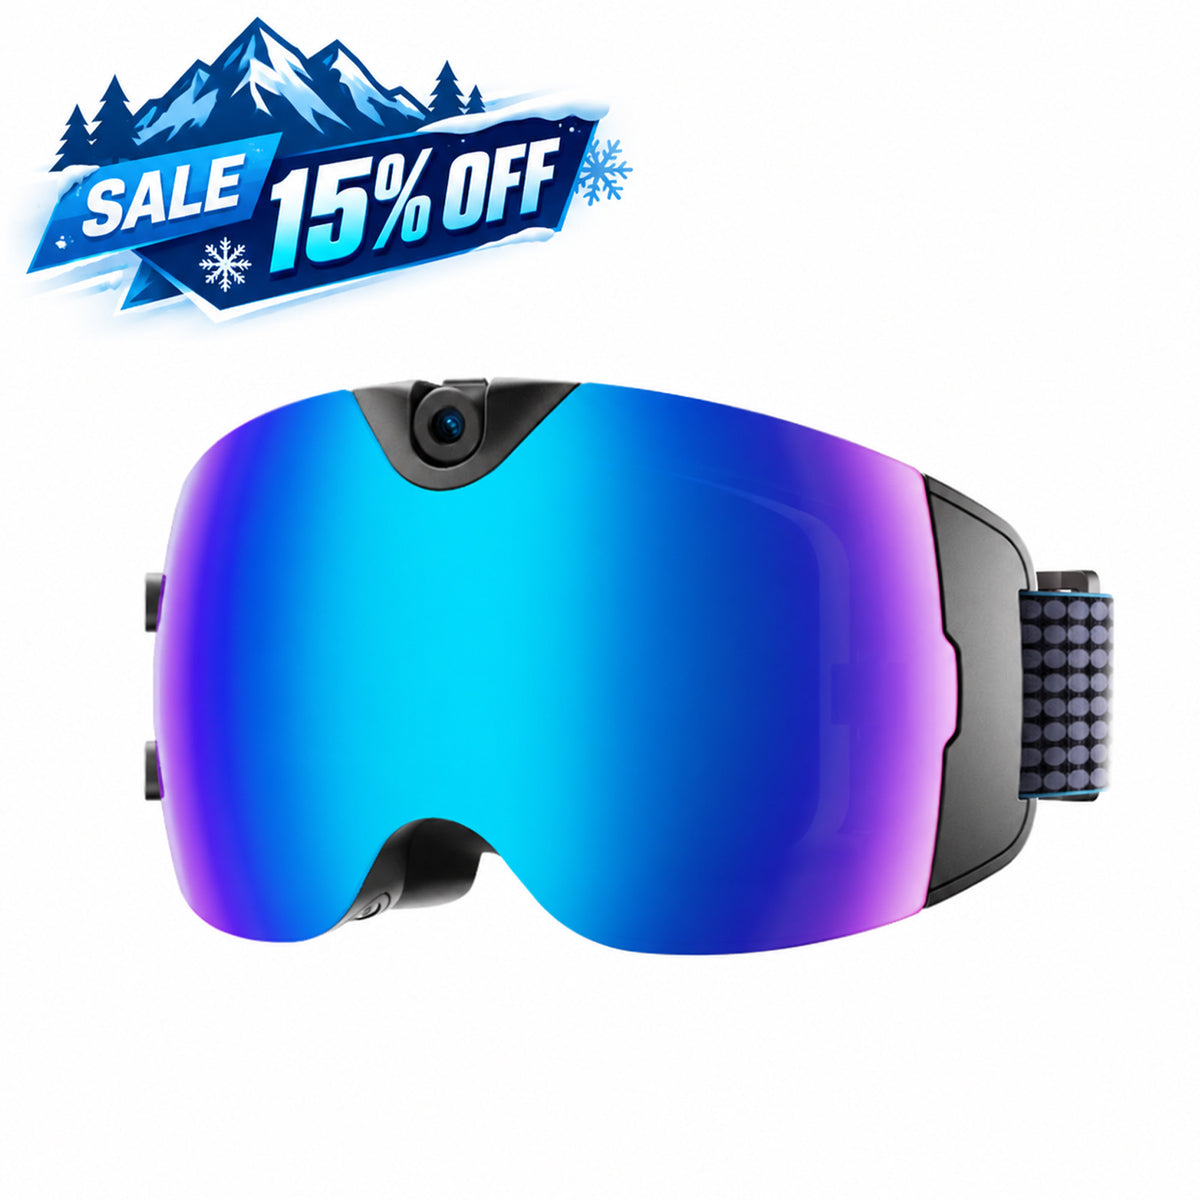
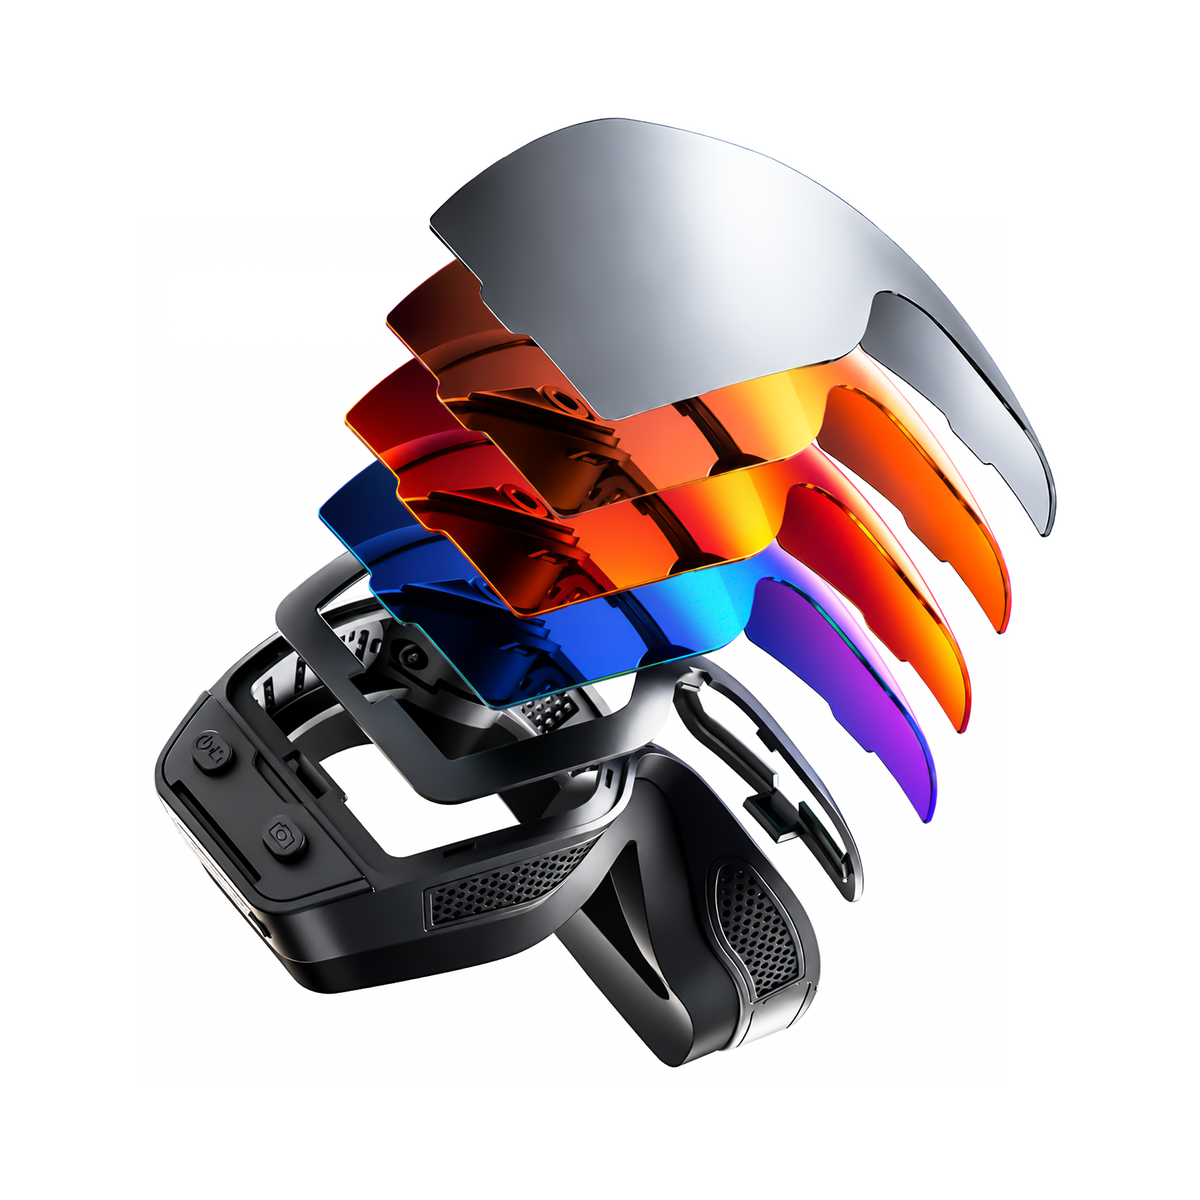
Our Brave 4K camera glasses listing documents a built-in camera recording 4K video at 30 fps, a built-in microphone, polarized UV400 lenses, an optional photochromic lens that clears up indoors, built-in storage, and a listed 30-minute battery life. Those facts help you plan a short indoor test and confirm your session fits inside one charge, and you can compare the full lineup in our camera glasses collection. The listing does not document a closest focusing distance, color accuracy, exposure behavior, or LED-flare resistance, so run the tests from the earlier sections with your own lighting and hand-work before relying on the glasses for a full demonstration. For a broader look at which specs matter across different recording scenarios, our camera glasses specs guide covers the tradeoffs in more depth.
FAQs
Can I Check Color Before Recording a Full Recipe or Craft Tutorial?
Record a short clip of a white plate, cutting board, or another familiar-colored object under your actual lighting, then compare the playback to the real object side by side. This is a practical consistency check, not a measured color-accuracy test, but it will catch an obvious color cast before you film the whole session.
Do Clear-Lens Camera Glasses Eliminate LED Reflections?
No. Lens clarity and flare behavior are separate questions, and no lens configuration is documented to remove reflections entirely. Run the overhead-light test described earlier and adjust the light's direction or add diffusion if reflections remain in your test clip.
What If the Nearest Hand Detail Cannot Be Moved Farther Away?
Treat ongoing softness at that exact working position as a fit problem rather than something to fix in editing. Look for a model with a documented closer focus limit, then record the same task again with that model before you commit to it for a full demonstration.



Laisser un commentaire
Ce site est protégé par hCaptcha, et la Politique de confidentialité et les Conditions de service de hCaptcha s’appliquent.