



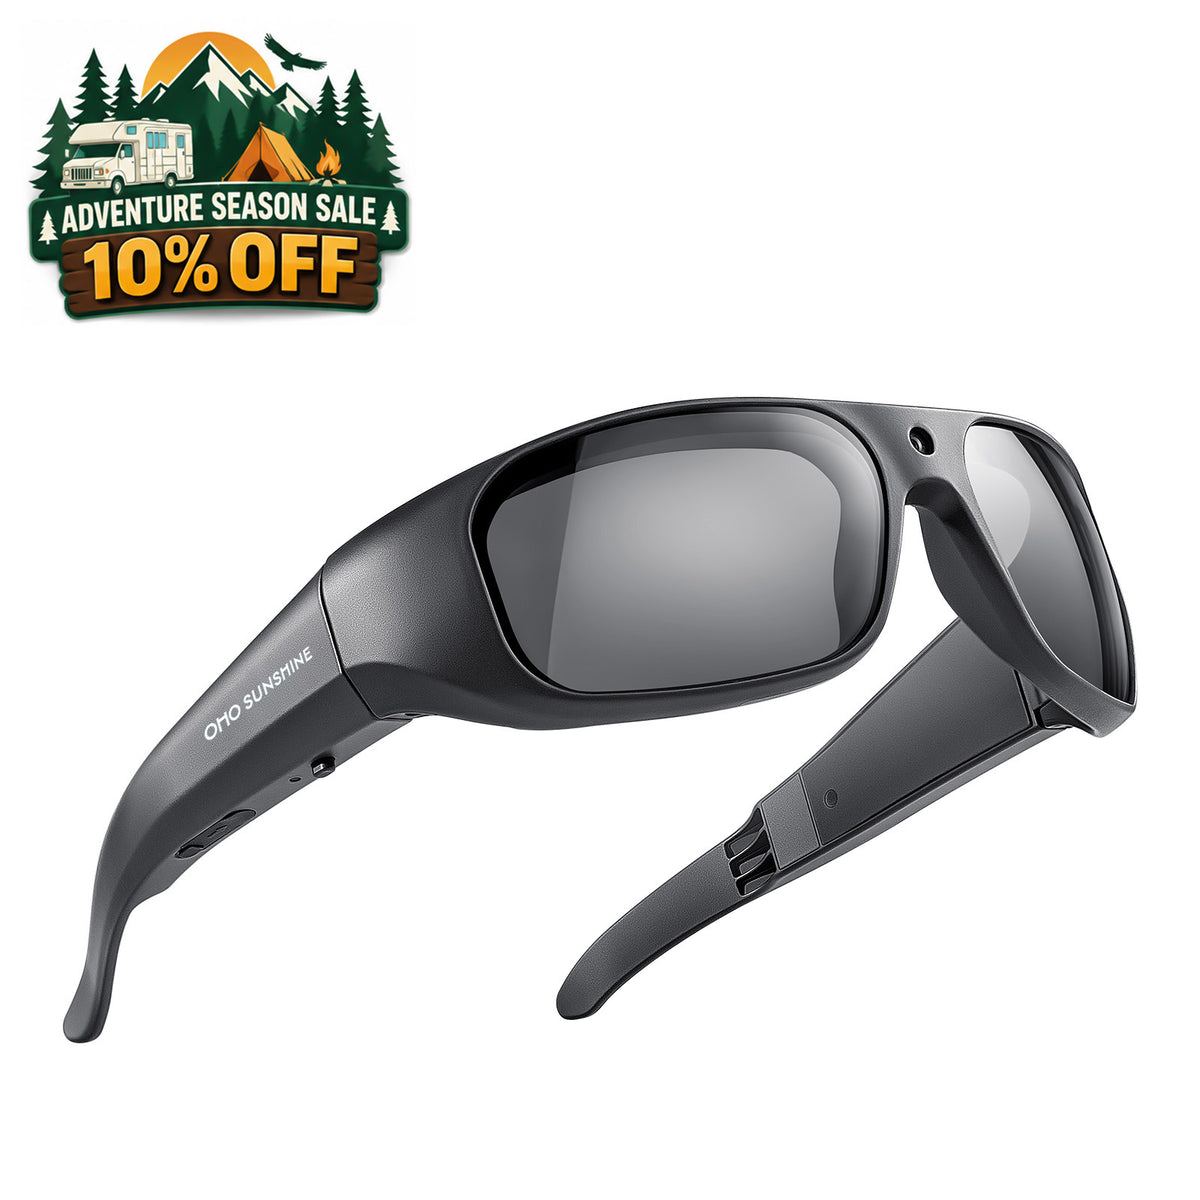


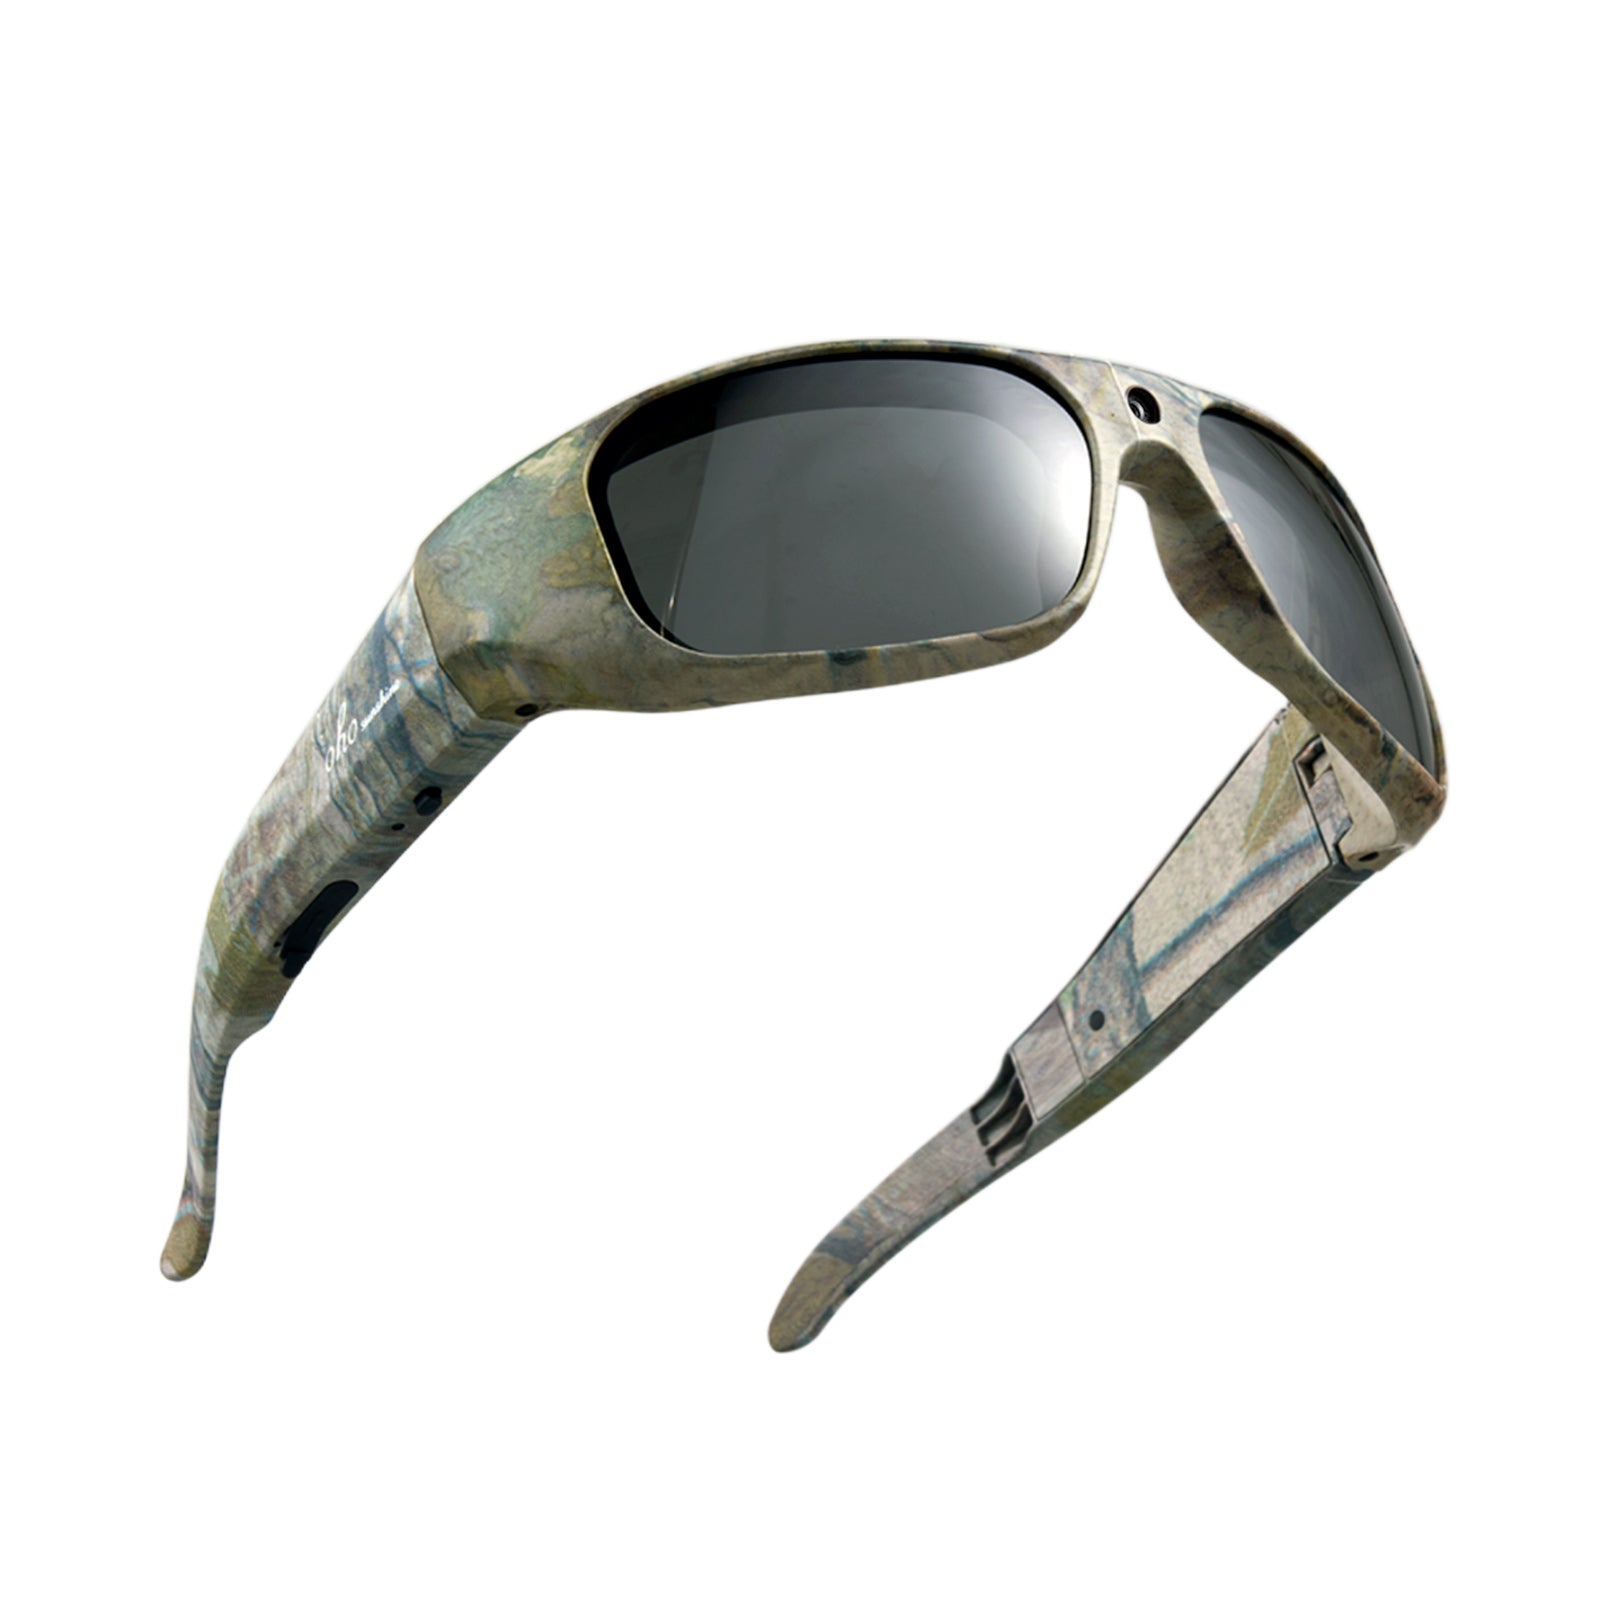


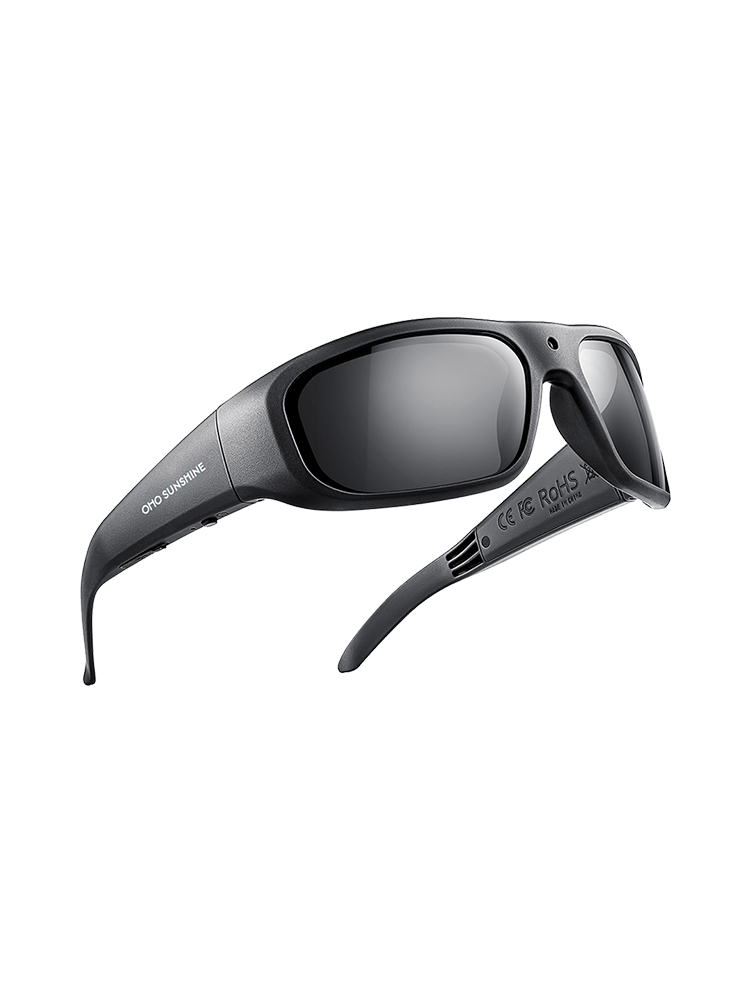


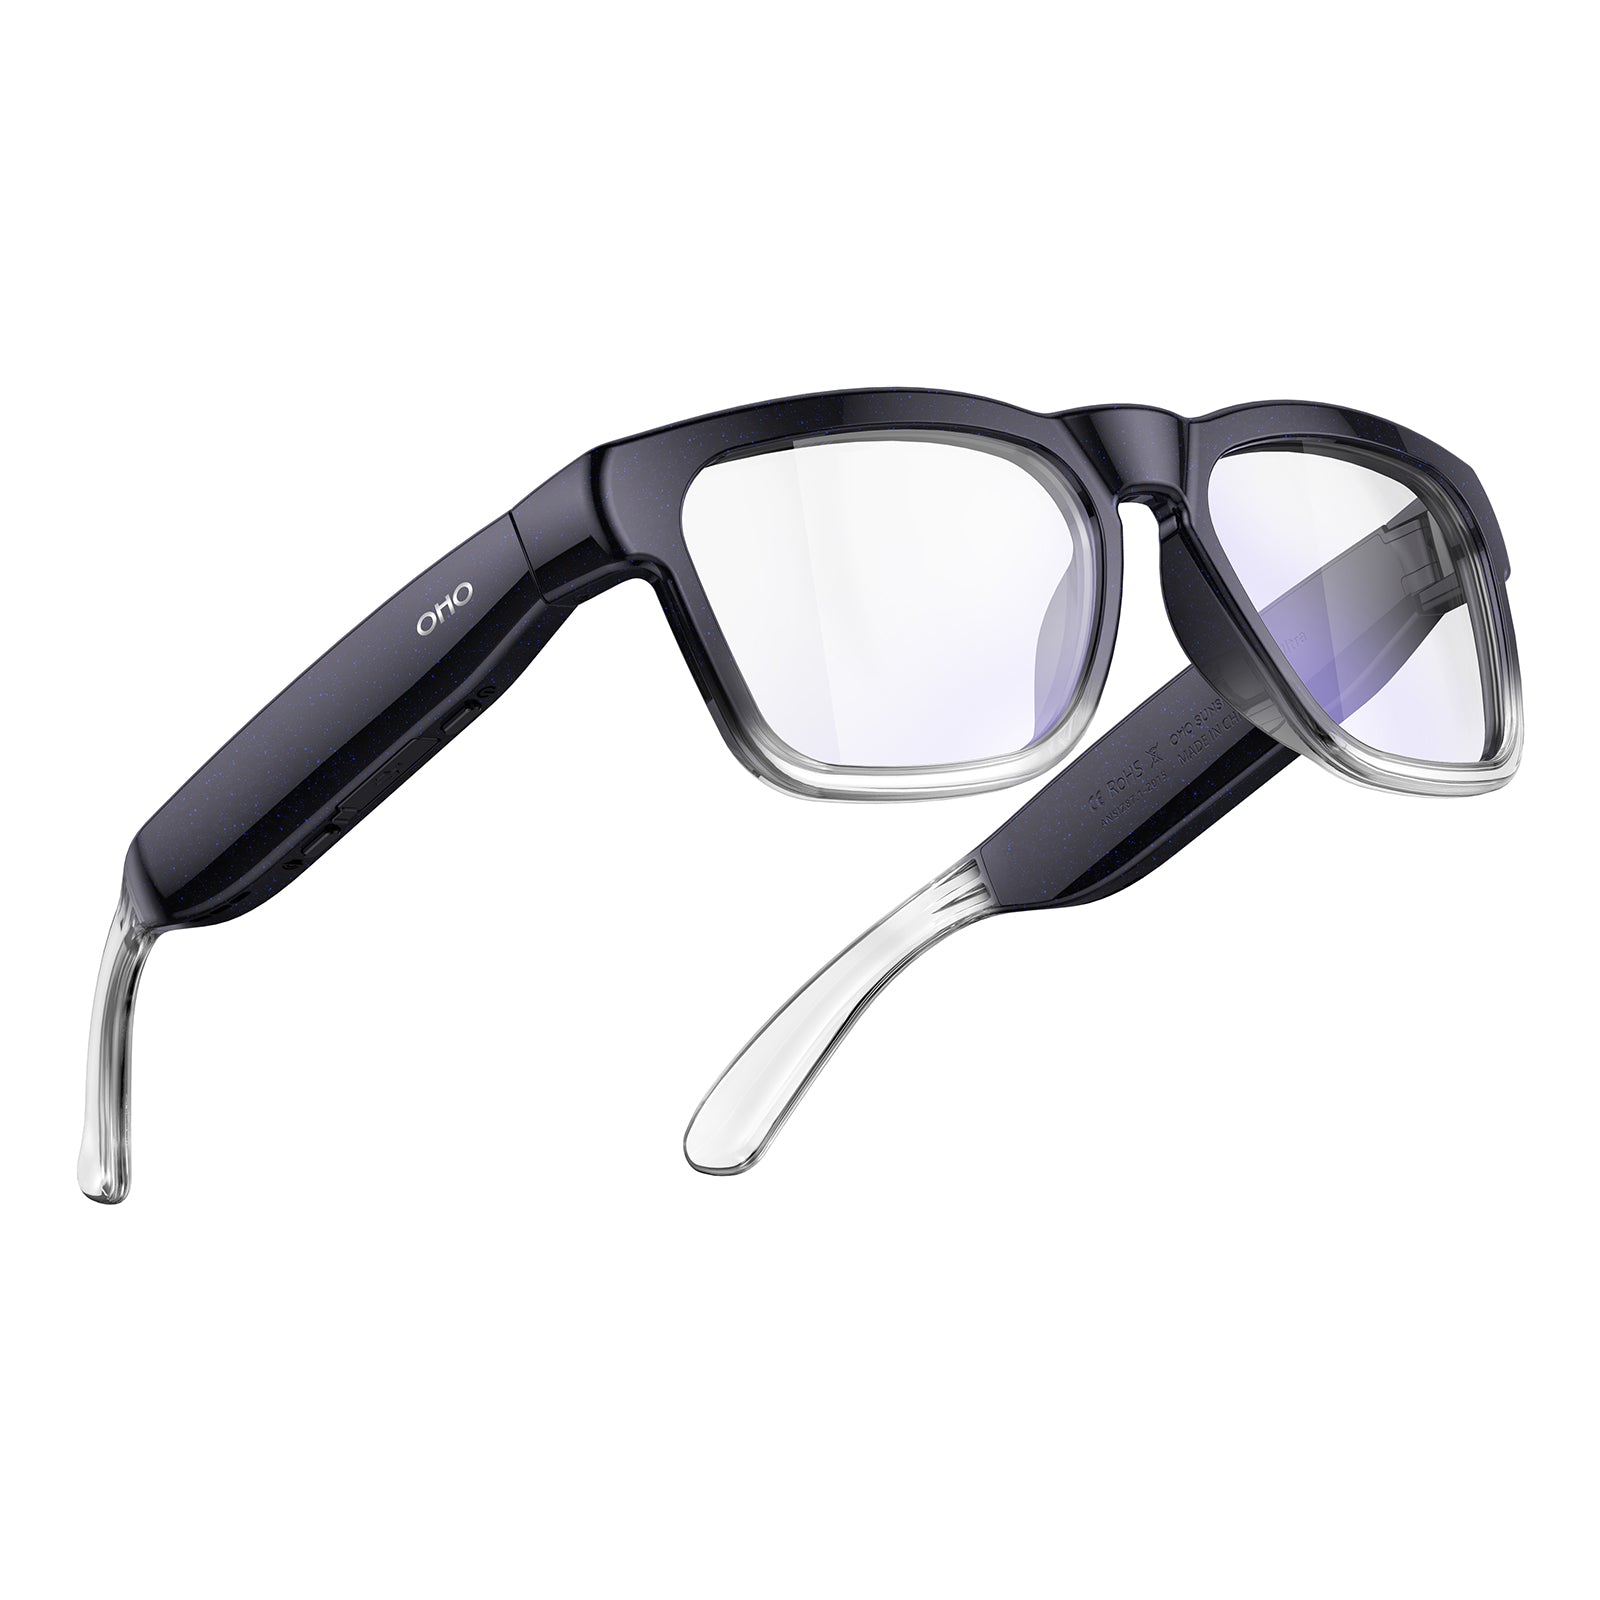






Camera glasses earn a spot in a wildlife field kit when they can produce steady, detailed video of a specific behavior while your binoculars stay up and in use. They are a supplemental recorder, not a replacement for binocular identification or written field notes. The right choice depends on the behavior you're documenting, how long each session runs, and how the glasses fit alongside the optics you already trust.
Key Takeaways
- Choose camera glasses based on the target behavior, distance, and session length, not resolution alone.
- Stable, continuous, well-labeled clips matter more for research value than headline megapixel counts.
- Test the glasses with your actual binoculars before trusting them in the field.
- Battery life, storage, and file recovery must match your survey schedule, not just a single charge.
- Treat any water-resistance rating as a specific, limited claim, and confirm it with a real pilot session.
Match Camera Glasses to the Observation Protocol
Start with the behavior you need to capture, not the spec sheet. A setup that works for a slow-moving animal at close range can fail completely on a fast, distant, or partially hidden one.
Define the Behavior Before Comparing Specs
Match the camera to how far away the animal will be, how fast it moves, how much light is available, and what exactly counts as usable evidence for your protocol. A courtship display at ten feet asks for different framing and stability than a raptor passing overhead at a distance. Separate rapid-event capture, where you just need to catch a fleeting moment, from precise identification or extended monitoring, where sustained detail and consistent framing matter more. If your protocol requires formal evidence collection, camera glasses should supplement rather than replace a dedicated recording setup with known field-of-view and stabilization performance.
Prioritize Useful Wildlife Footage
Put stability and continuity ahead of resolution when you compare camera glasses with a camera. Wildlife documentation guidance from the Macaulay Library and eBird calls for sharp, stable wildlife video and accurate field notes, including continuous clips, usable audio when it adds value, and accurate date, time, and location details attached to each recording. A 4K sensor that shakes or clips mid-behavior is less useful than a steadier 1080p clip that captures the full sequence. Treat higher resolution as a helpful factor when it's available, not proof that a pair of smart glasses with camera hardware is automatically research-grade. Simple, reachable controls matter too, since you may need to start recording without looking away from the animal.
Check Binocular Fit and Observation Posture
Wear the exact camera glasses with your own binoculars before you trust the combination in the field. Bring the binoculars up to your eyes the way you normally would and check whether the frame, temple arms, or camera housing get in the way, whether the lens stays clear of your sightline, and whether you can reach the record button without breaking your grip. Confirm you can see any status light or indicator that tells you recording is active. Smart sunglasses that fit comfortably alone can still interfere once binoculars are added, so this test belongs before purchase, not after. Where the observation protocol involves sensitive species or protected sites, confirm permission, consent, and disturbance-minimization rules for that specific location before you record; treat this as a protocol requirement rather than general legal advice. Once these baseline criteria are clear, the camera glasses collection is a reasonable place to compare current models against them.
Verify the Glasses Before Field Deployment
A camera that passes the criteria above still needs a working session and environment before it belongs in a real survey. This section covers battery, storage, weather limits, and a short pilot test that ends in a clear go or no-go decision.
Match Battery, Storage, and File Recovery to the Survey
Video recording places heavier demands on battery, storage, and processing than still photos, so your workflow needs to match your survey schedule before deployment. Guidance on camera trap and wildlife media management describes the wildlife media workflow demands that come with video files, including larger file sizes, the need for accurate timestamps, and deployment details that make footage usable later. Before a survey, confirm how many clips you can expect per charge, how much storage headroom you have, how you'll transfer files, and whether timestamps and labels survive that transfer. For a solo observer, simple status feedback is enough; a team needs a shared naming and review process so nobody loses track of which clip matches which observation.
Verify Environmental and Visibility Limits
Rely on the exact model's stated environmental limits, not the general idea that outdoor eyewear is rugged. A wide field-of-view or convenient form factor doesn't guarantee usable footage once weather or obstructions enter the picture. A federal assessment of wildlife monitoring cameras found that field-testing for monitoring limits caught problems that convenience alone would have missed, including inadequate field of view, blocked lenses, and weather-related quality loss. Check lens visibility, control access, and footage quality in the actual habitat and lighting you'll be working in, whether that's open shoreline glare, dense brush, or shifting cloud cover.
Run a Pilot and Make the Go-or-No-Go Call
Run one representative pilot session before committing a model to your survey, and let the results decide.

- Record a representative behavior at your normal observation distance while wearing your own binoculars.
- Review the clip for framing, stability, sufficient detail, usable audio, and any obstructions from the frame or lens edge.
- Transfer and label the files, then confirm timestamps are accurate and the clip is recoverable on your normal storage setup.
- If the footage misses the target behavior, cannot be recovered reliably, or fails your session and environmental checks, reject the setup and look elsewhere.
- If the pilot passes, consider a model suited to the session length you actually need.
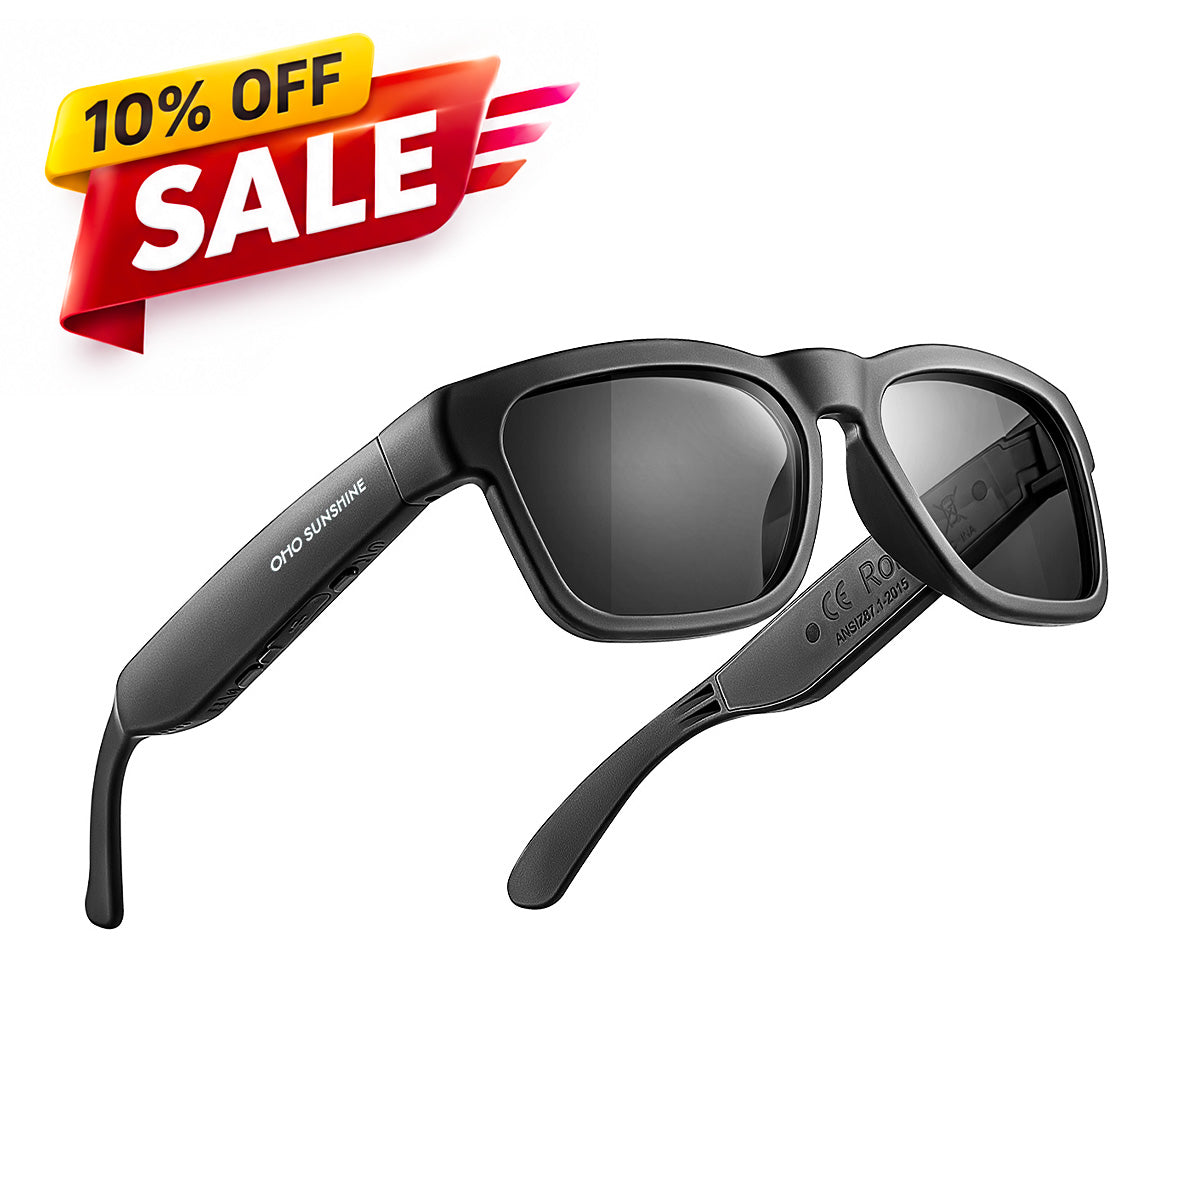
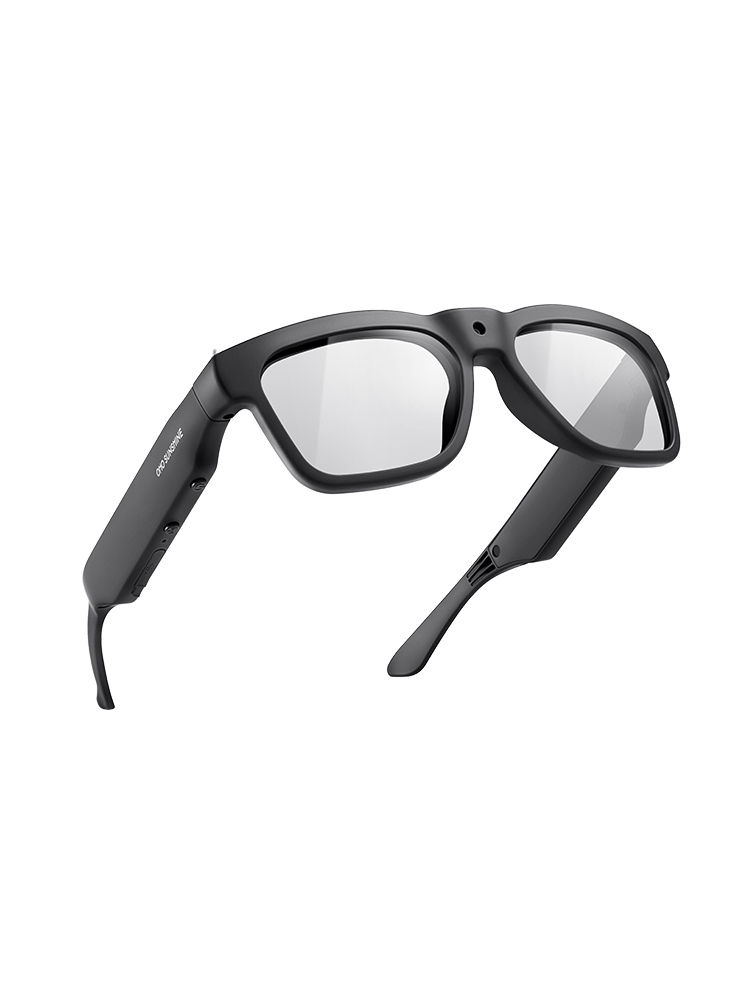
For short daylight sessions where hands-free 4K capture and built-in storage matter most, our short-session camera glasses list 4K/30fps video, 24MP photos, a built-in microphone, and polarized UV400 lenses, and they carry an IPX4 water-resistance rating that covers rain and splashes rather than submersion. Their stated battery life is 30 minutes per charge, so they fit a single focused observation window rather than a full-day continuous recording plan; longer or repeated surveys need a recharge, handoff, or second-unit plan built around that limit. For more on how framing and light affect wildlife capture in the field, our wildlife video guide works through a raptor-observation example in more detail.
FAQs
Can a Camera-Glasses Clip Stand Alone as the Research Record?
Not by default. A clip captures what happened on camera, but your protocol still needs the surrounding context, including accurate timestamps, location, deployment notes, and behavior observations, to make that footage useful later. Treat the video as one piece of evidence inside your larger observation record, and decide before the survey which companion fields you'll log alongside each clip.
Are Polarized Lenses Right for Every Wildlife Habitat?
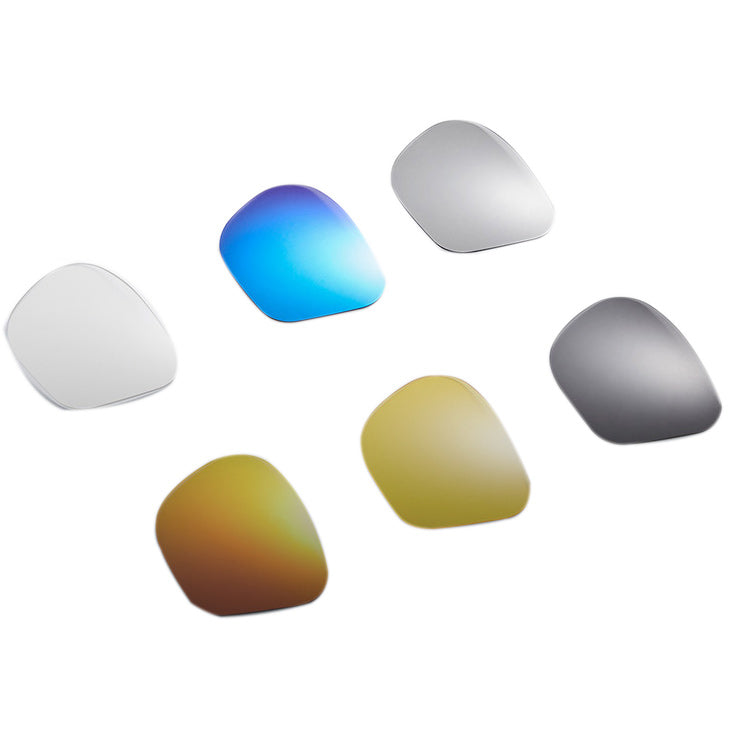
Not automatically. Polarized lenses cut glare well in open, bright conditions, but canopy shade, low light, or rapidly changing conditions can pull in the opposite direction, since polarization can also dim scenes where you need maximum visibility of the animal and the camera's status indicator. Test the exact lens in your habitat, at your usual observation time of day, and let your ability to see both the subject and the camera status decide.
What If a Product Listing and Manual Disagree?
Give the current model's official documentation priority over a general listing or FAQ page, and record the exact discrepancy you found rather than assuming the stronger claim is correct. Then verify the disputed function yourself, whether it's battery life, storage capacity, or a weather rating, with a representative recording, transfer, and recovery test. Don't select a model based on the larger or more attractive number until your own pilot confirms it.
Once your protocol's requirements are clear and a pilot session confirms usable footage, run your chosen camera glasses through one more representative survey day before relying on them for real data collection. If that day passes your framing, recovery, and environmental checks, browsing the camera glasses collection for the session length and conditions you actually need is a reasonable next step.


Deixe um comentário
Este site está protegido pela Política de privacidade da hCaptcha e da hCaptcha e aplicam-se os Termos de serviço das mesmas.