















Comfortable snow goggles spread pressure evenly across your face instead of pressing hard at the nose or cheekbones. The foam should hold a steady seal without pinching, the strap should stay snug without digging in, and your ski or snowboard helmet should meet the goggle without a gap or downward push. Add ventilation that keeps your view clear through lift rides, runs, and lodge breaks, and a weight balance you barely notice, and you have the full picture. The rest of this guide breaks each part into a check you can run before you buy, then closes with a 10-minute helmet-on routine that tells you whether to keep, adjust, or reject a pair.
What All-Day Snow-Goggle Comfort Should Feel Like
Comfortable snow goggles do several jobs at once: they distribute pressure, hold a seal, stay stable with your helmet, and let you breathe and see clearly. No single soft material fixes all of that. Use the table below as your baseline before trying anything on.

| Comfort feature | What the wearer should feel | Keep, adjust, or reject signal |
|---|---|---|
| Nose and cheek pressure | Even, snug contact with no sharp spot | Reject if a hotspot stays after light repositioning |
| Foam seal | Continuous cushioning, no pinch or gap | Adjust fit if the seal breaks during normal movement |
| Strap stability | Goggles stay put without deep marks | Reject if only overtightening stops shifting |
| Helmet contact | No top gap, no downward push | Change pairing if the conflict persists after adjustment |
| Airflow and visibility | Clear view through movement and pauses | Reject if fogging or discomfort recurs |
| Weight balance | No noticeable pull front-to-back or side-to-side | Reject if imbalance shows up during head turns |
How to Find Nose, Cheek, Foam, Strap, and Helmet Pressure Points
A poor fit announces itself through a specific sensation, not a vague feeling of tightness. Locating the exact source tells you whether to adjust the setup or walk away from that pair.

Nose and Cheekbone Pressure
A sharp, localized ache at the nose bridge is different from ordinary snugness. Testing from OutdoorGearLab's ski goggle comparisons found that smaller models can load the cheekbones and nose bridge while larger frames can leave gaps around a smaller face. If a modest strap adjustment does not relieve a localized hotspot, treat that as a reject signal rather than something to push through.
Foam Seal and Facial Movement
Good foam cushions your face and keeps a continuous seal without pinching. Test it by moving naturally: smile, talk, look up, and look down. Watch whether contact stays even or shifts into a hotspot. If the seal breaks or gaps open during ordinary movement, that points to a fit problem, not a strap problem, so more tension will not fix it.
Strap Tension and Helmet Contact
Adjust the strap to hold an already well-seated frame in place, not to force a poorly seated one to work. Put on the helmet you actually plan to wear and check for downward pressure, a gap at the top, or any change to the seal. A wider-face helmet fit guide can help if your face shape or helmet size is part of the issue. If the interface still feels wrong after adjustment, change the pairing or reject the setup rather than cranking the strap tighter.
Why Ventilation and Anti-Fog Control Comfort During a Resort Day
Airflow and clear vision matter as much as padding once you are several runs into a resort day. A goggle can feel plush at the counter and still turn uncomfortable on the mountain if your view keeps fogging.
Watch Visibility During Movement and Transitions
Check your vision after moving, pausing, and simulating a lift-to-run transition, not just while standing still in a shop. Recurring condensation or a face that feels uncomfortably cold changes the comfort decision even when the foam felt fine at first. There is no universal fogging time or vent size that guarantees clear vision, so treat this as a personal check rather than a spec to compare on paper.
Anti-Fog Is Part of the Comfort Check
Vents help control fogging, while wider vents generally increase airflow but may make your face feel colder in extreme conditions, according to REI's goggle guidance. Observe your visibility with the helmet and strap set the way you will actually wear them. A visibility problem that keeps coming back is a reason to adjust or reject the setup, not a reason to trust the anti-fog label alone.
How Weight and Camera Bulk Change Goggle Comfort
Adding an integrated camera changes the comfort question because weight and bulk sit on your face all day, not just in your hand.
Separate Weight From Perceived Balance
A weight listed in grams tells you how heavy the goggle is, not where you will feel that weight. Check for sliding, pulling to one side, or noticeable movement during head turns while the helmet is on. Persistent imbalance belongs in the reject pile even if the camera features are appealing.
Choose Integrated Recording Only If It Earns the Extra Test
Camera goggles make the strongest case for shoppers who specifically want hands-free, first-person footage of their runs. If you do not need that workflow, do not accept unresolved bulk or balance concerns just because a pair has more features. A camera-goggle comfort test applies the same pressure, seal, helmet, and visibility standards used for any other goggle, and that standard should decide the outcome, not the spec sheet.
The 10-Minute Helmet-On Snow-Goggle Try-On Routine
This is a practical pre-purchase method, not a lab-validated ergonomic test, but it can help you find many immediate fit, movement, seal, or visibility problems before you buy. Run it with the helmet you actually plan to ski in.
- Put your ski or snowboard helmet on first, then seat the goggles naturally against your face.
- Adjust the strap only enough to hold the goggles stable; stop once shifting stops, not before.
- Move your face and head deliberately: smile, talk, look up and down, and turn side to side while scanning the nose, cheekbones, foam edge, and seal for pressure or gaps.
- Simulate a lift-to-run transition and watch your vision, airflow, and any camera-related pull or imbalance during movement.
- Keep the full setup on for the rest of the 10 minutes. Keep the pair if contact and vision stay usable, make one targeted adjustment if a single clear cause explains any discomfort, and reject the pair if a hotspot, gap, shifting, or imbalance persists after that adjustment.
When OHO SUNSHINE Skyshot Makes Sense for Camera-Goggle Shoppers
Once the neutral criteria above are settled, camera-specific hardware becomes a separate decision.
What the Skyshot Listing Establishes
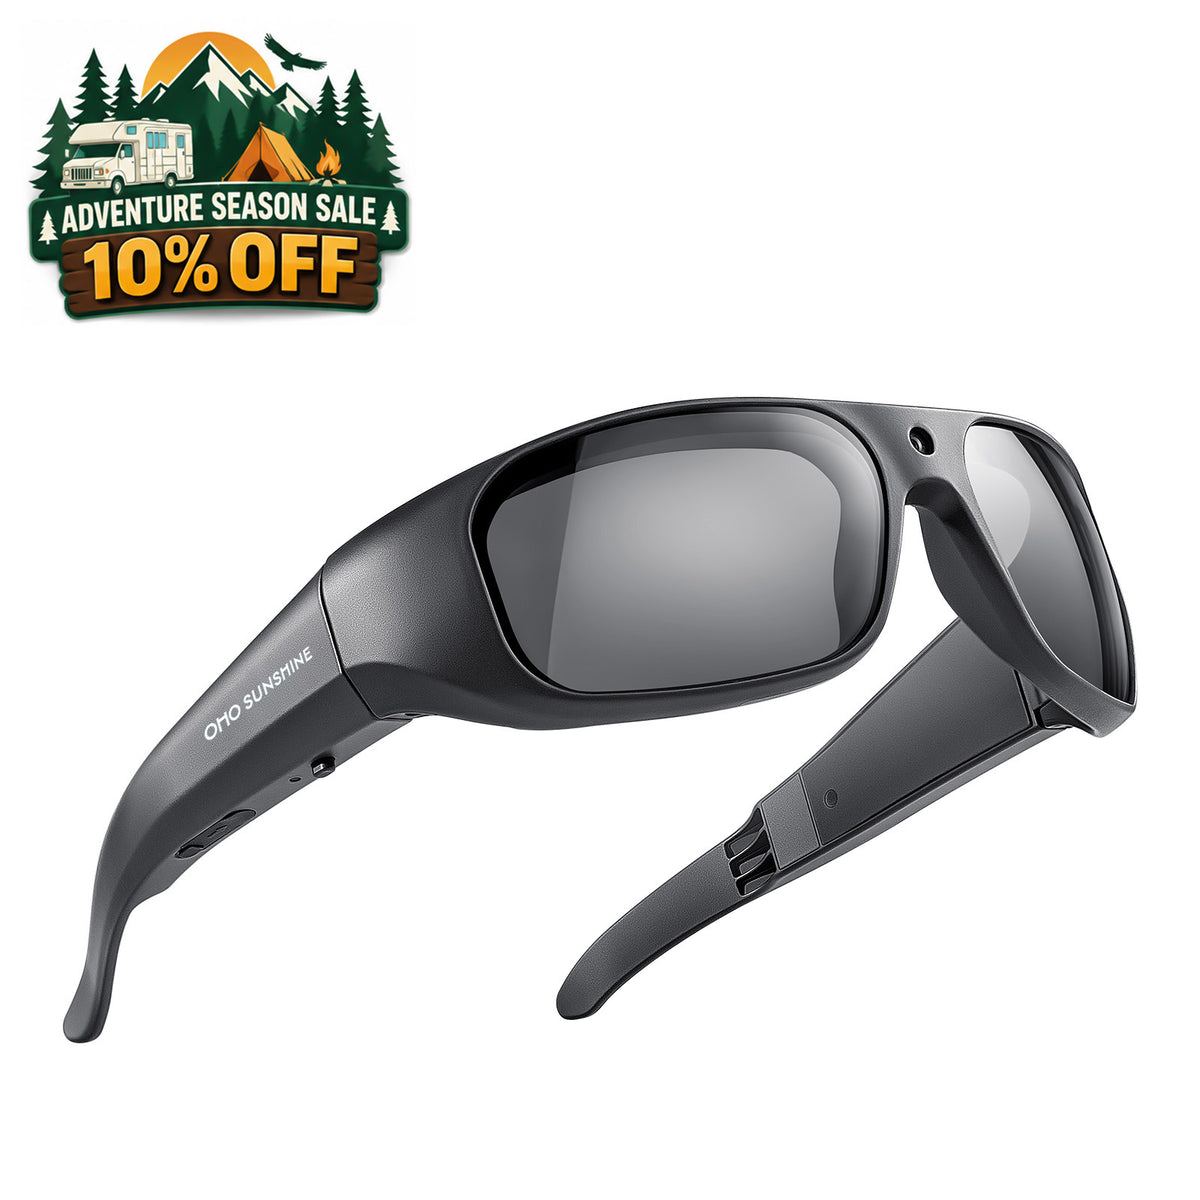
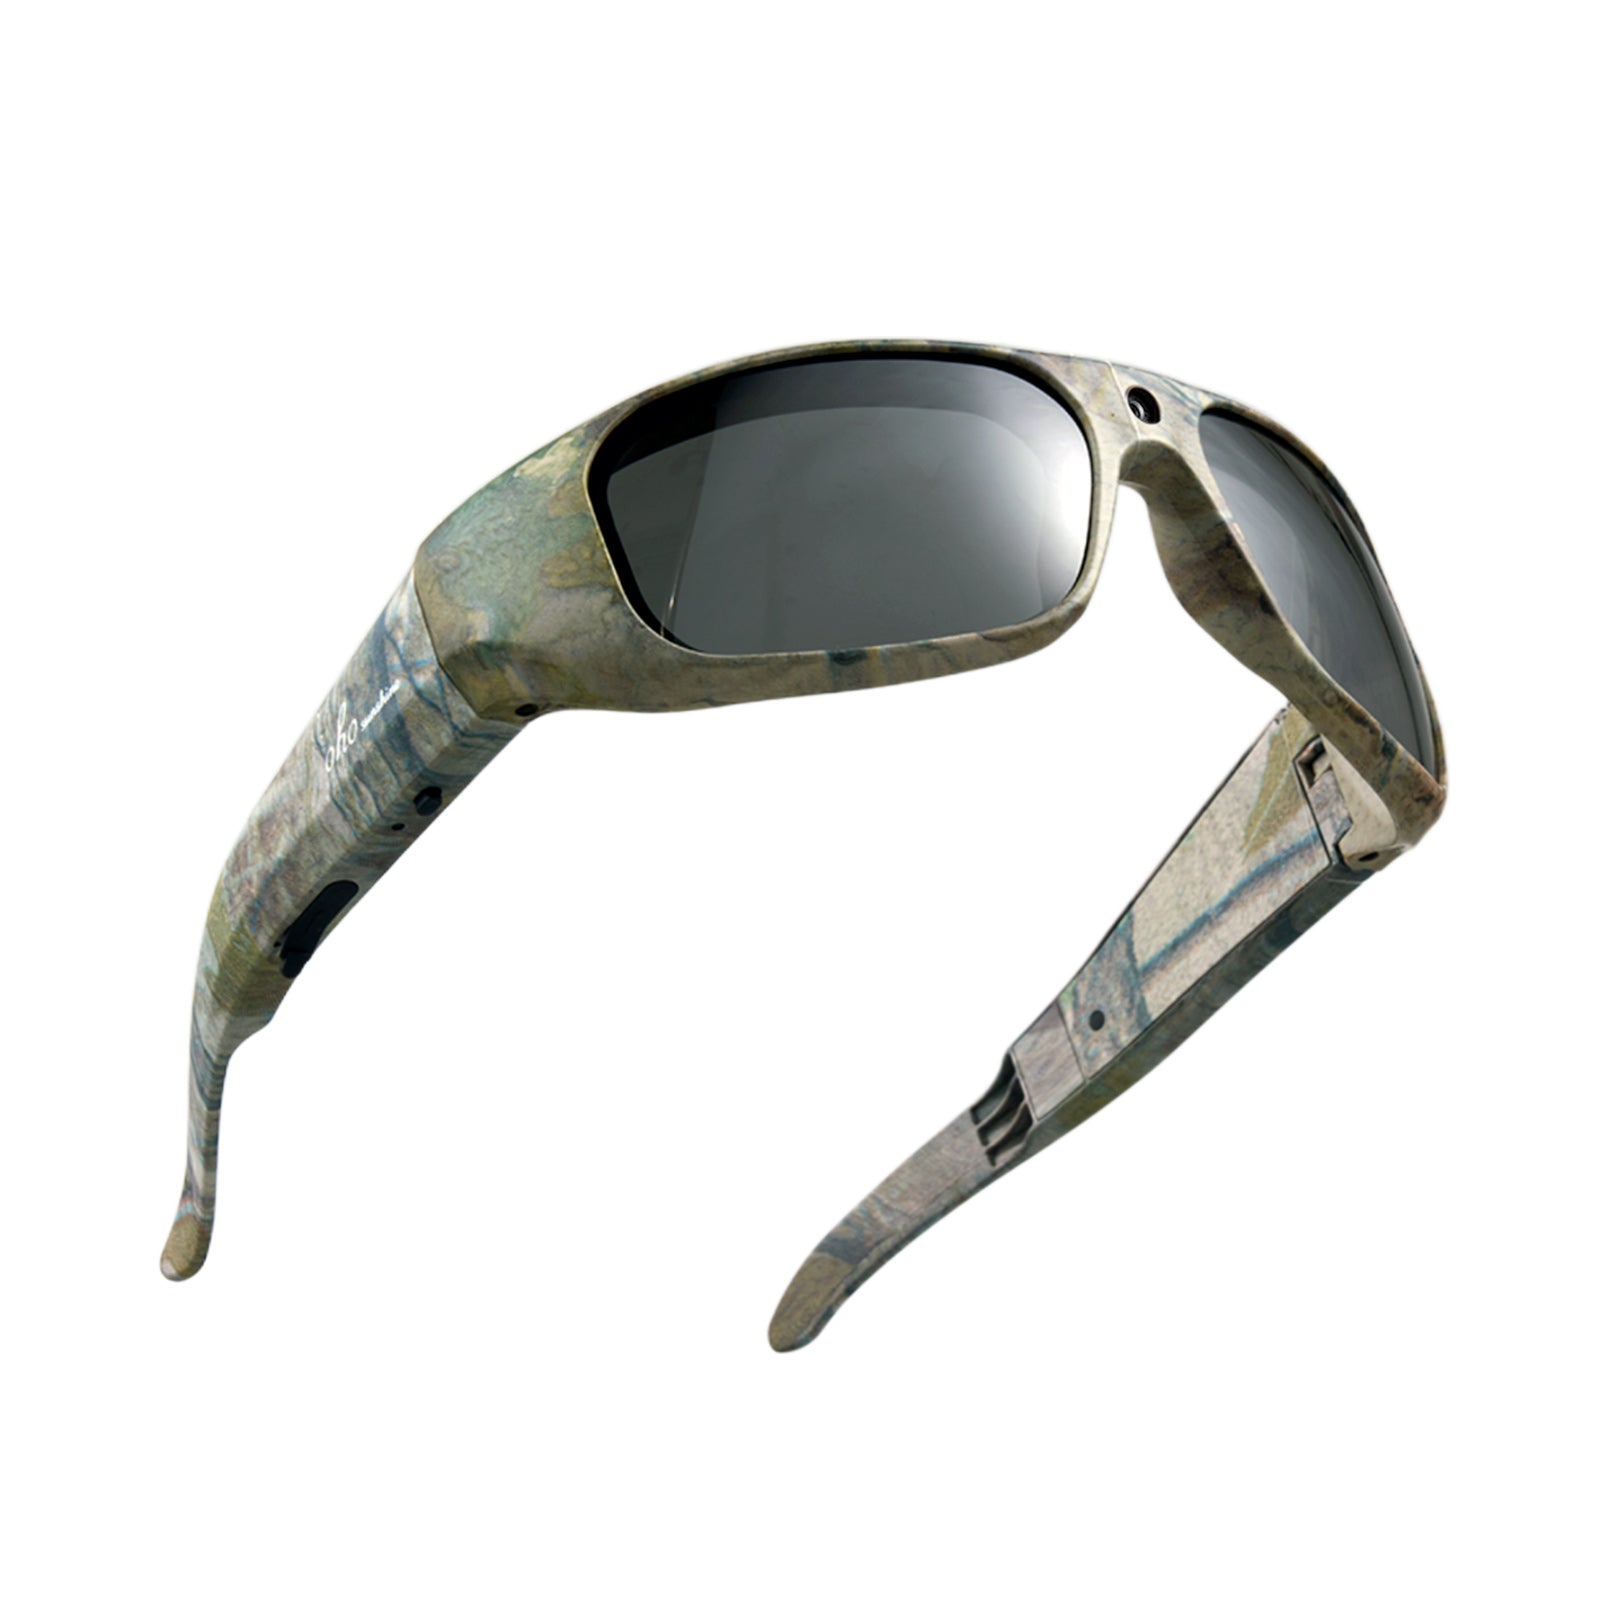
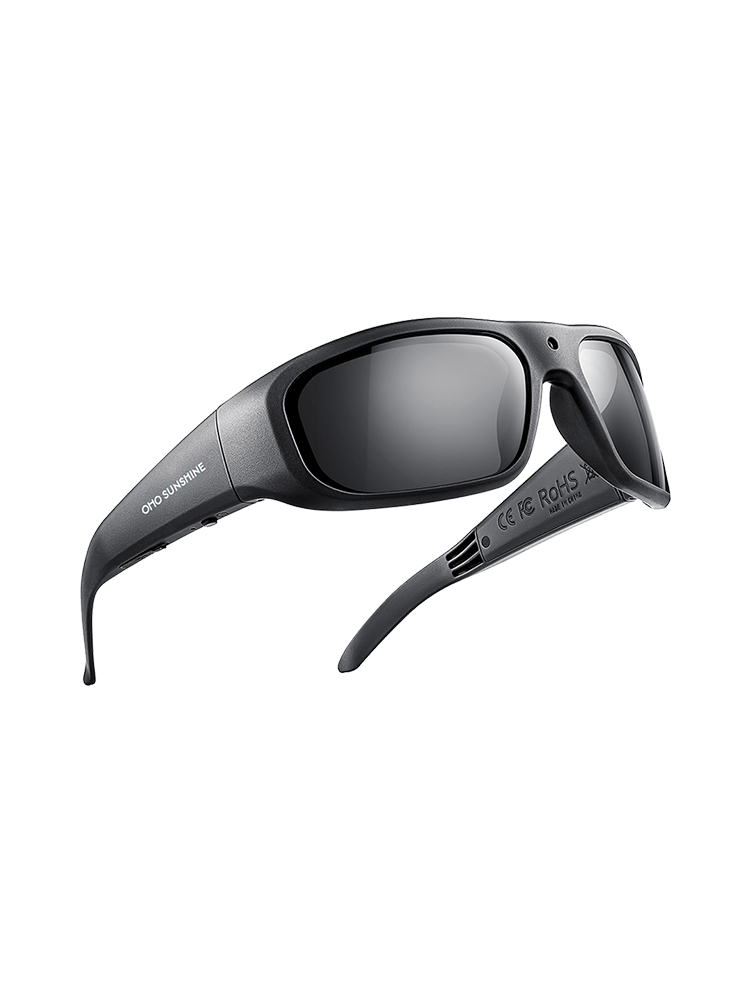
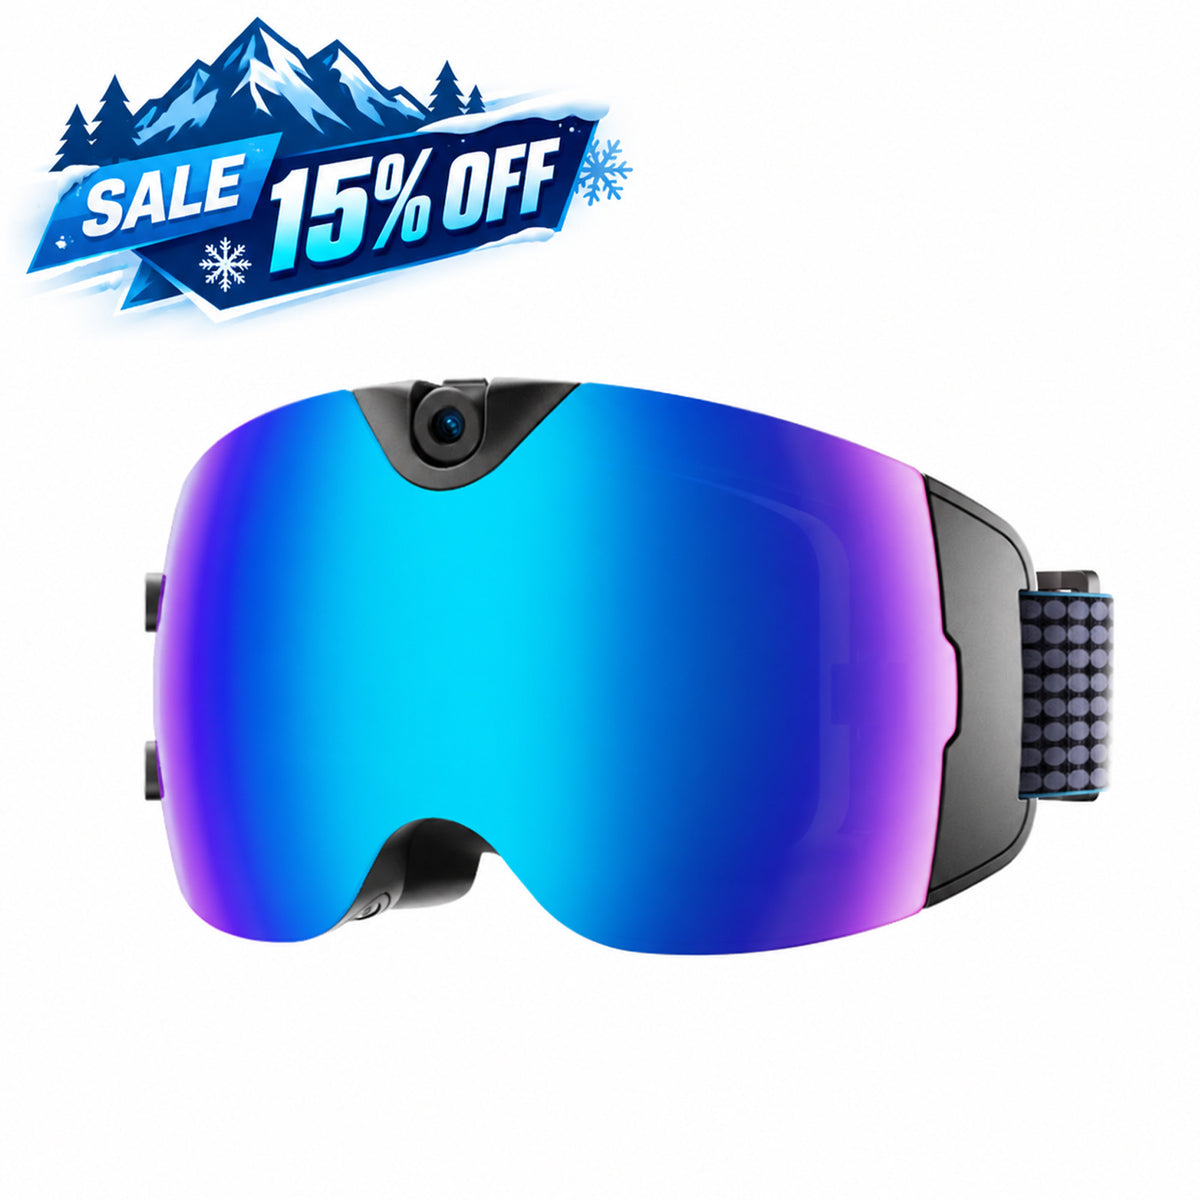
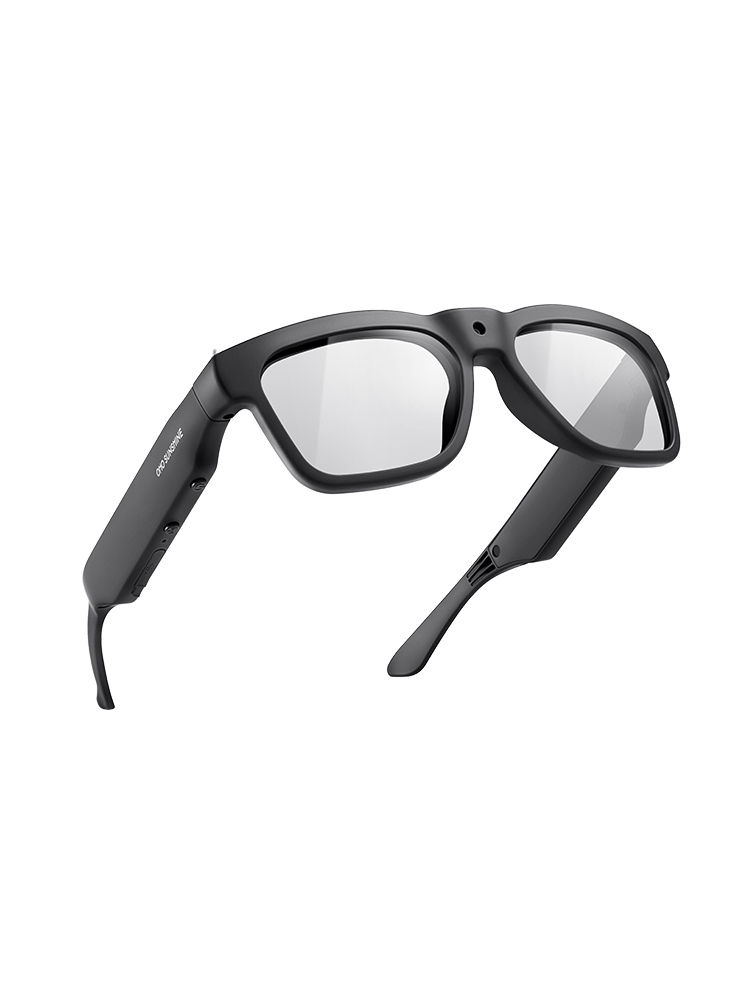
The Skyshot listing describes an adult, unisex camera ski goggle with 4K/30 fps video, 24-megapixel photos, a 140-degree camera, anti-fog and polarized lens features, Wi-Fi connectivity, USB-C charging, and a listed weight of 213 grams, about 0.47 pounds. Those are product capabilities and specifications. They tell you what the goggle can record and roughly how heavy it is, not how it will feel on your face after four hours on the mountain.
Who Should Explore It After the Comfort Test
We built Skyshot for skiers and snowboarders who want hands-free, first-person recording without carrying a separate action camera. If that workflow matters to you, and your complete helmet-on setup passes the pressure, seal, visibility, and balance checks above, it's worth taking a closer look. You can explore Skyshot camera goggles to see the full feature set. If the setup still feels unbalanced or creates new pressure during movement, treat that as a reject signal regardless of the recording features, since the specification sheet is not a substitute for your own helmet-on test.
Keep, Adjust, or Reject: Your Resort-Day Comfort Decision
Keep a pair when pressure stays even, the foam seal holds, the helmet does not change the fit, your vision stays clear, and the setup feels balanced. Adjust once when a single identifiable issue, like strap tension or helmet angle, explains the discomfort. Reject the combination when a hotspot, gap, downward pressure, recurring fogging, shifting, or imbalance remains after that one adjustment; if it passes, use that complete helmet-on setup as your buying decision, and if it fails, choose another pairing.
FAQs
How Do I Stop My Snow Goggles From Hurting My Nose?
Check for a localized hotspot from the frame or lens shape, and confirm your helmet is not pushing down before you touch the strap. Make one targeted adjustment; if the pain stays after that, the fit is not right for your face with that setup.
Do Heavier Snow Goggles Cause More Fatigue?
Weight alone does not prove fatigue for every wearer. A heavier or camera-equipped pair is worth an extra movement and repeated-wear check with your helmet on, but a listed weight in grams cannot tell you how balanced it will feel.
How Should I Adjust My Snow-Goggle Strap for All-Day Wear?
Use enough tension to stop the goggles from shifting and to hold the seal, not enough to leave pressure marks. If tightening further is the only way to stop movement, the frame or helmet pairing needs a closer look instead.
How Should Snow Goggles and a Helmet Feel Together?
The helmet should meet the goggles without pushing them down or leaving a gap at the top. If that interface problem keeps showing up after you adjust the strap, it is a pairing issue between that goggle and that helmet, not something more tension will solve.


Zostaw komentarz
Ta strona jest chroniona przez hCaptcha i obowiązują na niej Polityka prywatności i Warunki korzystania z usługi serwisu hCaptcha.