














Choosing camera ski goggles online starts with measurable fit checks, not a men's label on the listing. Compare your face width, nose-bridge height, and helmet model against the seller's actual dimensions before you look at camera specs. Once fit checks out, match the camera, lens, and controls to how and where you actually ski.
A men's tag on a goggle box says nothing about whether it will sit flush against your brow or clear your cheekbones. Two skiers with the same helmet size can need different goggle shapes because face width, nose-bridge height, and cheek contour vary independently of gender. Treat every listing as unverified until you compare its stated dimensions with your own.
Start with Fit: Face, Helmet, and Online Measurements
You can verify a lot online before you ever touch the goggles: facial dimensions against the listing's fit chart, helmet compatibility against the strap and frame design, and return terms in case the pairing fails at home. Skip any listing that gives you none of this to check.
Measure the Face Fit You Can Verify Online
Start with numbers you can actually compare, not marketing language. Useful data points include:
- Face width and nose-bridge height, matched against the seller's stated fit range using the same units.
- Cheek contact and temple pressure, which foam density and frame curve control more than frame size labels do.
- Explicit large-fit, low-bridge, or OTG notes, which support a fit decision but never replace real dimensions.
If a listing gives you no measurements and no fit language beyond "unisex" or "men's," you don't have enough information to buy with confidence. Ask the seller for dimensions or move to a listing that provides them.
Check the Helmet Interface Before Ordering
Pair the goggles with your exact helmet model and size, not a generic helmet in the store. Work through this sequence at home or in a fitting room:

- Put on the helmet as you normally would, then position the goggles so the frame meets the brow evenly.
- Check for gaps at the brow or pressure points at the temples; either one signals a shape mismatch the strap cannot fix.
- Route the strap along the helmet's designed channel and confirm it holds without cranking down to close a gap.
- Look for helmet edges pressing into the goggle frame or blocking its vents, since blocked vents undercut fog control regardless of the lens.
- Sweep your eyes side to side and confirm you still have useful peripheral vision with the helmet on.
A wider-face helmet fit guide can help if step one already shows gaps at the nose or cheeks, since those buyers usually need a wider frame rather than a different lens. International goggle standards frame fit and retention requirements around secure adaptation to the face and stable retention on the helmet, which is exactly what this sequence is checking.
Use a Return-Aware Home Fit Test
Before you take the goggles anywhere near snow, wear the full combination indoors with the strap secured the way you'll actually use it. Keep protective films on and avoid the slopes until you're satisfied. Spend several minutes in the pairing, not just a few seconds in front of a mirror, since pressure points and slippage often show up only after the goggles warm to face temperature.
Reject the pairing if you notice nose pinching, cheek gaps, strap slippage, or a visibly restricted field of view. A properly fitted helmet paired with controlled, responsible skiing remains the foundation of safety on the mountain; a camera feature does not change that controlled skiing principle. Before you buy, read the seller's return window and any exclusions for worn or unsealed goggles, because online fit can only be confirmed at home, not from a product photo.
Compare Camera, Lens, and Controls by Ski Scenario
Once fit and helmet pairing pass, the next decision is scenario-led: how you ski should drive which camera, lens, and control features matter most. Aggressive runs, bright sun, overcast light, and frequent recording each call for a different check.
Match Camera Placement and Field of View to Recording Goals
A stated camera field of view describes what the lens records, not what your eyes see through the goggles. A wide recording angle can still miss your intended shot if the camera sits off-center or points slightly down. Before your first run, shoot a stationary test clip or open a live preview and check the horizon line, the sky-to-ground balance, and whether the framing matches the angle you actually want to capture. This costs a few minutes and prevents a season of clips that don't match what you remember seeing.
Separate Anti-Fog and Visibility Claims from Proof
Bright sun and overcast days ask for different lens information. For sunny days, confirm the listing states UV filtering; the Know Before You Go safety program recommends eyewear that filters harmful UV rays and supports visibility in both sunny and cloudy conditions. For overcast or low-light days, look for a stated visible-light transmission figure or a dedicated low-light lens rather than assuming a dark lens will work everywhere.
An "anti-fog" label is a marketing term unless the listing explains what was tested and how. Fog resistance depends on lens construction, ventilation layout, and how the goggle seals against your specific helmet, not the label alone. Optical and fogging performance for ski and snowboard goggles sit inside a broader optical and anti-fog verification framework that treats fogging resistance as a distinct, optional test rather than something a lens label automatically proves.
Choose Controls and Battery Around Your Day
Frequent recorders should compare four practical details before buying: button or app controls, recording-status feedback, charging method, and memory or storage. Gloves make small buttons hard to find by feel, so status feedback that you can sense without looking matters more on the hill than in a spec sheet.
- Aggressive runs: prioritize a secure fit and unobstructed vision over camera features; a stable pairing protects your view better than any recording spec.
- Bright sun: confirm stated UV filtering and light-management details before adding the goggle to your cart.
- Overcast light: look for a stated transmission value or a low-light lens option instead of assuming your everyday lens will work.
- Frequent recording: compare controls, charging, and memory for the exact model, and clarify battery duration with the seller if the product page and category page disagree.
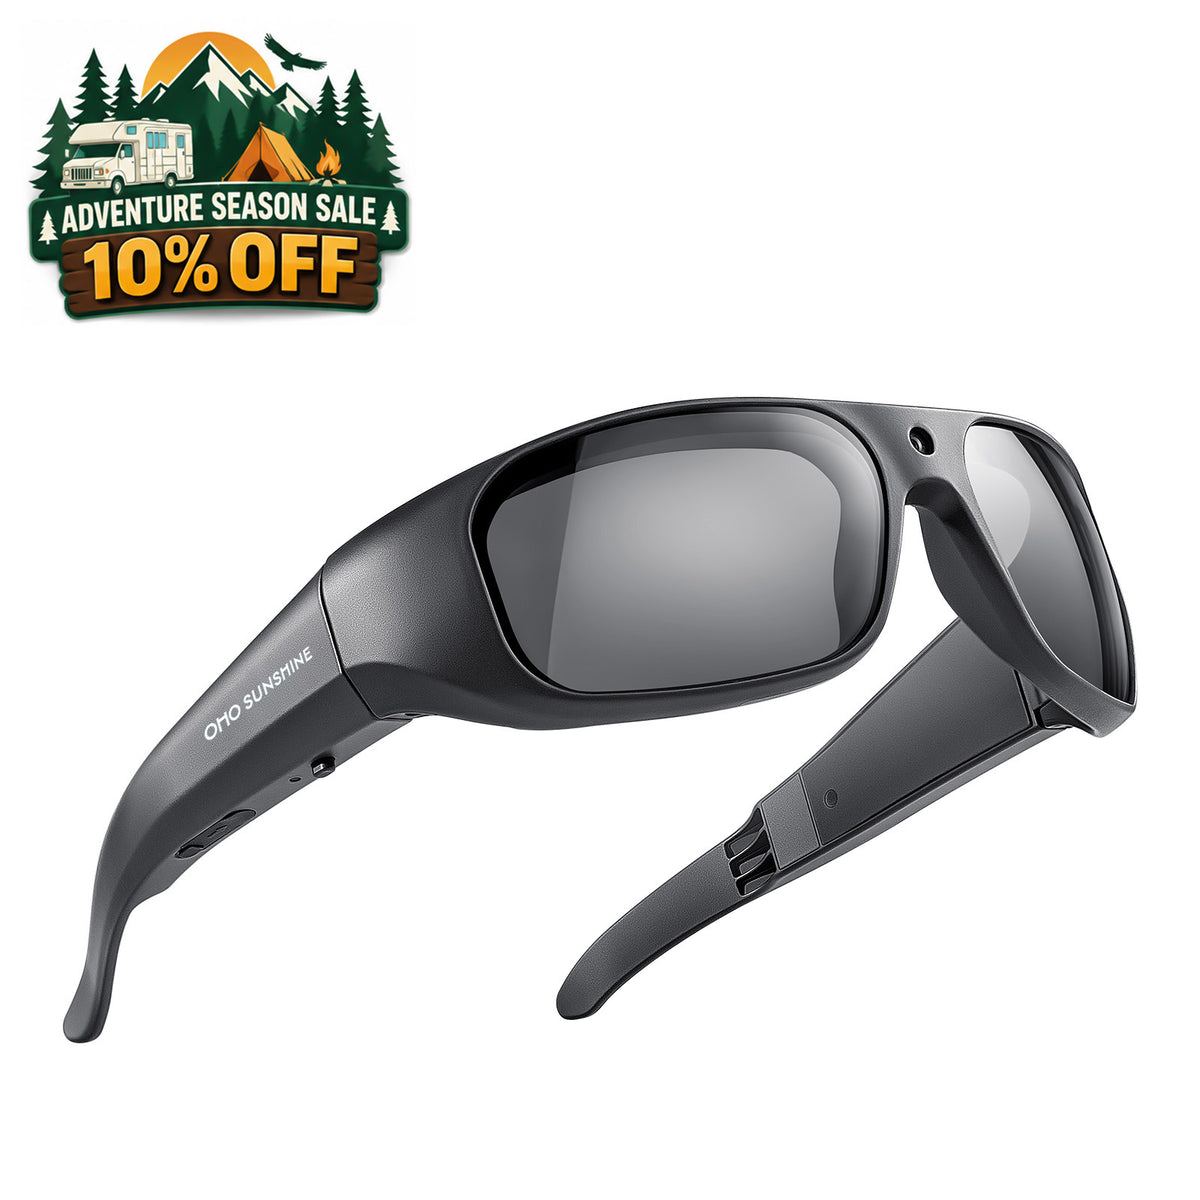
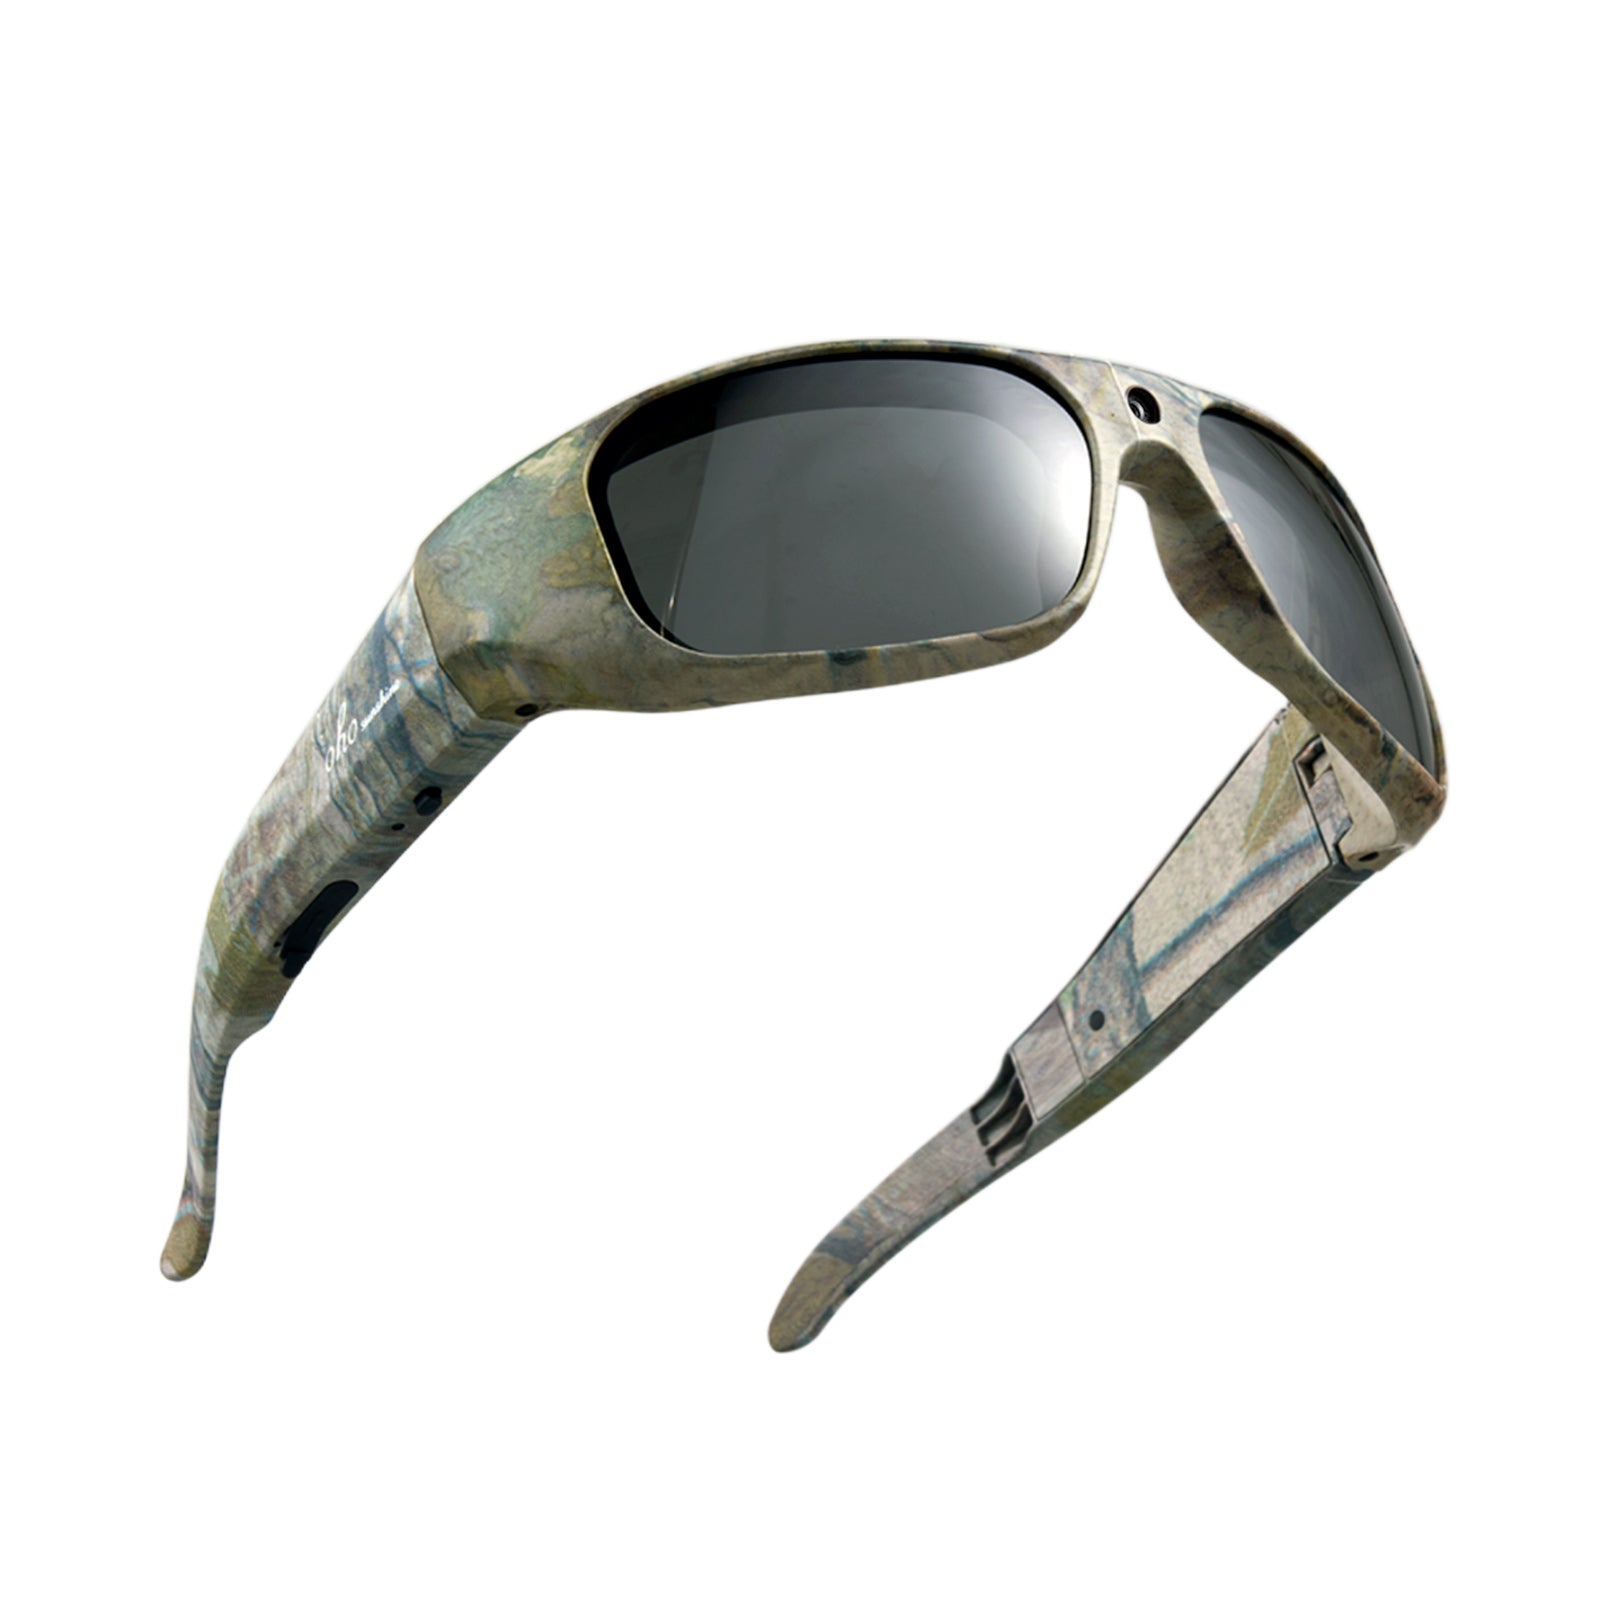
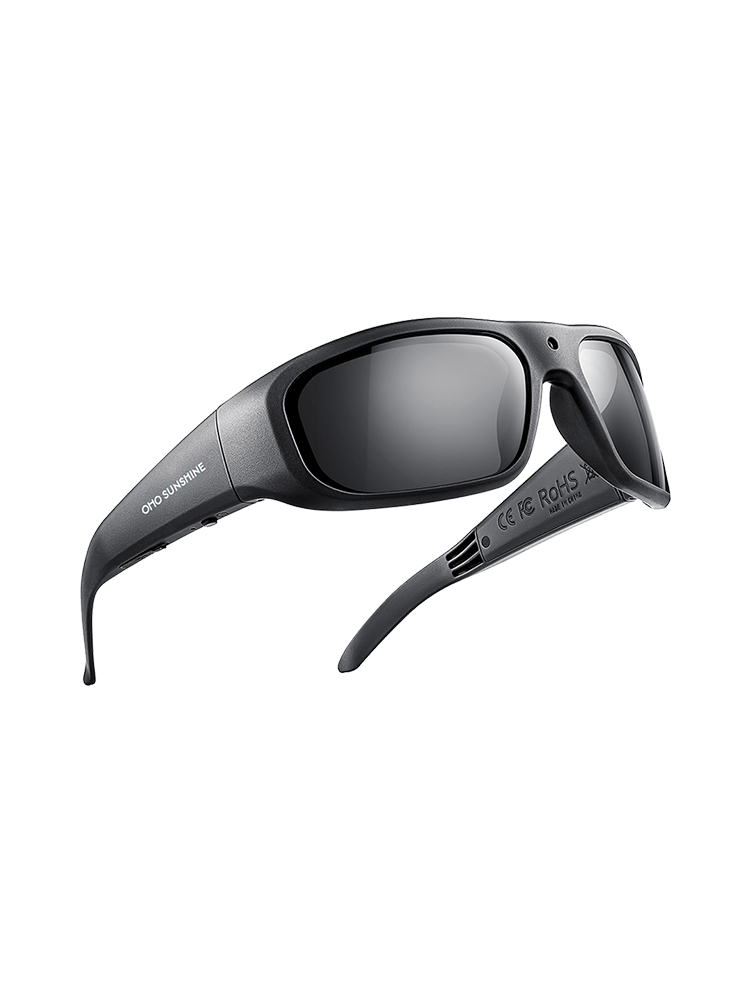
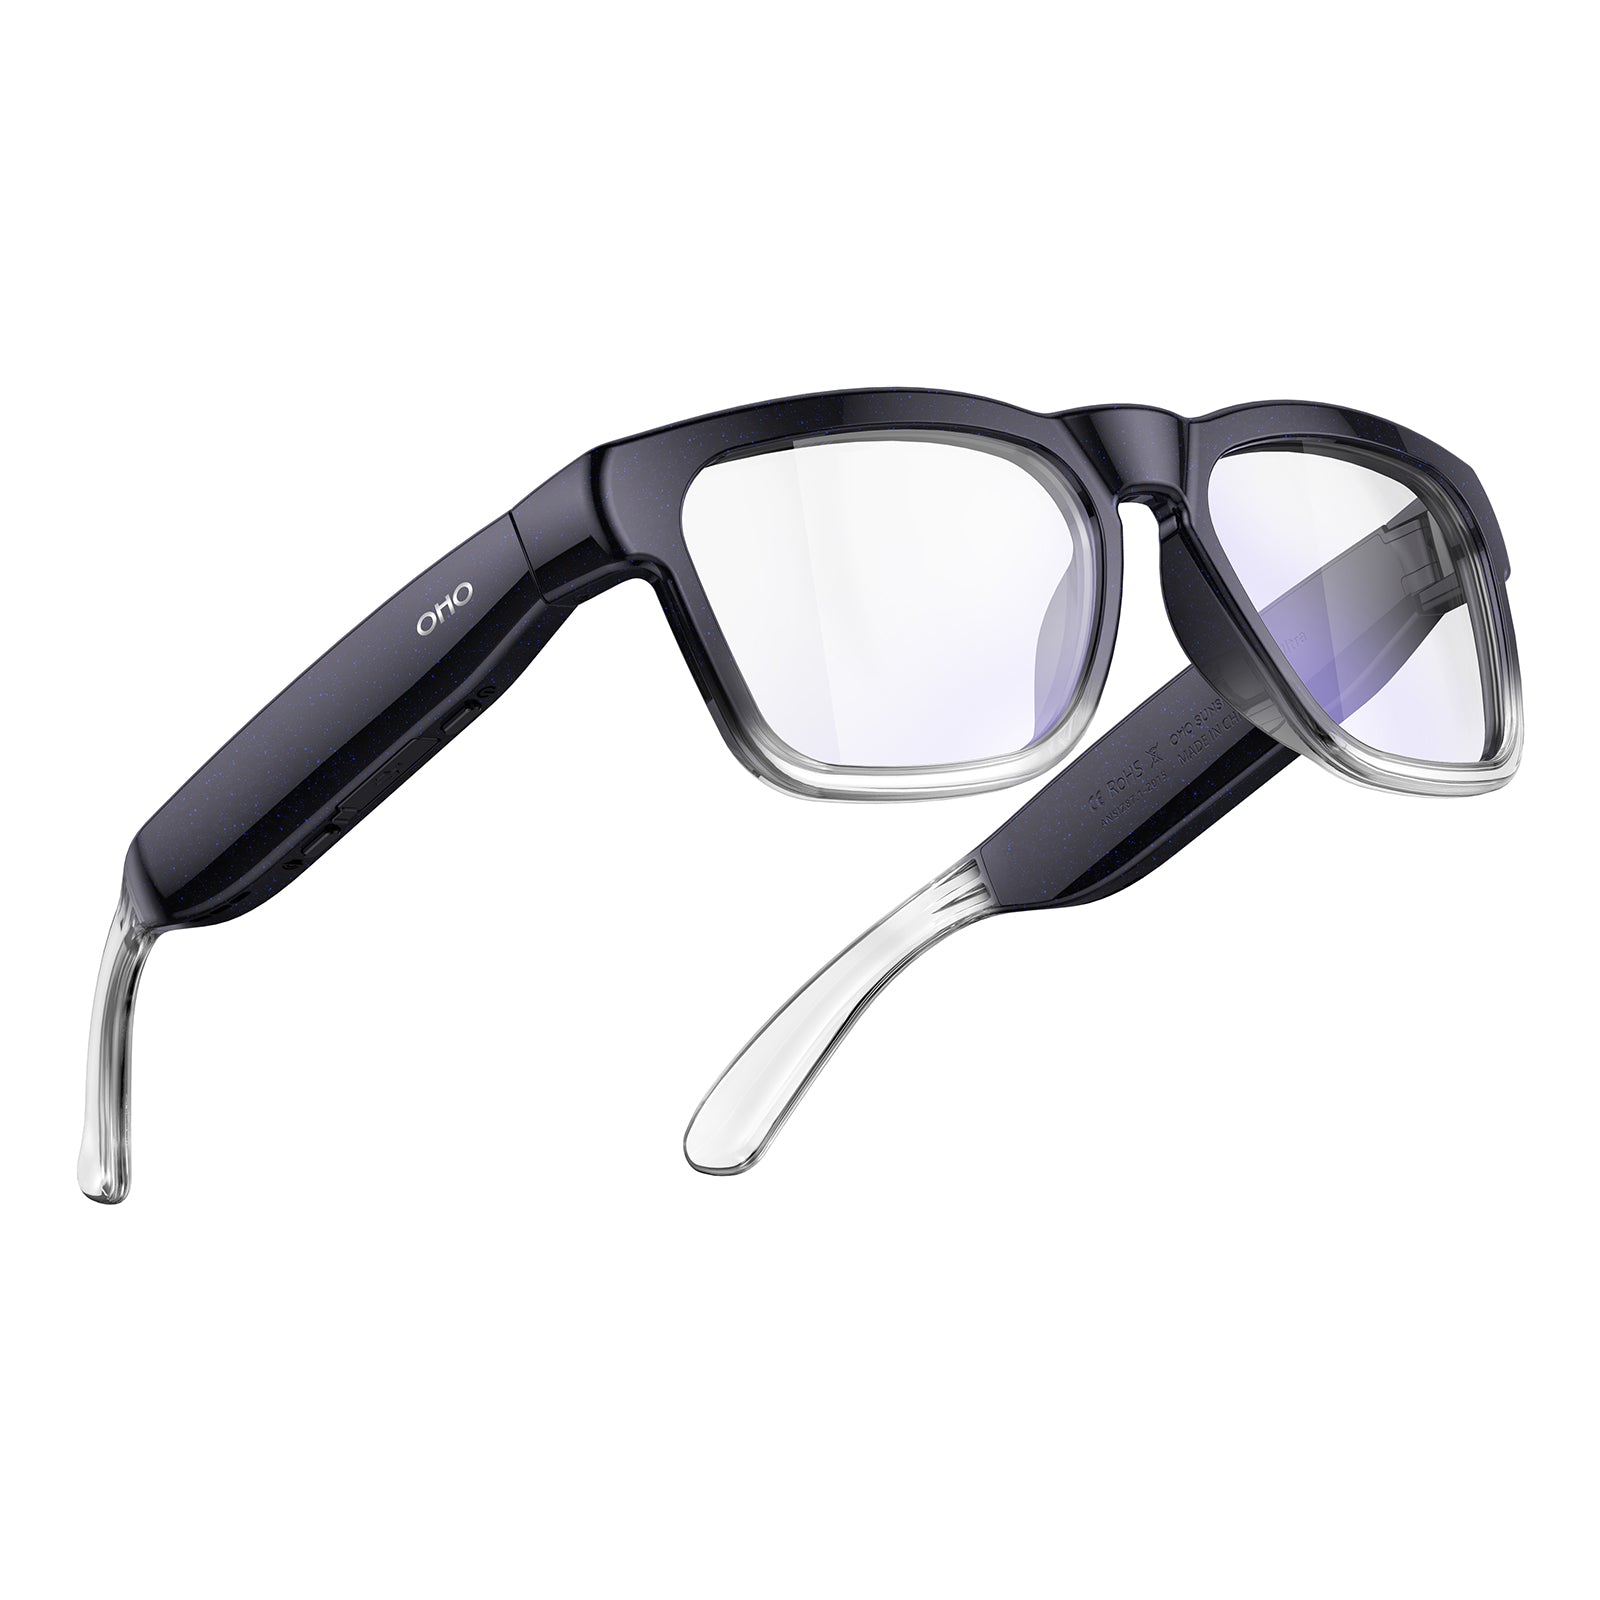
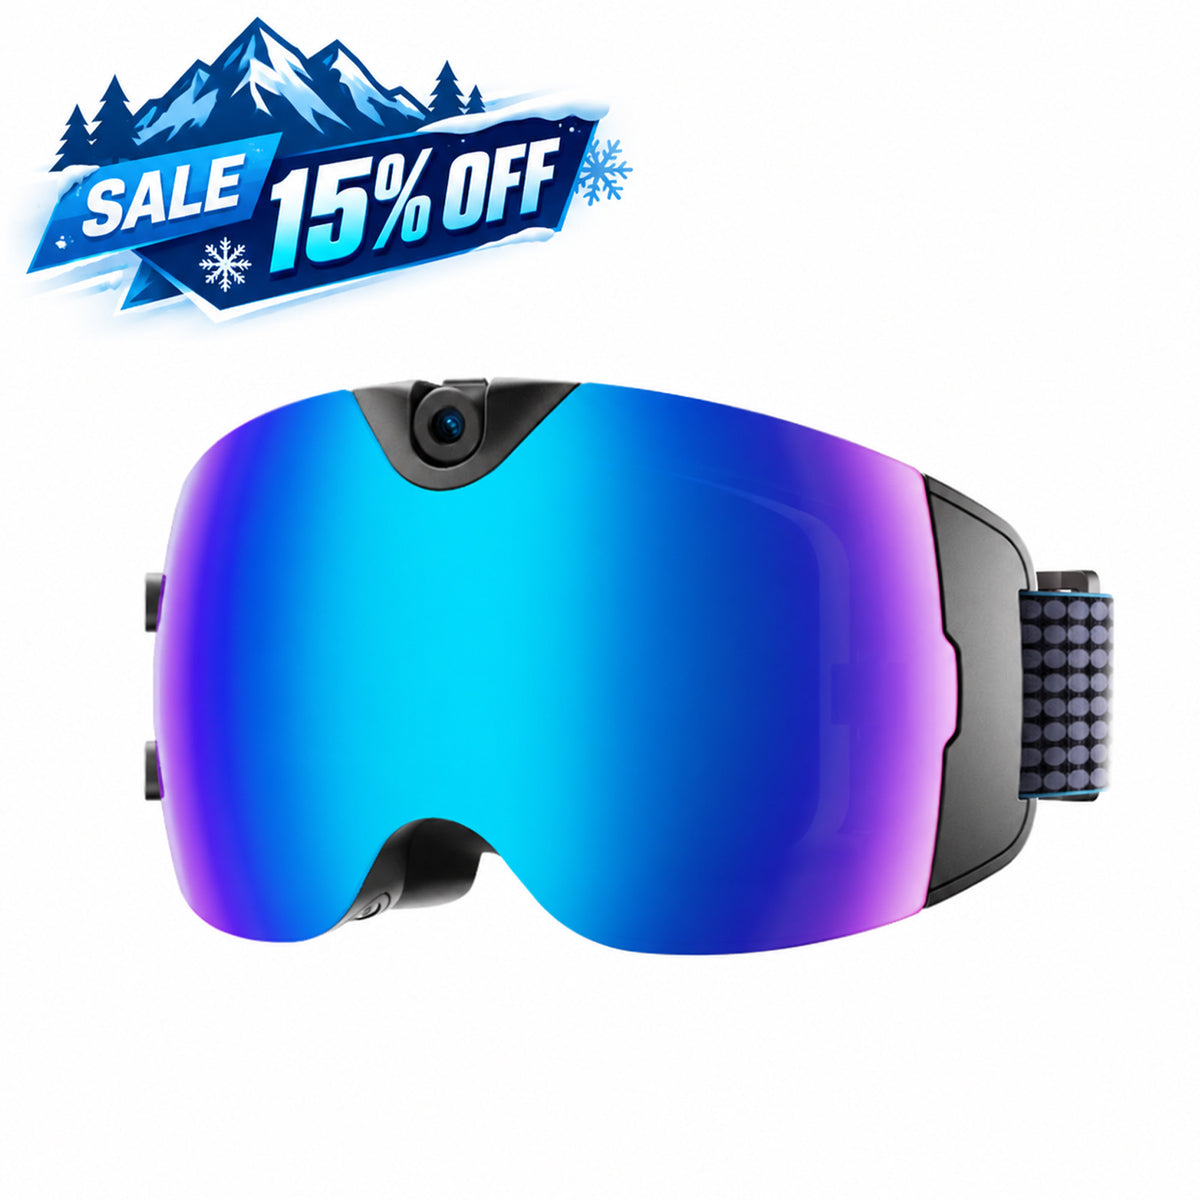
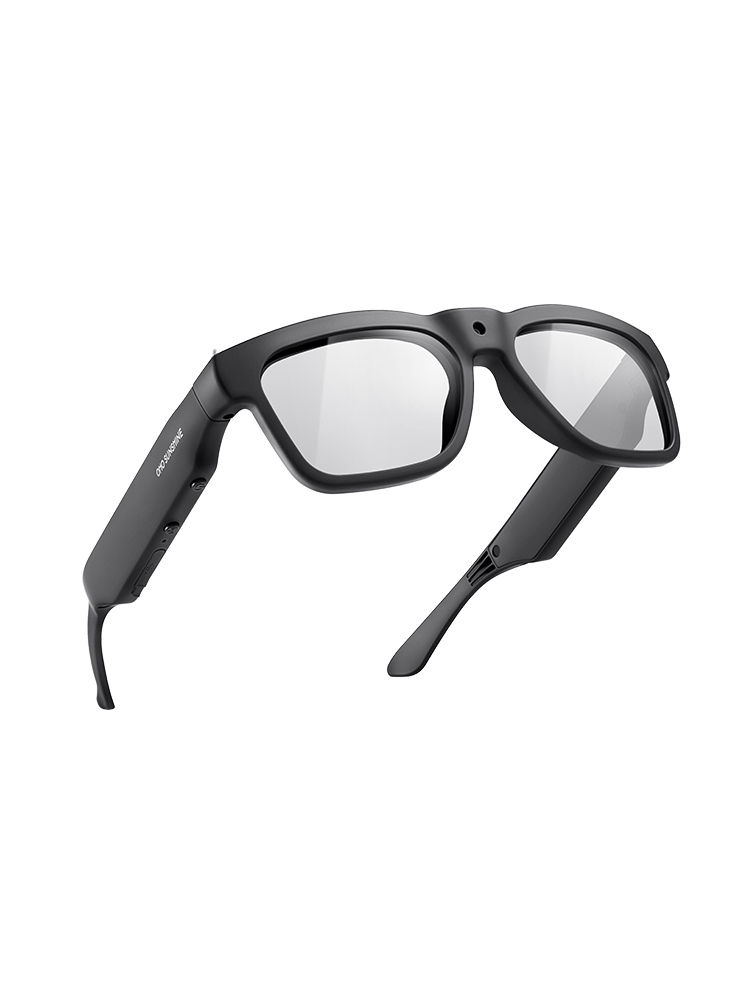
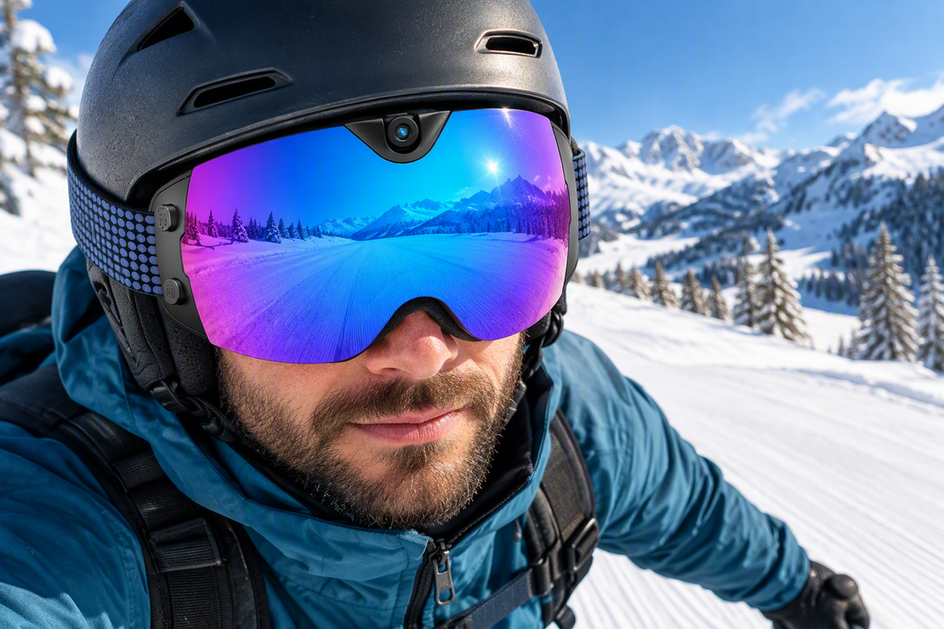
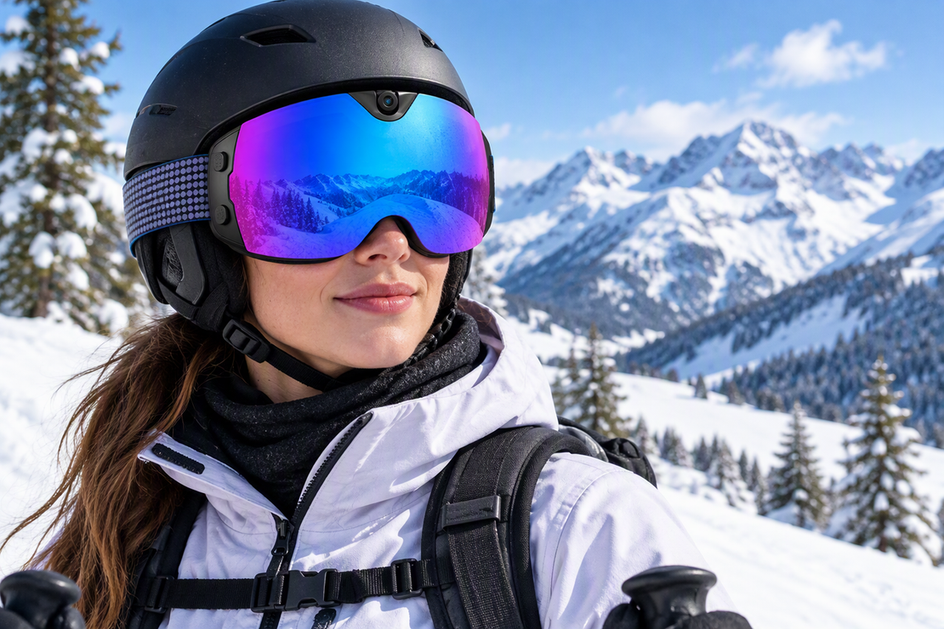
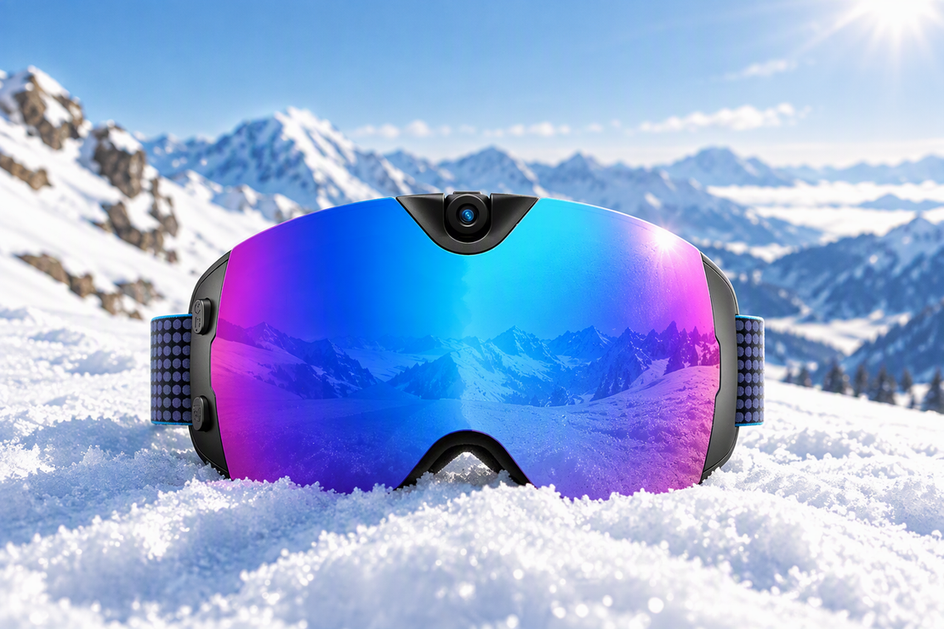
If you're comparing several camera-equipped options at once, our smart snow goggles collection groups current models so you can check fit language and camera specs side by side. For shoppers who want hands-free recording built into the goggle itself, our Skyshot camera ski goggles list 4K video at 30 fps, a 140-degree camera field of view, a polarized UV400 lens, button and app controls, USB-C charging, and a listed 90-minute battery life. Those are the manufacturer's listed specifications, not an independent test result, so they support a recording-feature decision rather than a fit or aggressive-use durability claim. If you haven't confirmed your face and helmet fit using the steps above, treat Skyshot as a research candidate and hold off on adding it to your cart until that check clears.
Work through the fit gate first, then the scenario checks. When both line up with a listing's stated details and the seller's return policy gives you a safety net, you have enough evidence to order with confidence. When either one stays unclear, ask the seller before you buy rather than assuming the men's label or a feature list will resolve it for you.
FAQs
Does a wide camera field of view guarantee a wide view through the goggles?
No. A stated camera field of view describes what the lens records, not your own optical field of view through the lens. Confirm where the camera sits on the frame and run a stationary preview or short test clip before you rely on it for a specific shot.
Can I wear prescription glasses under camera ski goggles?
Only if the listing explicitly supports it. Look for OTG (over-the-glasses) space, an insert lens system, or model-specific guidance in the product description or manual. If none is stated, ask the seller directly before ordering instead of assuming the frame depth will clear your glasses.
Can I change the lens between ski runs?
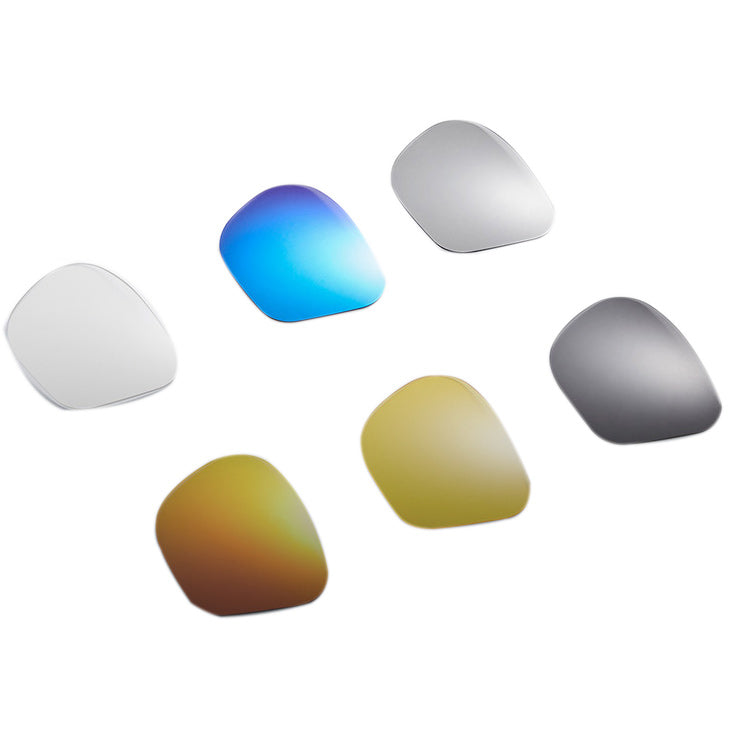
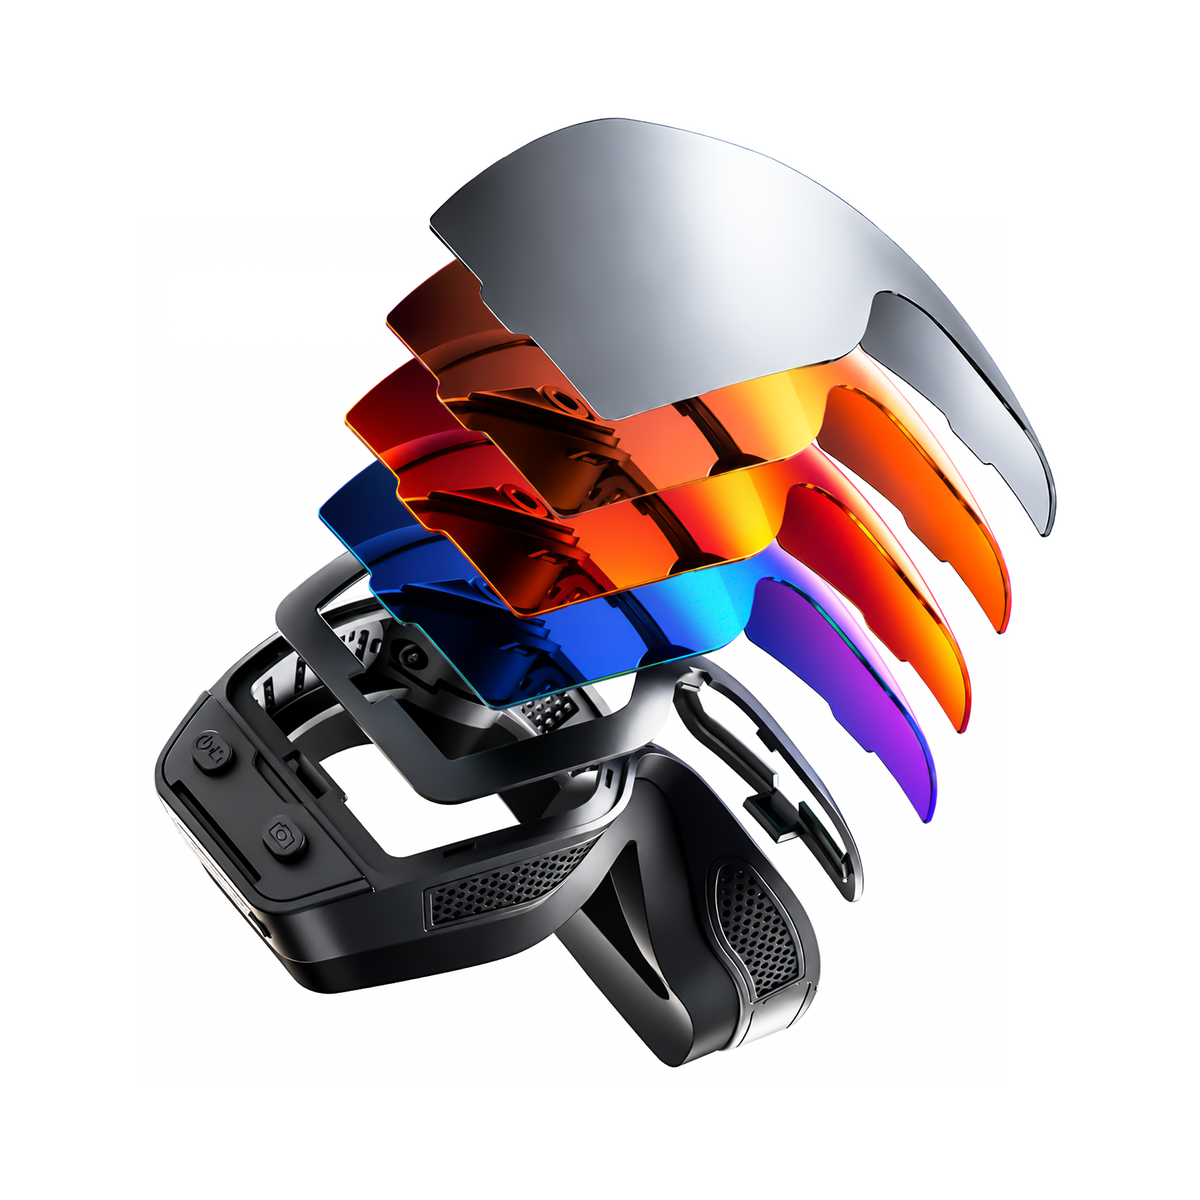
Check the exact model's documentation first. Interchangeable lenses, included spares, and replacement availability vary by model, so confirm what's actually included and how a lens swap works before you count on switching lenses mid-day.
Do my ski goggles and helmet need to be the same brand?
No, matching brands is not a fit test. What matters is the physical interface between the exact goggle and the exact helmet: brow contact, strap routing, side pressure, and vent clearance. Use a manufacturer's fit chart if one is supplied, but confirm the pairing yourself and rely on the seller's return terms if it doesn't work.


コメントを書く
このサイトはhCaptchaによって保護されており、hCaptchaプライバシーポリシーおよび利用規約が適用されます。