













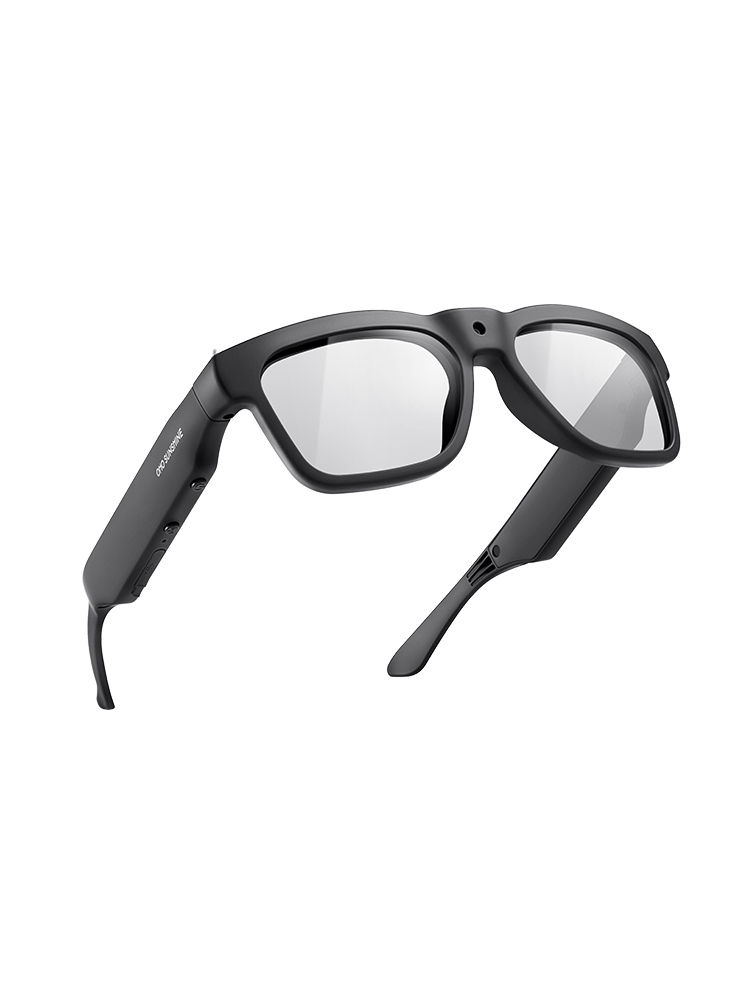


Smart glasses are changing how cyclists capture rides and stay connected, but they raise real questions about helmet fit, lens choice, and battery limits. This guide walks through how to decide between camera glasses, audio glasses, or a separate action camera based on your actual ride, then shows how to test helmet compatibility, pick the right lens for changing light, and plan battery and storage before you head out. You will also find guidance on recording etiquette and a quick pre ride checklist so you can make a safe, informed call every time.
Choose the Ride Job Before Choosing the Glasses
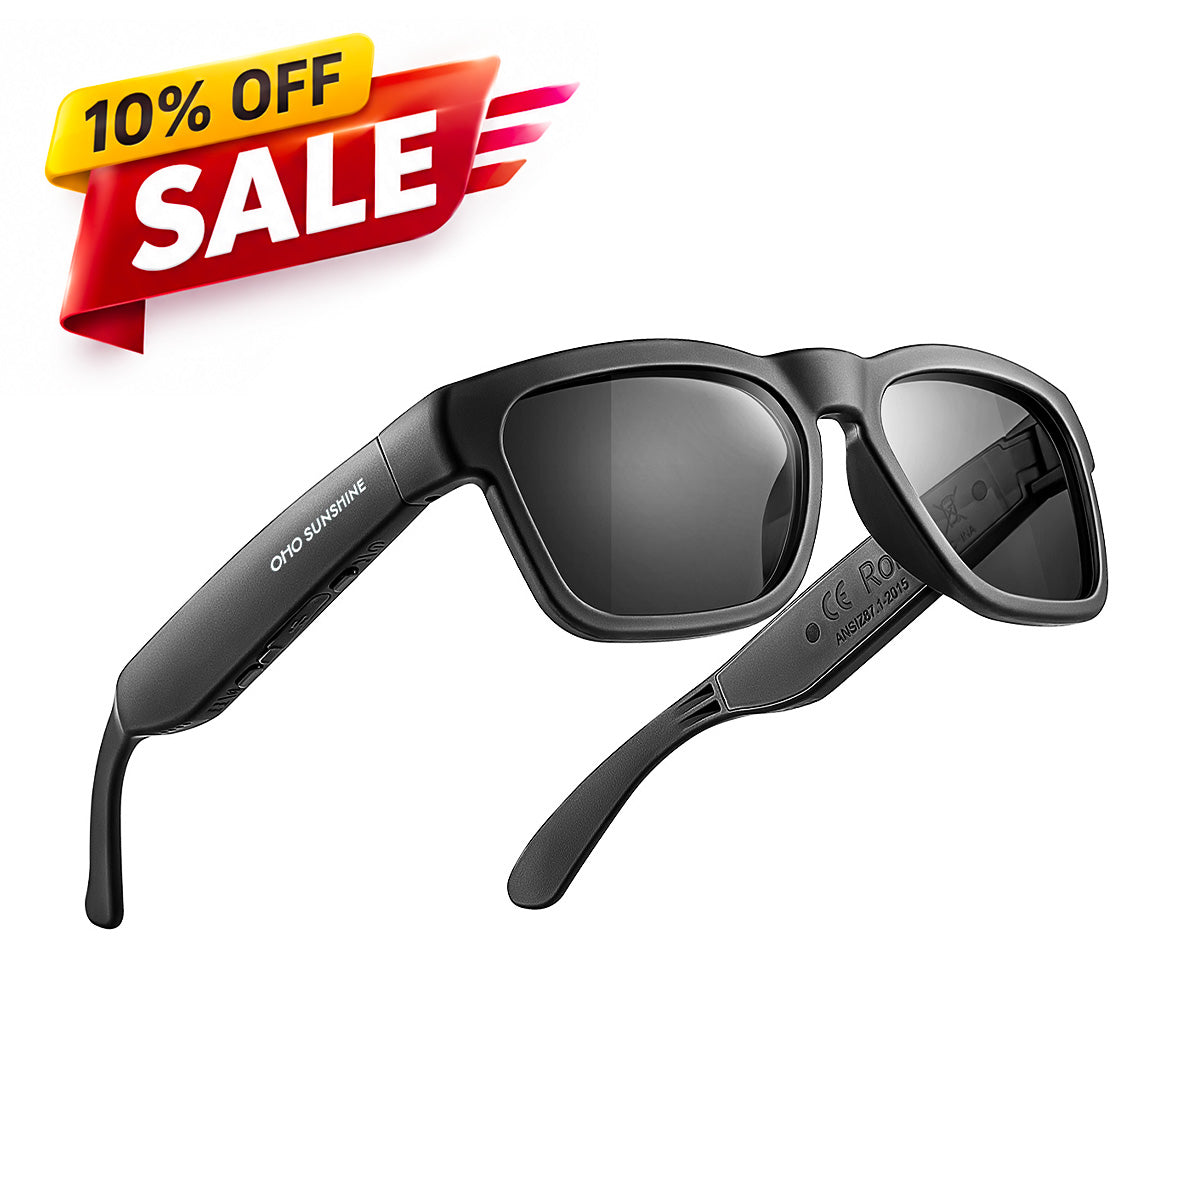
Start with the ride's job, not the feature list. Choose camera glasses when hands-free point-of-view recording matters, audio smart glasses when calls, prompts, or music are the main job, conventional cycling glasses when you want simple optics, or a separate action camera when the recording plan is longer or more demanding than glasses-mounted recording. In every case, the bicycle helmet remains the certified protective equipment; smart or camera glasses are eyewear or electronics, not a helmet substitute.

Camera glasses are out if they fail fit, visibility, control, or battery checks. Audio glasses are out if wind overwhelms sound or using them distracts you. Conventional cycling glasses are the better call when you want simple, reliable optics without adding controls or charging to your ride. A separate action camera fits when your recording plan is longer or more demanding than any glasses-mounted camera can support.
A short recreational ride with good light is the easiest case for camera glasses, since runtime and glare are less likely to become problems. A windy commute or group ride puts more pressure on audio and microphone performance than on the camera. A ride through changing light, like tree cover into open road, pushes the decision toward lens behavior. A long ride where you want continuous footage often exceeds what a glasses battery can deliver, which is where a separate camera or a shorter clip strategy becomes the practical answer.
Test Frame Stability and Helmet Clearance at Home
Fit the helmet on its own first, then add the glasses and check whether the pair still meets the helmet's own fit rules. If the glasses change the helmet's level, snugness, strap position, or view, the combination fails and you need a different frame or path.

Fit the Helmet First, Then Add the Frame
- Put the helmet on alone and adjust it the way its manual describes, so it sits level and low on your forehead.
- Snug the straps until only one or two fingers fit underneath, and confirm the helmet does not rock forward, backward, or side to side.
- Add the glasses without loosening a strap, moving the helmet, or changing its position to make room.
The CPSC's bicycle-helmet guidance covers requirements such as peripheral vision and retention and provides fit instructions. It does not establish whether a particular pair of glasses is compatible with a particular helmet. Treat that eyewear-helmet combination as a separate pass/fail check: the glasses must not change the helmet's position, strap setup, or your view.
Check Movement, Clearance, and Field of View
With the helmet already fitted, check the glasses at the bridge, temples, and ears while you turn your head and lean into a riding posture. Confirm the frame does not press against straps or vents, or shift the helmet's shell. Watch your side and forward view for any new obstruction. The NHTSA helmet-fitting guidance describes a properly fitted helmet as level and snug, without rocking. Apply that helmet-only check first, then use the glasses combination as this guide's added test: the frame must not force helmet repositioning, create a material obstruction, or make reaching the controls require an awkward head or hand movement. If any of those conditions occurs, stop and choose another frame or a different equipment path.
Choose Lens Behavior for the Light, Not the Feature List
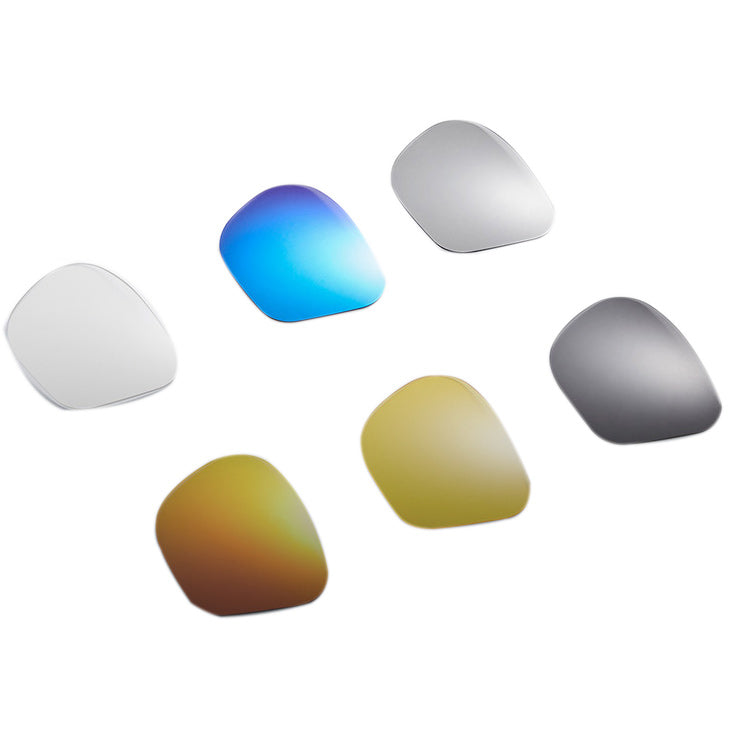
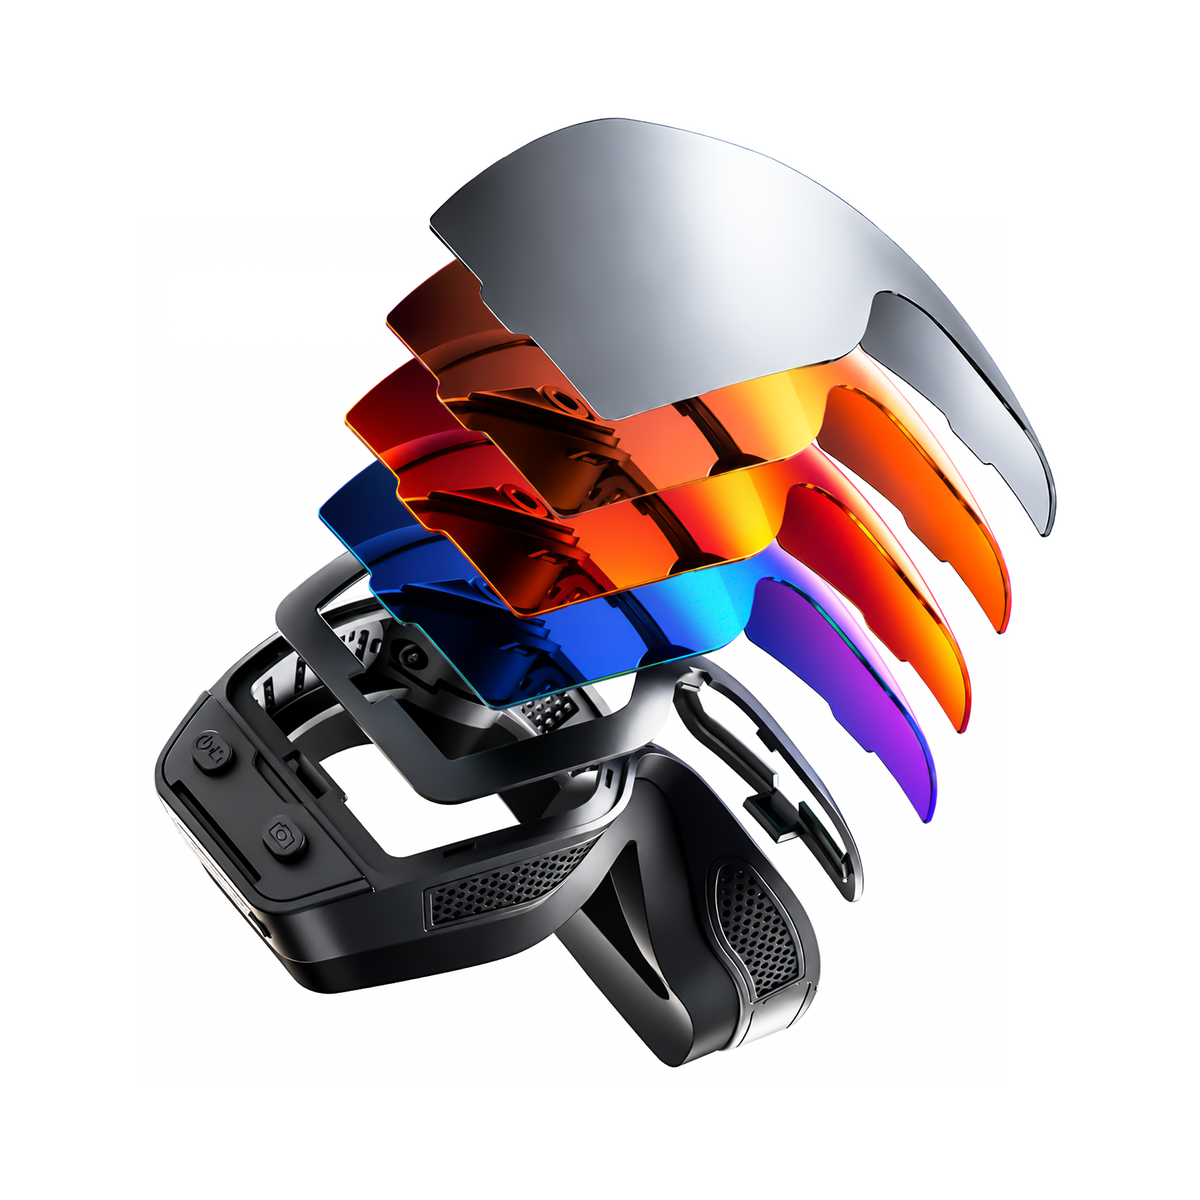
Match the lens to how much your light changes on the ride, not to how many features the product lists. Photochromic lenses are the candidate when your route moves between bright and shaded conditions, as long as you check the exact product's transition speed and how dark it needs to be before you're comfortable. Polarized lenses are the candidate for consistently bright, glare-heavy rides, but only when the specific glasses you're buying actually include that lens type.
| Lens approach | Best-fit cycling scene | Tradeoff or check before riding |
|---|---|---|
| Photochromic | Routes with changing light, like tree cover into open road | Verify how fast the lens adjusts and whether it gets dark enough for midday sun or light enough for low-light stretches |
| Polarized | Bright, glare-heavy rides, especially near water or pavement glare | Confirm the exact model includes polarized lenses; polarization does not fix helmet fit or control access |
Test whichever lens you choose in the actual bright, variable, or low-light conditions you expect before trusting it for a full route. Lens choice never resolves a helmet fit problem or a control problem on its own; those need their own checks.
Stress-Test Wind, Audio, and Microphone Before the Ride
A quiet, stationary demo cannot tell you whether audio or the microphone will hold up on the actual ride. Wind at riding speed changes both, so test them the way you'll really use them.
Test Listening and Speech Pickup in Route-Like Wind
Check whether prompts, calls, or music stay clear at the speed and exposure you expect, not just standing still in a parking lot. Record a short voice sample with the helmet and glasses on, then play it back and judge whether the speech is actually understandable. A built-in microphone rated for calls does not guarantee it will handle route-level wind.
Set a Distraction Stop
- Controls should be reachable without a long visual search or fumbling with gloves on.
- Audio should stay low enough, or open enough at the ear, that you can still hear traffic and other riders.
- Stop using a feature the moment operating it changes how you ride or pulls your attention off the road.
If audio becomes hard to hear, speech comes back garbled, or managing controls changes your riding behavior, use audio only for the one task you actually need, or move to conventional glasses or a separate camera setup instead.
Match Camera Controls and Recording Etiquette to the Ride
Pick the simplest control method you can operate without looking away, then match a specific model's listed features to the scenario you actually have.
Choose the Control Method You Can Use Before Looking Away
Test button, app, or voice control with the gloves and hand position you'll really use on the bike. Whatever method you pick, keep starting and stopping the camera deliberate, and avoid any handling that pulls a hand off the bars or shifts your balance.
Map Verified Product Features to a Ride Scenario
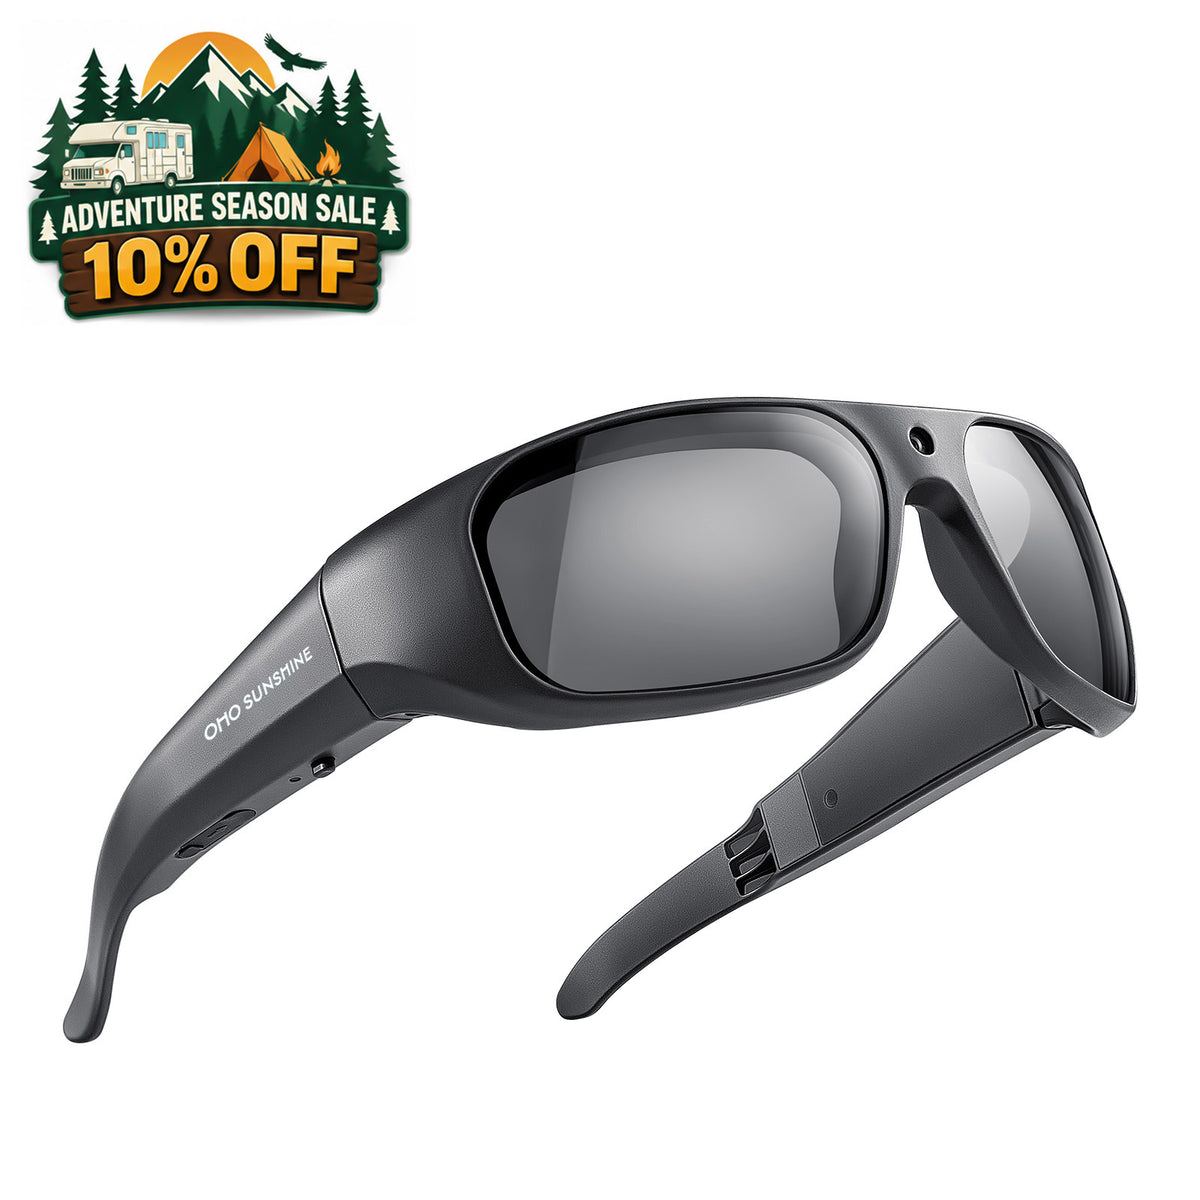
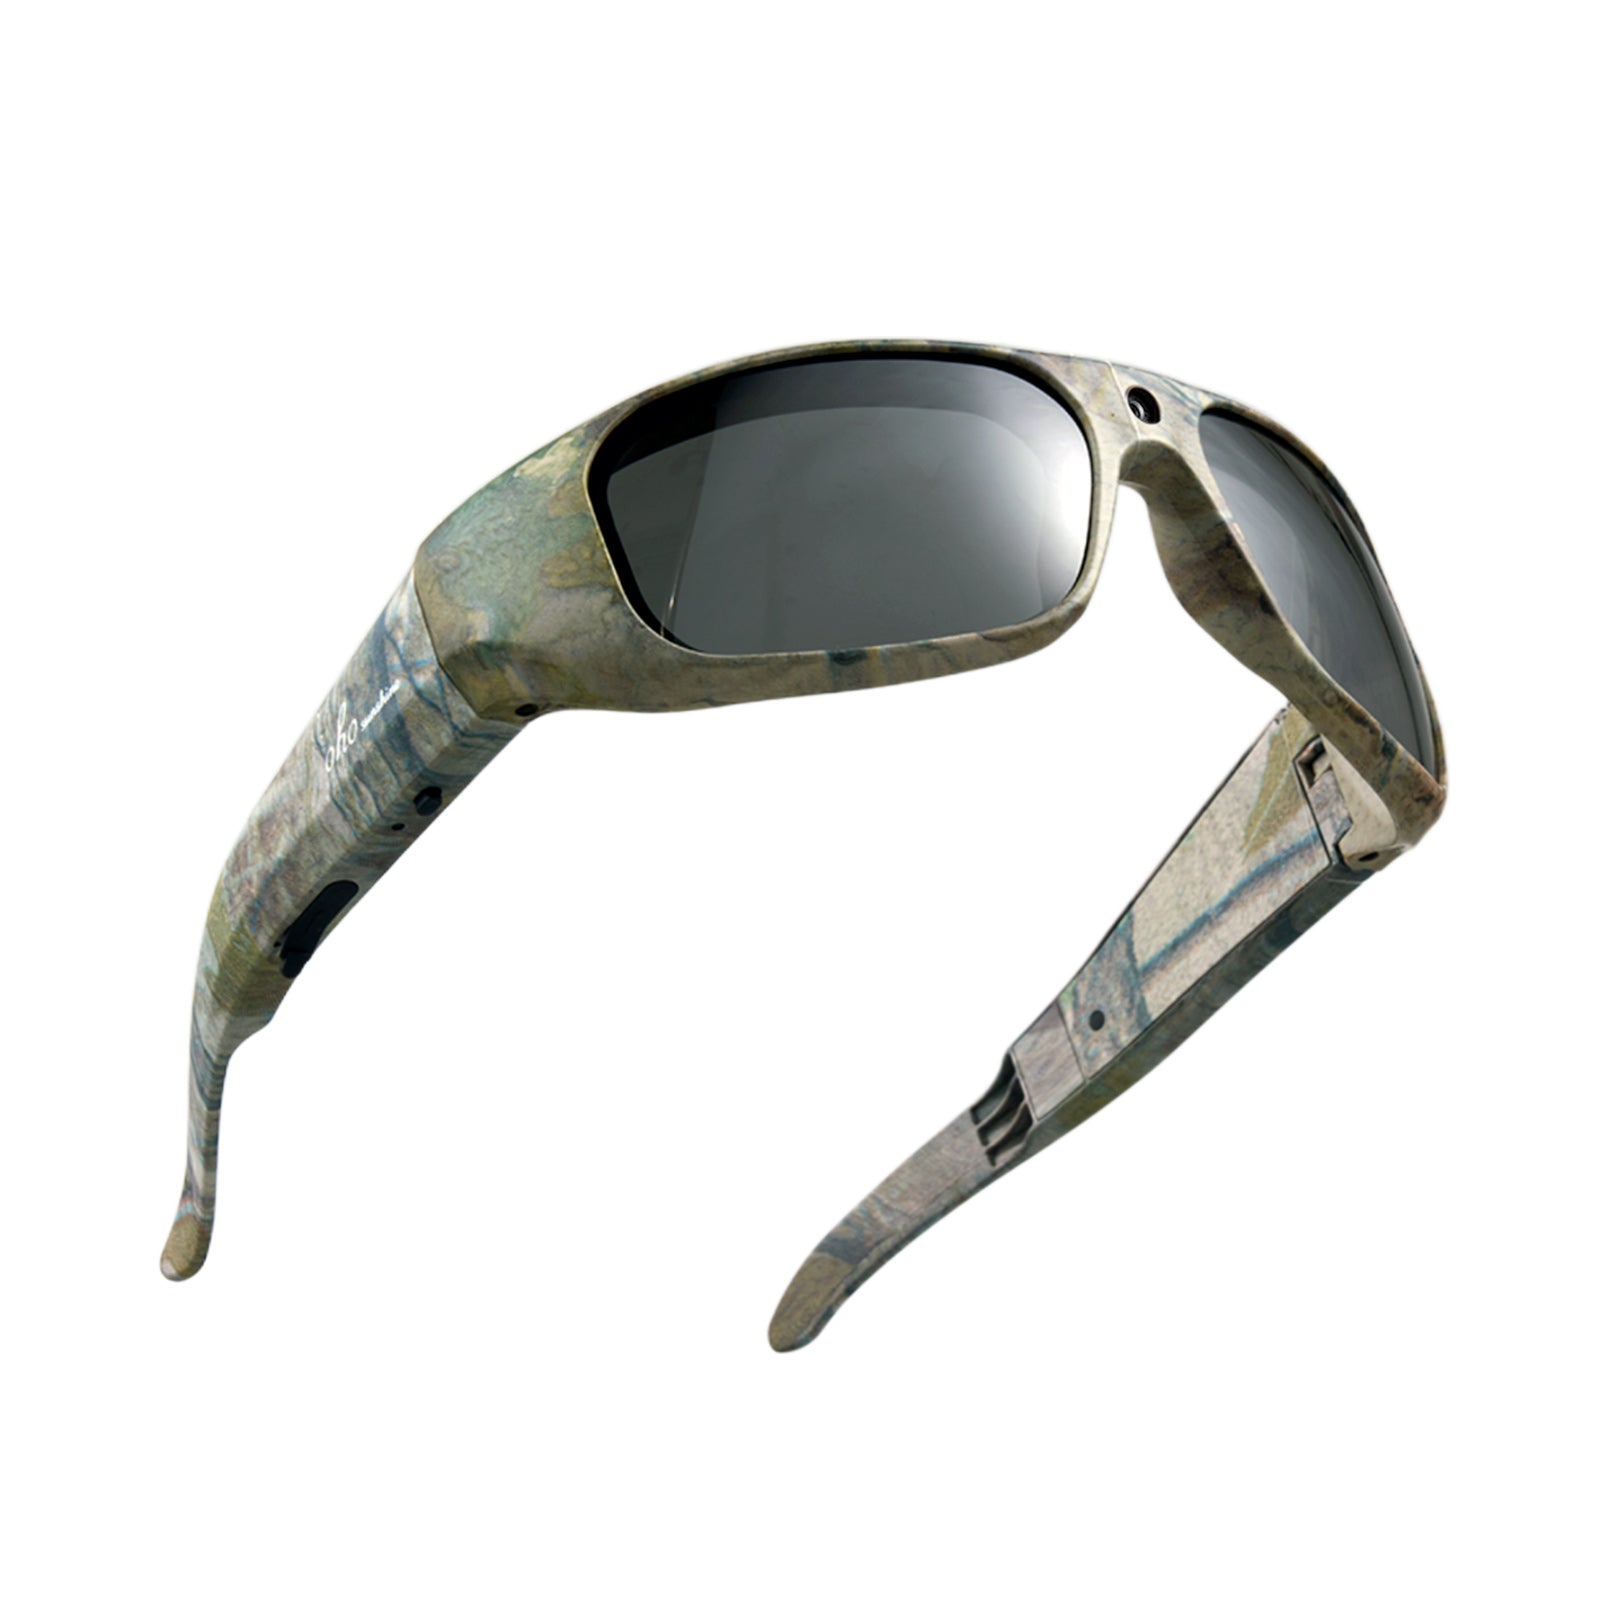
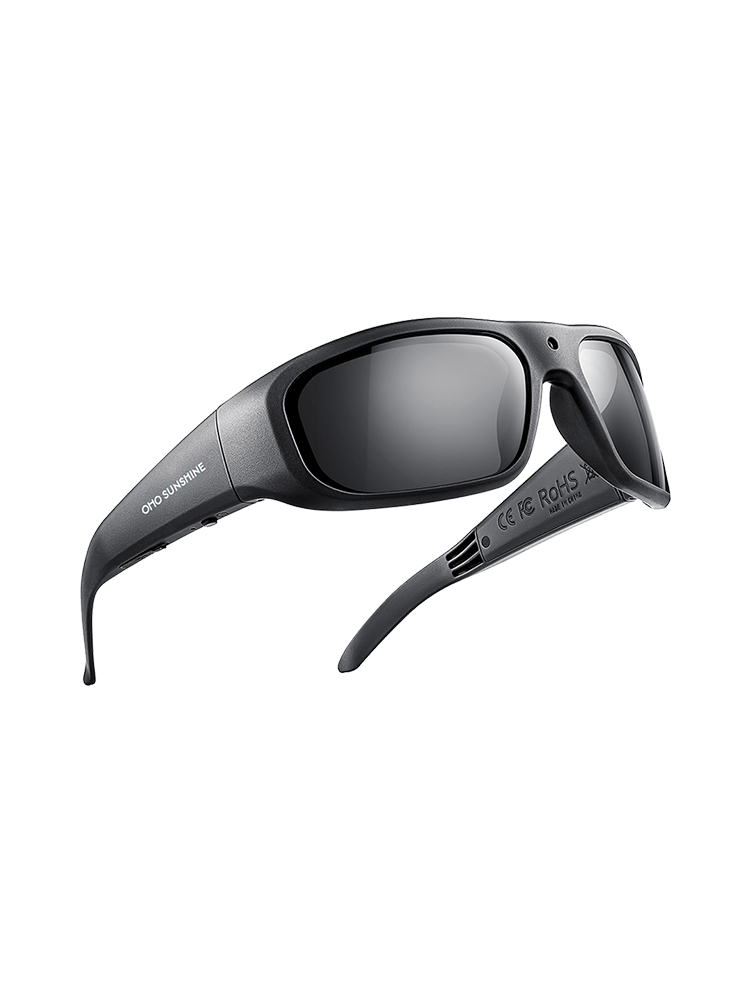
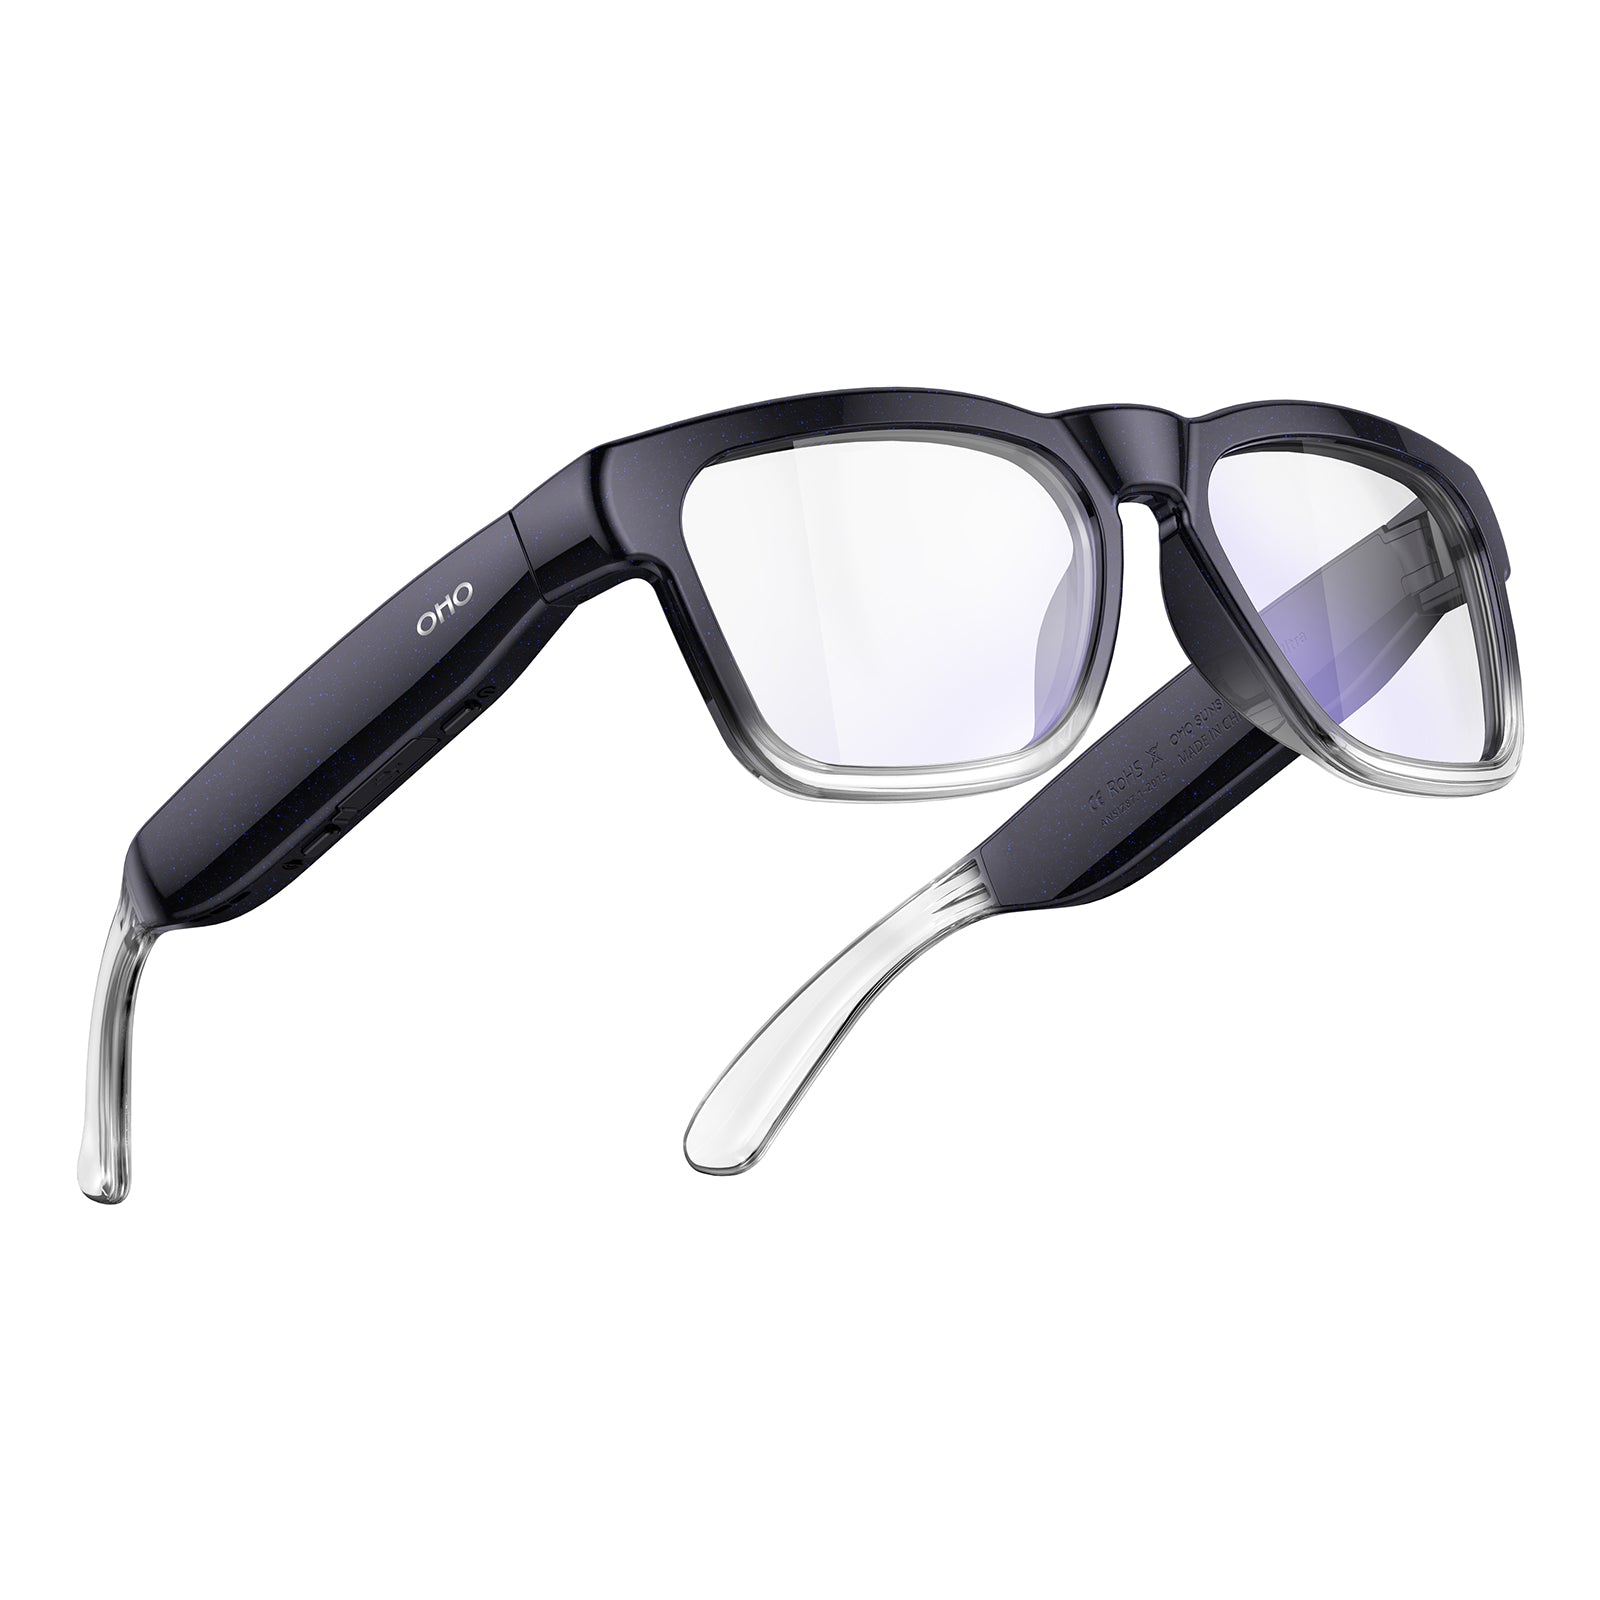
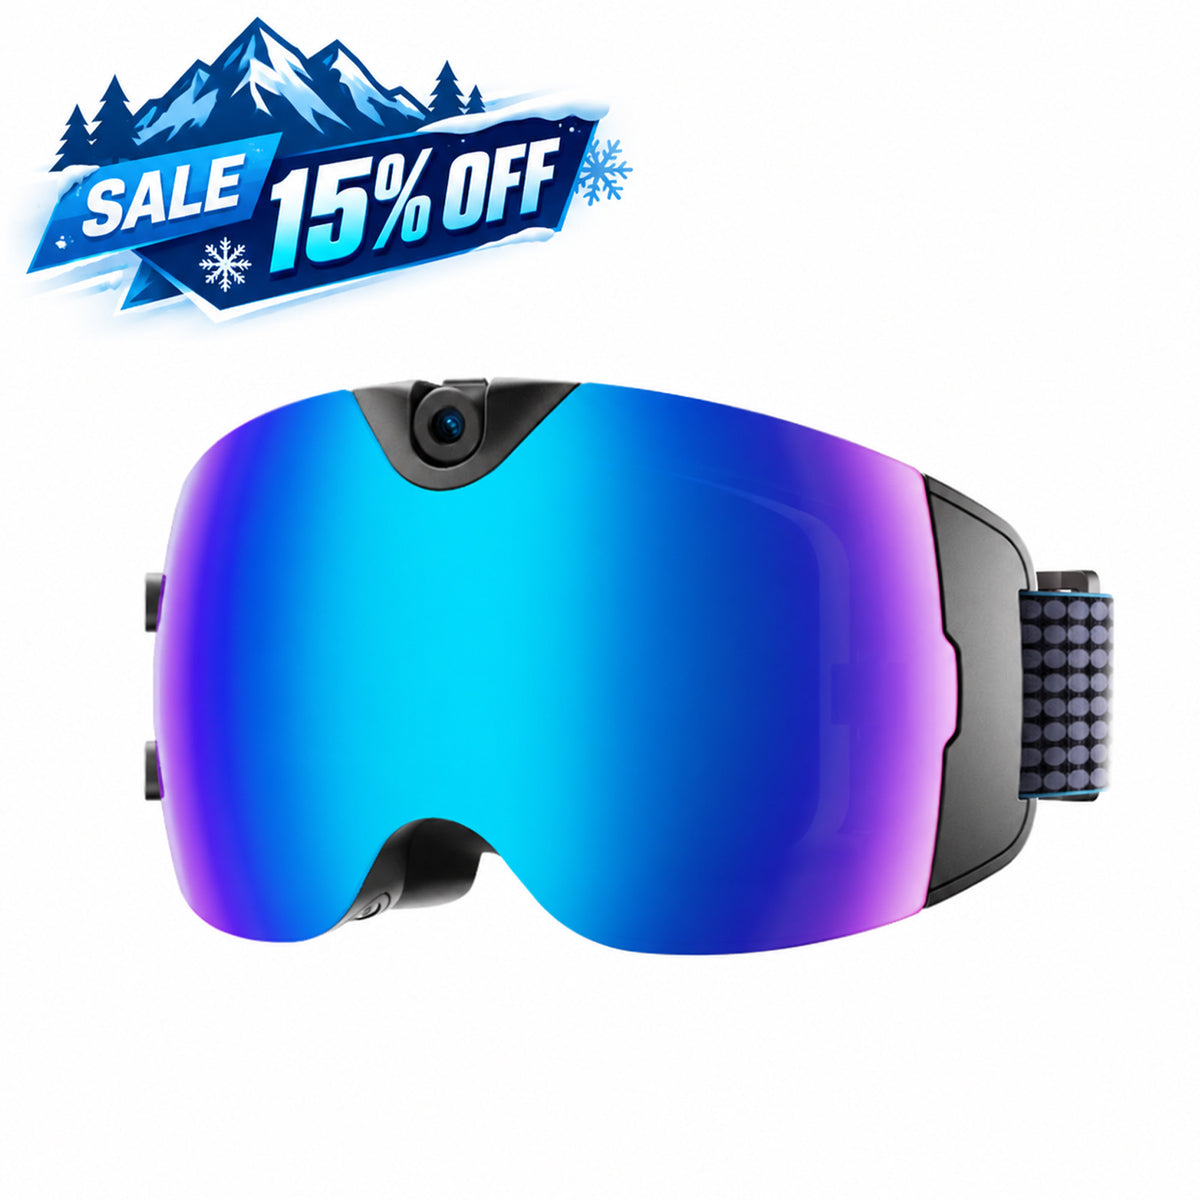
If short, stabilized clips in changing light are your priority, the Primex EIS camera glasses list electronic image stabilization, photochromic lenses, and a 2K camera with a listed 60-minute battery life, which fits a short-session plan rather than an all-day recording goal. If open-ear audio, a microphone, and voice control matter alongside occasional 4K clips, the Edge Pro smart glasses list a 1.5 to 20-hour working-time range; that range is broad, so check the exact mode you'll use rather than assuming the high end applies to continuous camera use. If glare control and short 4K clips matter more, the Brave camera glasses list polarized or photochromic lens options with a 30-minute listed battery life, which works better as a short-clip tool than a long-recording setup.
Before recording other riders, a group conversation, or anyone identifiable on a public route, check the law for where you're riding. Recording rules, consent requirements, and privacy expectations vary by state, and a public setting does not automatically clear you to record audio. The Reporters Committee for Freedom of the Press recording guide is a useful starting point for understanding how consent and privacy rules can apply even outdoors; give clear notice or get consent when it's practical to do so.
Plan Battery, Storage, and Charging Around the Actual Ride
Write down your ride length and how much footage you actually want before you trust any listed battery number. A model's battery figure is a planning input, not a guarantee of continuous camera runtime, and battery life and storage capacity both need to cover your recording plan independently.
For a short outing, Primex's listed 60 minutes or Brave's listed 30 minutes can be enough if you're capturing a few clips rather than the whole ride. For a longer ride, Edge Pro's 1.5 to 20-hour working-time range needs checking against the specific mode you'll use, since camera-on operation typically draws more power than standby or audio-only use. Confirm storage capacity, your file-transfer method, a full charge before you leave, and whether you have a spare cable or power source. Don't plan on charging or swapping files mid-ride. If your recording plan runs longer than your verified battery and storage strategy, shorten your clips or switch to a separate camera or conventional glasses for that ride.
Run One Pre-Ride Inspection and Make the Call
Run this five-step check right before you clip in, using the decisions you already made above.
- Fit the helmet alone first, level and snug, with no rocking.
- Add the glasses and confirm the helmet's position, straps, and your field of view are unchanged.
- Test your chosen lens and your controls or audio in light and wind close to what you'll actually ride in.
- Confirm your recording plan fits your verified battery and storage strategy for this ride's length.
- Make the call: ride with the selected glasses only if every check passed, or switch to conventional cycling glasses or a separate camera if any one of them failed.
Any failed helmet, view, attention, or runtime check means you switch equipment rather than compensate by loosening a strap or repositioning the helmet.
FAQs
Are Smart Glasses Safe for Cycling?
Smart glasses can be part of a safe setup only when they don't change your helmet's fit, block your view, reduce your attention, or make controls hard to reach without looking away. They are eyewear or electronics, not a certified bicycle helmet, so the helmet still does the protective job on its own.
How Do I Ensure My Glasses Fit With My Helmet?
Adjust the helmet by itself first so it's level, low on your forehead, and snug. Then add the glasses and confirm the helmet still doesn't rock, the straps haven't shifted, and your view is clear. If the glasses force any change to the helmet's position or fit, that pair doesn't work together.
What Are the Legal Considerations for Recording While Riding?
Recording rules depend on your state, whether you have consent, and whether the people you're recording have a reasonable expectation of privacy, especially when audio is involved. A public road doesn't automatically give you permission to record conversations. Check your state's specific rules, and give notice or get consent when it's practical before recording others.
How Much Battery Do Cycling Camera Glasses Need for a Ride?
There's no universal number; use the exact model's listed battery figure only as a starting point and confirm which operating mode that figure applies to. If your planned ride and recording time run longer than the verified figure, plan shorter clips or bring a way to charge, and treat any listed range as a mode-dependent estimate rather than a guarantee.


Commenta
Questo sito è protetto da hCaptcha e applica le Norme sulla privacy e i Termini di servizio di hCaptcha.