













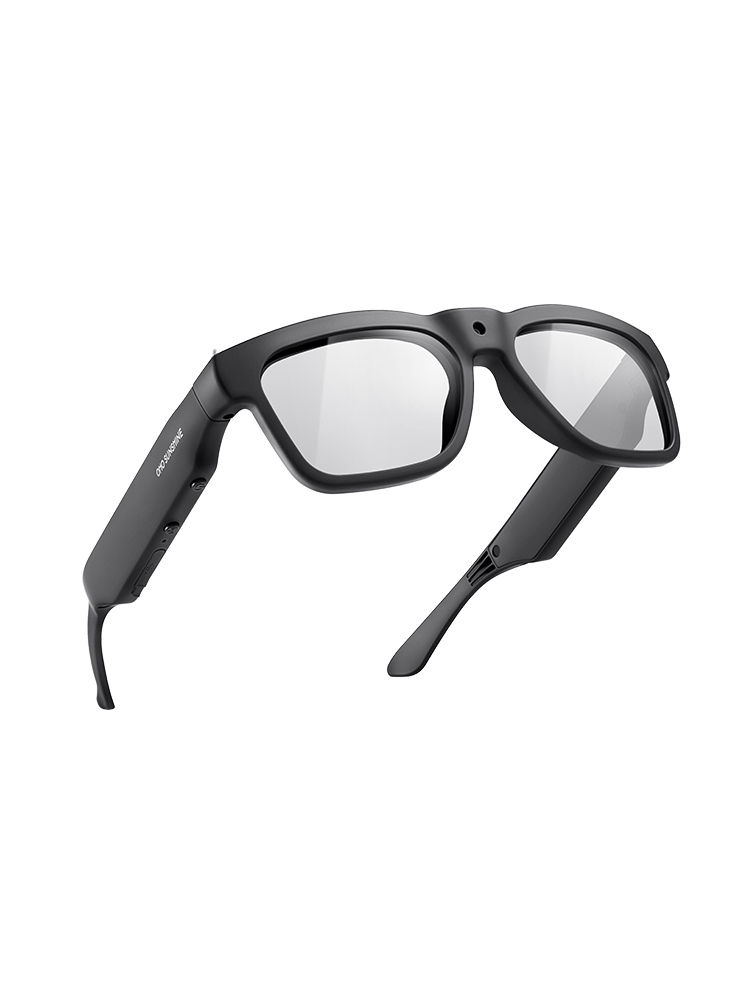

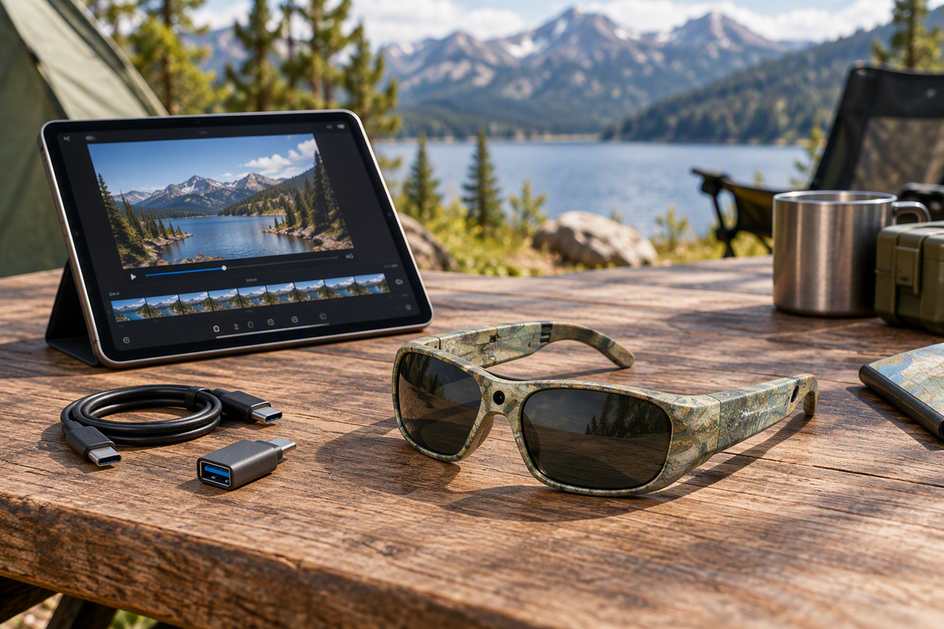
There's no single universal method here: which computer-free route works depends on how your camera glasses expose their files, through a wireless app, USB/OTG storage, or a removable card. Check your model's documentation for its file-access type first, then match that to your iPad's connector or a compatible reader before you pack for camp. This guide walks through choosing that path, prepping your gear, importing and reviewing full footage, and safely clearing camera storage for the next day's ride.
!Camera glasses connected to an iPad through a USB-C adapter at a campsite
Key Takeaways
- Match your transfer method to how the glasses expose files: app/Wi-Fi, USB/OTG storage, or a card reader. Bluetooth pairing alone doesn't confirm video-file transfer.
- Use Photos for an Apple-documented camera or card import, and use Files when the device connects as external storage.
- A clip arriving on the iPad confirms the file copied; it doesn't guarantee the clip plays at its full recorded resolution.
- Keep the camera-glasses originals until several imported clips check out and any footage you care about is backed up beyond the iPad.
Choose the Supported Transfer Path Before You Start
Start by checking exactly how your camera glasses store and share files instead of guessing from the product category. That one detail tells you whether to open an app, plug in an adapter, or pull a memory card.
Use a Companion App or Wi-Fi Path
Pick this route only when your glasses' manual documents an iPad-compatible app or a Wi-Fi file-transfer feature. Open the app and confirm whether it downloads complete video files rather than compressed previews, and note where it saves them once the transfer finishes. Bluetooth pairing by itself typically handles low-bandwidth tasks like remote shutter control; it doesn't confirm that full video files can move to your iPad. If the manual doesn't document wireless video transfer, treat this path as unconfirmed and check the USB or card-reader route instead.
Use USB or OTG Storage Access
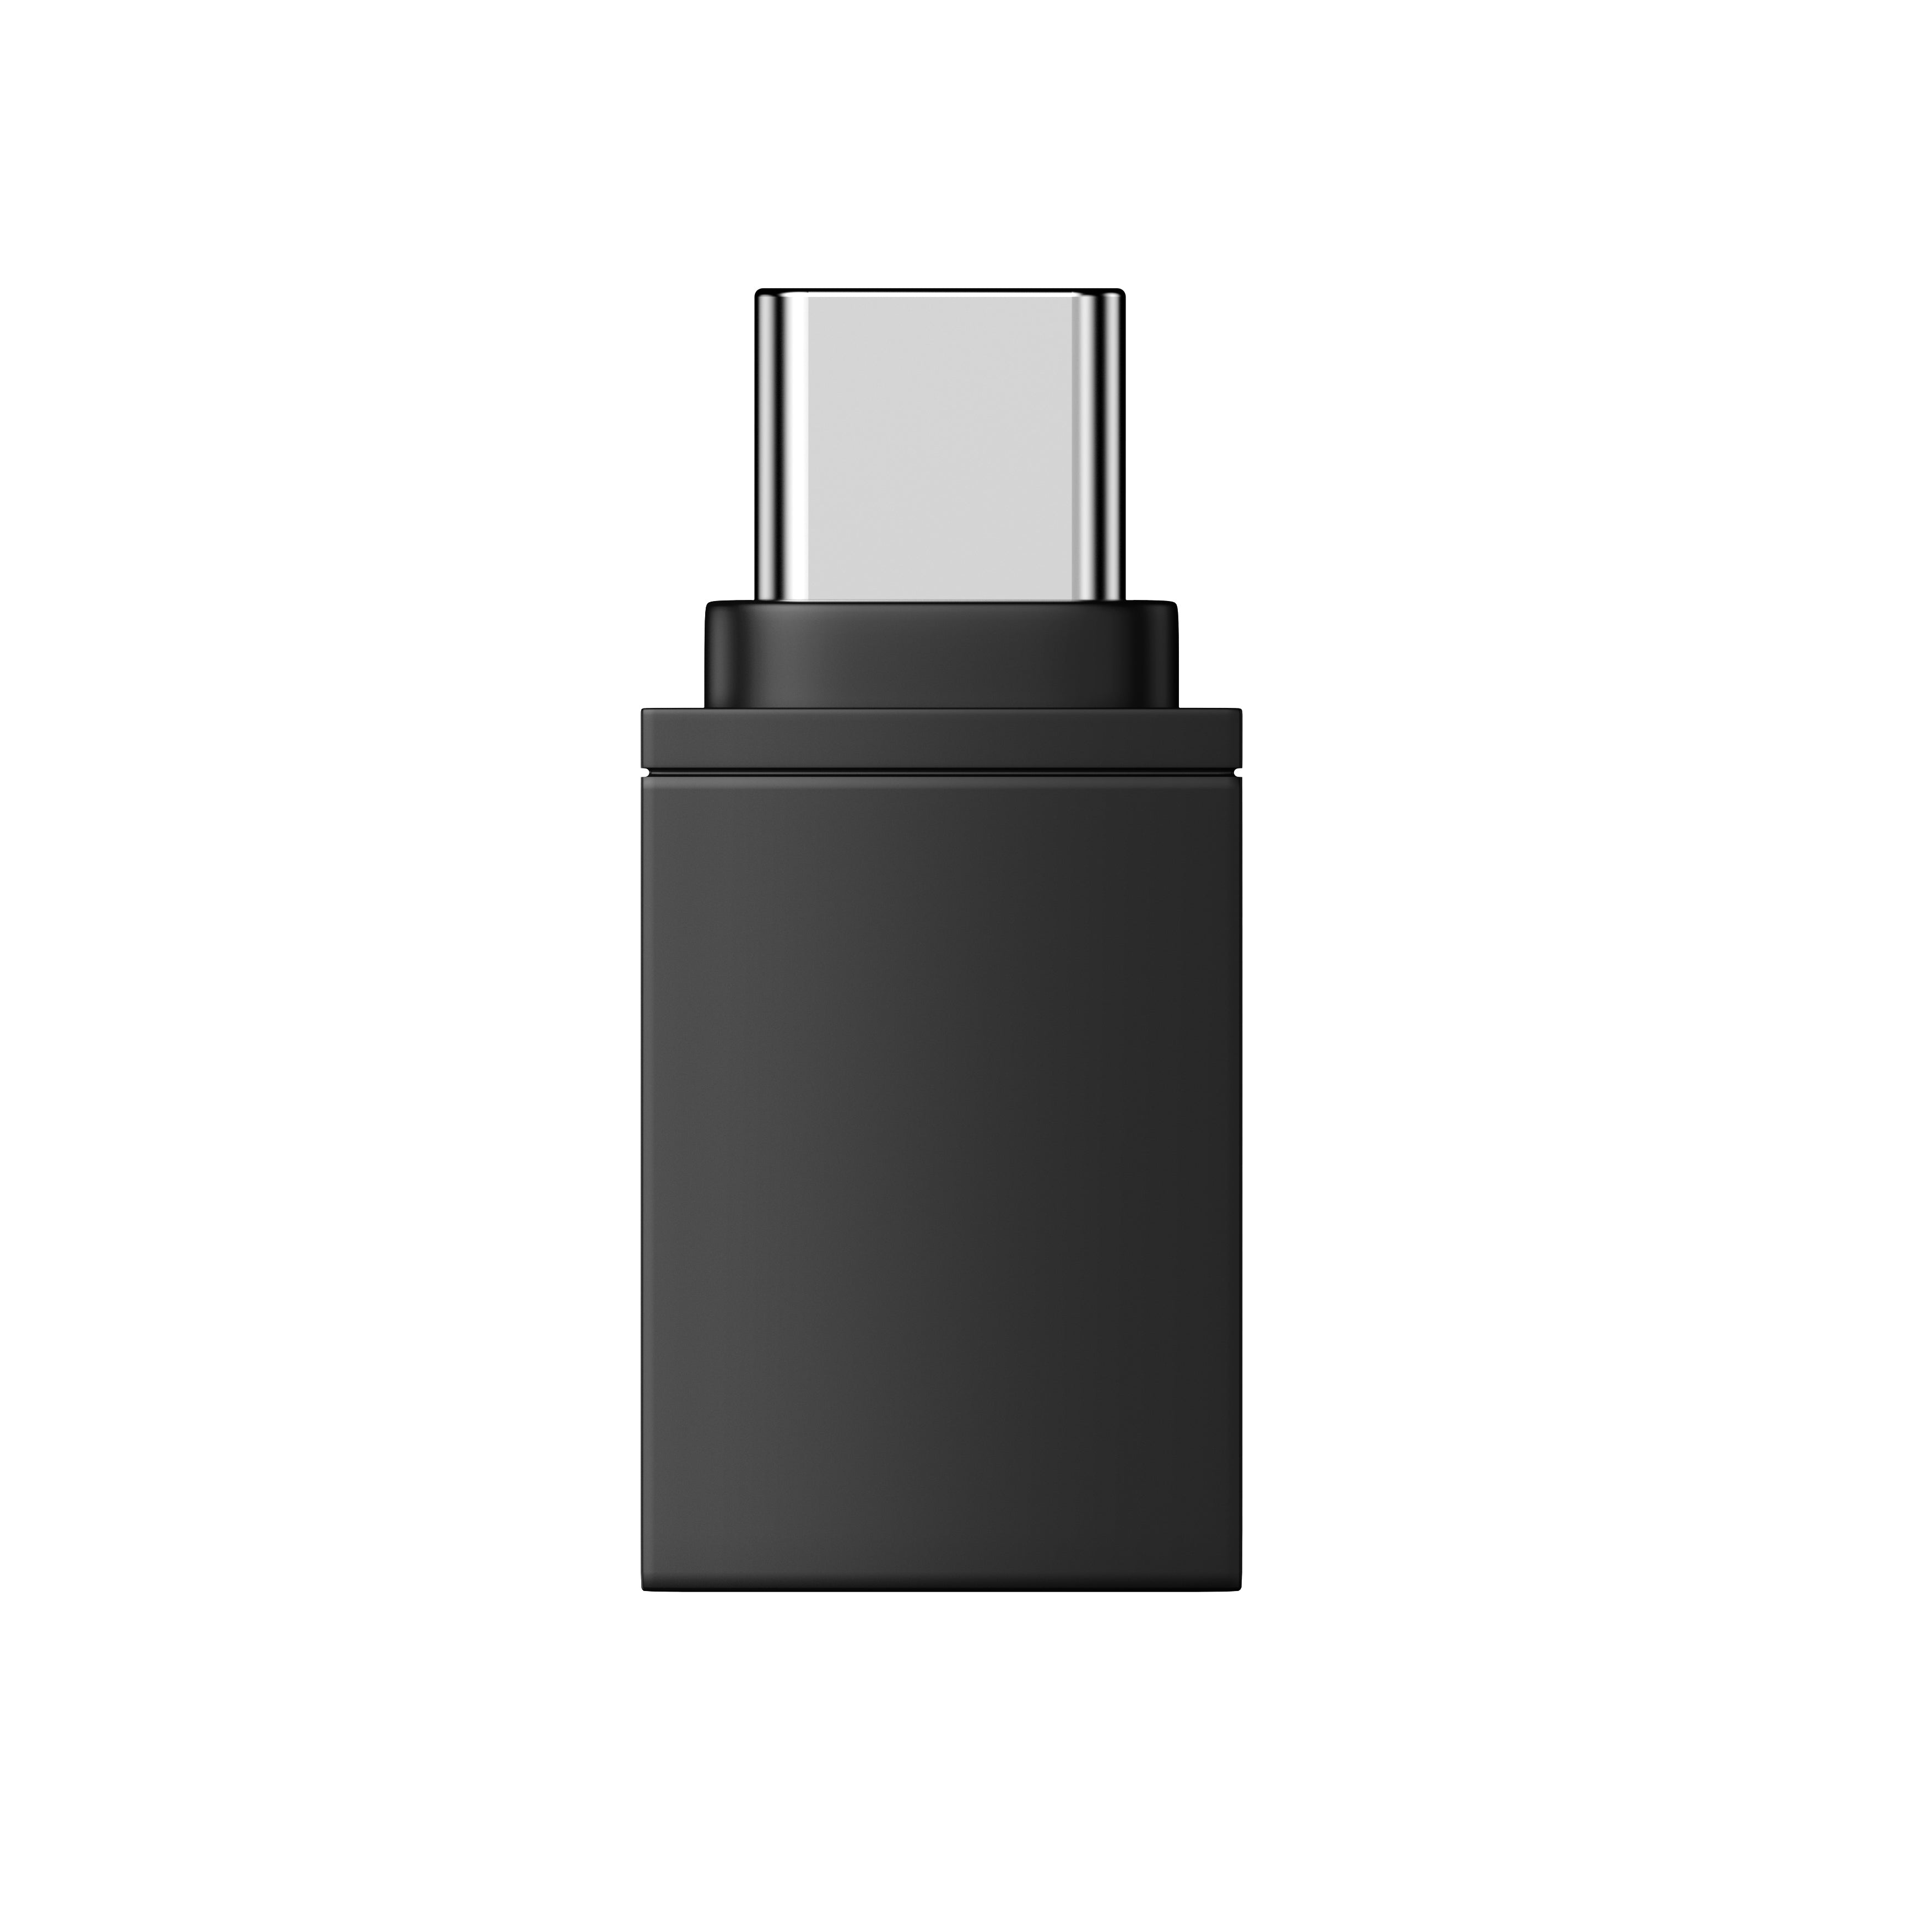
This route works when your glasses and their adapter are documented to present recorded video as external storage. Match your iPad's charging port, Lightning or USB-C, to a data-capable adapter, since a charge-only cable won't expose any files. Once connected, the iPad's Files app can access compatible external storage such as USB drives and SD cards, though the supported format, partition type, and power draw still depend on the exact hardware. If Files doesn't show the device, the glasses may not expose storage this way, so confirm compatibility in the manual before packing that adapter for camp.
Use a Removable-Card Reader
Choose this path when the glasses record to a removable card, such as a microSD card, that a compatible iPad reader supports. Test the exact card, reader, and iPad adapter combination together before you leave, since a reader that works with one card format may not recognize another. When the iPad recognizes the card as a supported source, Apple's Photos import flow is the documented way to bring files onto the iPad; if the card isn't recognized, don't force the connection and check the reader's specifications instead.

Comparing documented transfer specs across the camera glasses collection can help you confirm which method a given model actually supports before you buy or pack it for a trip.
Prepare the iPad and Glasses for Camp Transfer
Before you move a full day's footage, run a quick gear check so the transfer doesn't stall halfway through. It only takes a few minutes and saves you from redoing the whole import at camp.
- Confirm the transfer route your glasses document (app/Wi-Fi, USB/OTG, or card reader), and pack the matching cable, adapter, or reader instead of just a charging cable.
- Charge both the iPad and the glasses; a battery cutting out mid-transfer can leave a clip incomplete.
- Check available iPad storage against the size of the day's footage, and check the glasses' remaining storage so you know how much data needs to move.
- If your route needs a companion app, install and open it before connecting anything.
- Run one short test clip through the full workflow first, and note whether it lands in Photos, Files, or the app's own gallery. That's the location you'll check for every clip afterward.
A broader smart glasses connection checklist covers the same app, Bluetooth, and Wi-Fi checks in more depth if your model's pairing steps aren't obvious. For exact menu steps and adapter part numbers, your device's camera glasses manual stays the definitive reference.
Import Full Video to the iPad
Once you know your route, importing follows one of three sequences depending on whether your glasses use an app, wired storage, or a card. Each ends the same way: a full clip sitting in a known iPad location.
Import Through the Companion App
- Open the documented app and connect to the glasses using the pairing steps in the manual.
- Select full-resolution video files rather than thumbnail previews, if the app separates the two.
- Start the download and wait for it to finish; don't disconnect mid-transfer.
- Confirm the destination the app reports, whether that's its own gallery, Photos, or Files.
- If the app won't run on iPad or doesn't document full-file download, check whether the manual offers a USB or card-based alternative instead.
Import Through USB or a Card Reader
- Connect the documented adapter or card reader to the iPad's charging port.
- Attach the glasses, or insert the removable card.
- For an Apple-recognized camera or card, open Photos, tap Import, and import all or select clips.
- For a device that connects as external storage instead, open Files, go to Browse, and look under Locations for the connected drive.
- Copy the clips you want and let the transfer finish completely before disconnecting.
- Check that the files appear where you expected, either the Photos Imports tab or the Files location you copied them to.
Find and Review the Imported Clips
Go back to the exact location you identified during your test transfer instead of searching across every app. Open a few clips and check that the running time, image, and audio, if the model records it, match what you expect from the source. A clip appearing in your library confirms the file arrived; it doesn't by itself confirm the file will play at its full recorded resolution, so treat file arrival and playback quality as two separate checks.
If you're transferring footage every riding day, a full camera glasses file management workflow covers storage math and repeatable transfer habits beyond a single camp session.
Verify the Footage Before Clearing Camera Storage
Don't clear your camera glasses' storage the moment an import finishes. Confirm the footage is actually usable first, since this two-step check takes only a few minutes and protects the day's footage from a bad transfer.
- Open at least three or four clips from different points in the day, including your longest or highest-resolution file.
- Confirm each clip plays fully, with the expected duration, image, and audio.
- Confirm the clips are saved in the location you expect, either the Photos Imports tab or the Files folder you copied them to.
- If any clip is missing, cuts off early, or won't open, keep the originals on the glasses and re-run the transfer for that clip before touching storage.
- Once several clips check out and any footage you care about is backed up somewhere besides the iPad, keep or delete source media on the glasses.
If you'd rather follow a repeatable pre-trip and backup routine than check this from scratch every ride, the travel backup checklist walks through power, storage, and file-backup planning in more detail.
Fix Transfer Blockers Without Guessing
When a transfer fails, work through the setup in order instead of retrying the same connection over and over. Most blockers trace back to one of five layers: connection, destination, power, storage, or format.

- iPad doesn't recognize the glasses or adapter: recheck the connector type, confirm the adapter is data-capable rather than charge-only, and confirm the glasses' documented format and partition type match what the iPad supports.
- Device is recognized but clips don't appear: check whether your model uses Photos or Files for that connection type, and look in both if the manual isn't specific about it.
- Transfer starts, then stops partway: check iPad storage space and battery on both the iPad and the glasses, since an interrupted copy can leave a truncated file that looks complete until you try to open it.
- App won't finish the download: confirm the app is documented for iPadOS in the manual rather than assuming a phone-only app behaves the same way on a tablet.
- Nothing above resolves it: stop reconnecting or reformatting anything, and check the exact model's manual or support page for the documented combination before trying further fixes.
FAQs
Can camera glasses transfer video to an iPad just because they have Bluetooth?
Not necessarily. Bluetooth commonly handles pairing, remote control, or audio, but it doesn't by itself confirm that full video files can move to an iPad. Check the exact model's manual for a documented app, Wi-Fi transfer, or storage-access feature before relying on a Bluetooth-enabled pair for footage transfer.
Will an iPad always play video from camera glasses in full 4K?
Not always. Copying a file to the iPad and playing it at its full recorded resolution are two separate things, since playback also depends on the file's format and the app you're using to open it. Open a few representative clips at full length before you delete anything from the camera glasses.
Does importing video to an iPad count as a backup?
An iPad import is a transfer step, not an automatic second backup. If the footage matters, verify the clips first, then confirm a separate backup destination, such as cloud storage or another drive, before clearing the camera glasses' storage.
Once you've confirmed the exact route your camera glasses and iPad support, check the model's manual once more before your next camp transfer so the same setup keeps working trip after trip.



Hinterlasse einen Kommentar
Diese Website ist durch hCaptcha geschützt und es gelten die allgemeinen Geschäftsbedingungen und Datenschutzbestimmungen von hCaptcha.