
















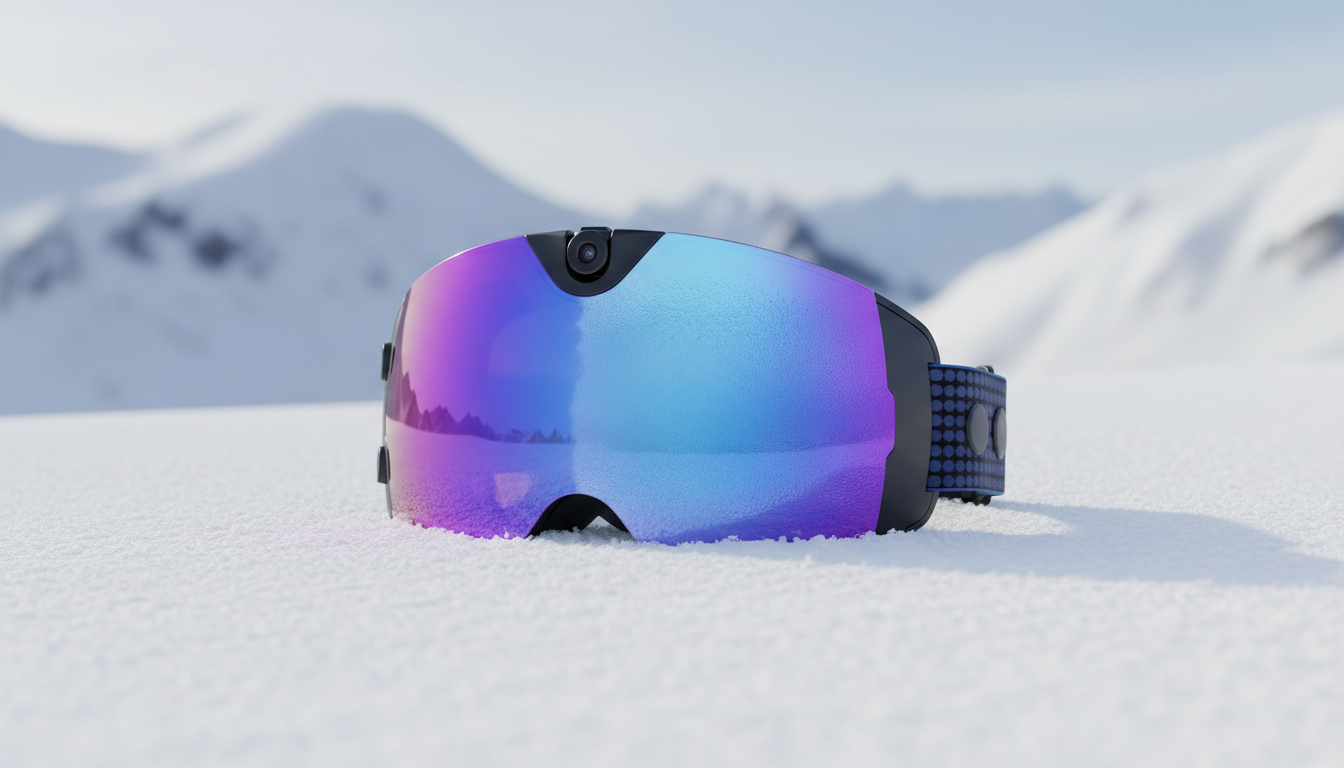
Kamera-Skibrillen können das periphere Sichtfeld und den Tragekomfort mit Helm beeinflussen, doch die Wirkung variiert je nach Person und Design. Ein praxisnaher Komforttest für Kamera-Skibrillen beginnt mit der Passform einer normalen Schneebrille und prüft anschließend das Kameragehäuse, den Druck bei längerem Tragen und die genaue Helmkombination. Wenn das Gehäuse Ihr nutzbares Sichtfeld einschränkt, anhaltenden Druck erzeugt oder den Sitz des Bands beeinträchtigt, sollten Sie eine separate Kameralösung vergleichen oder vor der Nutzung auf der Piste eine normale Schneebrille wählen.
Der nützlichste Komforttest für eine Kamera-Skibrille beginnt mit dem Anprobieren im Stillstand und genau der Helmkombination, die Sie verwenden möchten. Befolgen Sie die nachstehende Reihenfolge, um ein gewöhnliches Passformproblem der Brille von einem kameraspezifischen Kompromiss zu unterscheiden.
Beginnen Sie mit einer stationären Ausgangsprüfung des Komforts einer Kamera-Skibrille: Funktioniert die Brille als normale Schneebrille?
Bevor Sie die Aufnahmefunktionen beurteilen, betrachten Sie die Brille als schützende Schneebrille. Prüfen Sie im Stillstand und ohne Helm, ob Sie eine komfortable, nutzbare Sicht haben und die Brille gleichmäßig am Gesicht anliegt. Wenn sich der Rahmen bereits verschiebt, einen Teil Ihrer Sicht blockiert oder punktuellen Druck erzeugt, versuchen Sie nicht, die grundlegende Fehlpassform durch ein strafferes Band zu beheben.
Schauen Sie geradeaus, bewegen Sie die Augen von einer Seite zur anderen und drehen Sie den Kopf ganz normal. Achten Sie darauf, ob der Rand des Rahmens in den tatsächlich genutzten Sichtbereich ragt, nicht nur in den Winkel, den die Kamera möglicherweise aufzeichnet. Prüfen Sie den Nasenrücken, den unteren Rahmen und den gesamten Bereich des Gesichtskontakts auf Lücken oder Druckstellen. Unabhängige Tests von Skibrillen betrachten nutzbare Sicht, Gesichtskontakt, Druckstellen, sicheren Sitz des Bands und die Kombination mit dem Helm ebenfalls als zentrale Passformkriterien - nicht als nebensächliche Details nach der Technik. Das bietet eine nützliche Grundlage für nutzbare Sicht und gleichmäßigen Gesichtskontakt.

Auch die Form des Rahmens ist wichtig. Ein größerer Rahmen kann bei einem Gesicht die Sicht erweitern, bei einem anderen jedoch Lücken hinterlassen oder Druck erzeugen. Die Passformhinweise von OutdoorGearLab stellen eine Verbindung zwischen Rahmenform, Sicht und Druck her. Gehen Sie daher nicht davon aus, dass eine breiter wirkende Scheibe automatisch ein besseres peripheres Sichtfeld bietet.
Die erste Hürde ist einfach: Wenn die Skibrille im Stehen keine klare, komfortable Sicht und keinen gleichmäßigen Kontakt bietet, bewerten Sie sie nicht weiter als Kameraausrüstung. Probieren Sie stattdessen einen anderen Rahmen oder eine herkömmliche Schneebrille. Führen Sie diese erste Prüfung vor dem Skifahren oder Snowboarden durch, wenn Sie sich sicher auf den Sitz konzentrieren können.
Störungen durch Kameragehäuse und Gewichtsverlagerung isolieren
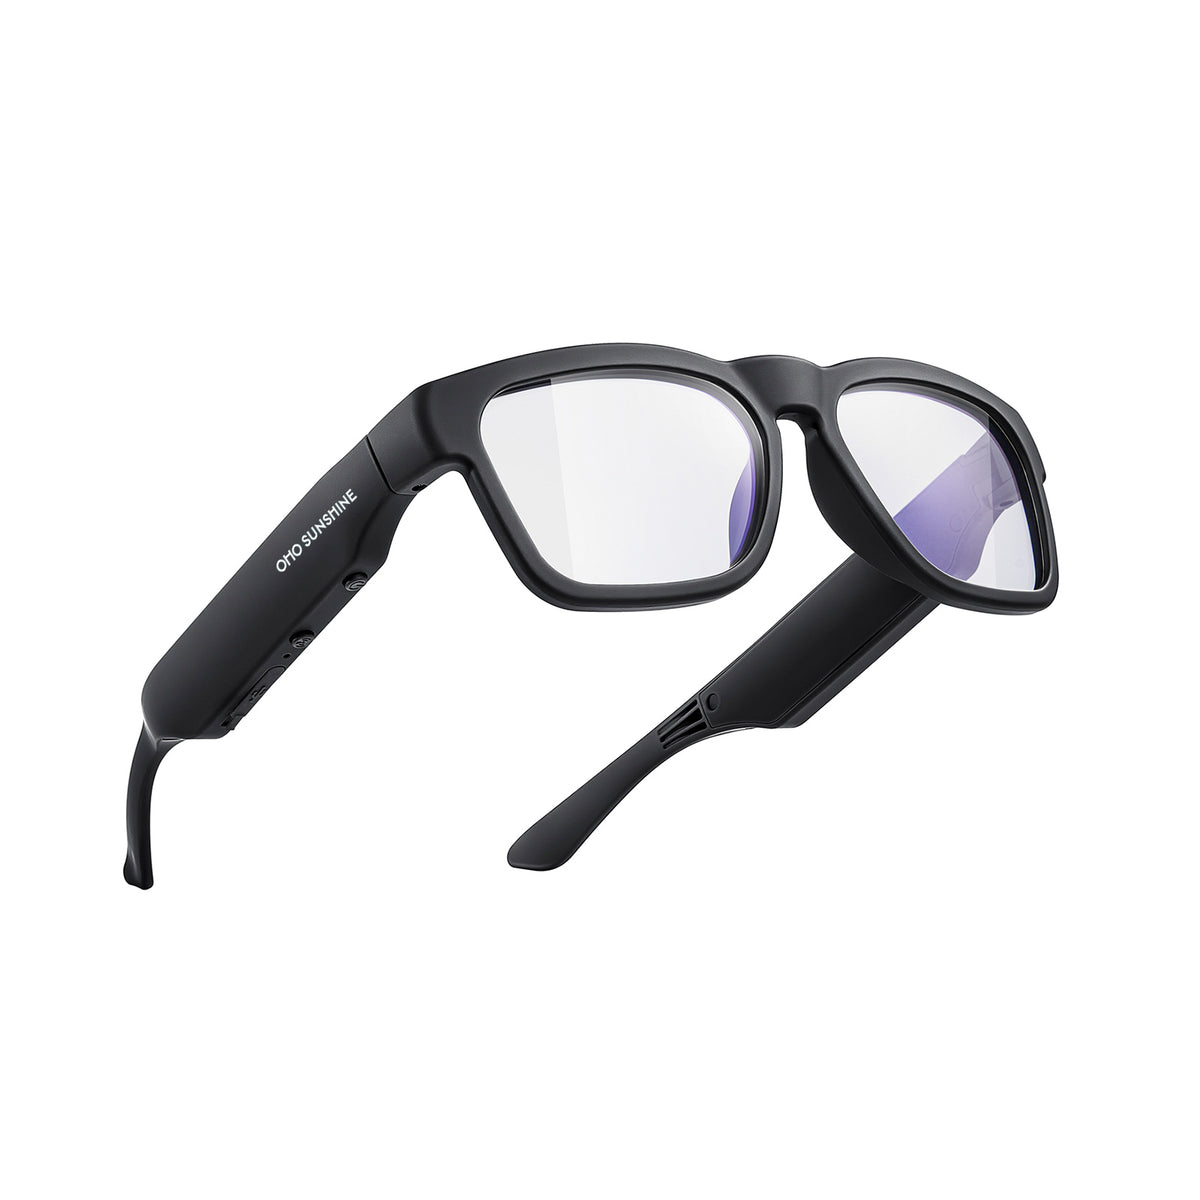
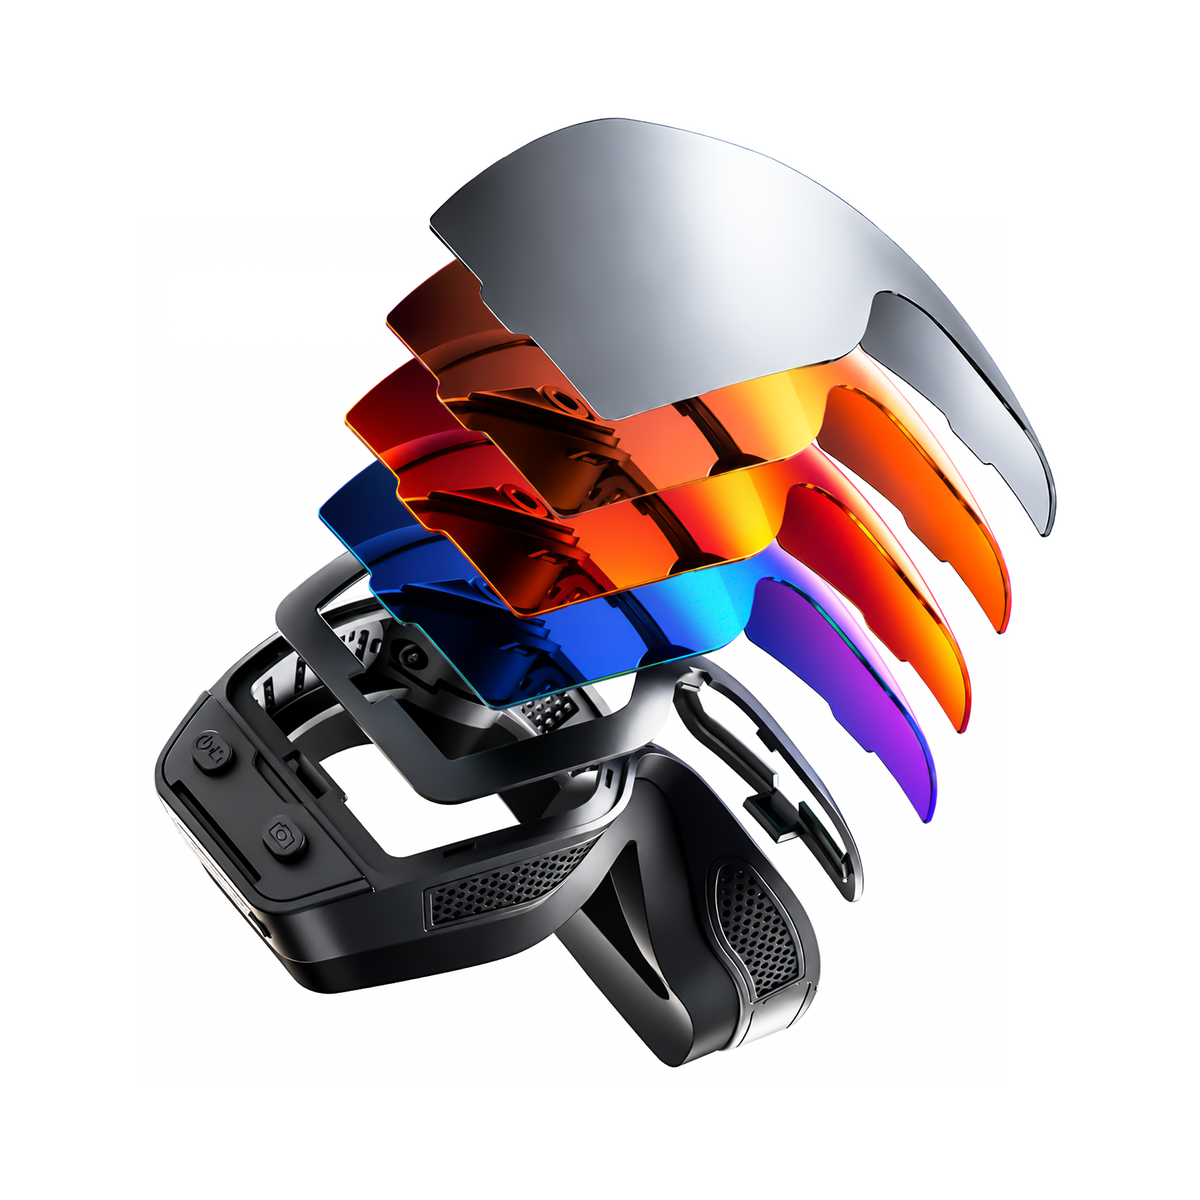
Nachdem die grundlegende Prüfung der Standard-Skibrille bestanden ist, untersuchen Sie, was die Kamera zusätzlich mit sich bringt. Betrachten Sie das Gehäuse, die Bedienelemente, den Befestigungsbereich und jedes Gewicht, das sich vorn oder an den Seiten konzentriert. Wiederholen Sie dieselben Blickbewegungen und normalen Kopfdrehungen wie bei der ersten Prüfung und vergleichen Sie das kamerabestückte Design mit der gerade ermittelten Referenz.
Achten Sie auf ein Gefühl, als würde die Brille nach vorn gezogen, auf einseitiges Kippen, eine veränderte Kopfhaltung oder darauf, dass Sie das Band stärker als zuvor festziehen müssen. Prüfen Sie auch, ob das Gehäuse oder die Bedienelemente am Rand Ihres nutzbaren Sichtfelds stören. Dies sind Beobachtungen zu Ihrem konkreten Modell und Ihrem Gesicht, kein Beleg dafür, dass alle Kamera-Skibrillen schwerer sind oder das periphere Sichtfeld einschränken.
Halten Sie zwei Arten von Sichtfeld auseinander. Das aufgezeichnete Sichtfeld der Kamera beschreibt, was das Objektiv erfasst; es sagt nichts über das periphere Sichtfeld der tragenden Person aus. So nennt das Skyshot-Angebot ein Kamera-Sichtfeld von 140°, doch diese Angabe kann nicht bestätigen, was Sie beim Tragen der Skibrille um den Rahmen herum sehen können.
Eine ältere Bewertung einer Kamera-Skibrille berichtete über modellspezifische Kompromisse: ein akzeptables, aber nicht perfektes peripheres Sichtfeld sowie Beschwerden durch rechteckige Steuer- und Akkueinheiten an den Schläfen, insbesondere ohne Helm. Betrachten Sie diesen Bericht als historischen Kontext, nicht als Vorhersage für Skyshot. Prüfen Sie diese Bereiche sorgfältig und beurteilen Sie, was passiert, wenn Sie mit der betrachteten Brille den Blick schweifen lassen, den Kopf drehen und ihn natürlich halten.
Wenn das Gehäuse oder die Bedienelemente bei stationären Bewegungen wiederholt in Ihr nutzbares Sichtfeld ragen oder einen ungleichmäßigen Sitz verursachen, vergleichen Sie vor der Wahl des integrierten Formats ein separates Kamera-und-Brille-Setup. Lockern Sie die Skibrille nicht so weit, dass sie verrutscht oder ihre Abdichtung verliert, nur um den Druck der Hardware zu verringern.
Druck an Nase, Schläfen, Augenbrauen und Rahmen bei längerem Tragen einem Belastungstest unterziehen
Eine kurze Kontrolle im Spiegel kann Beschwerden übersehen, die sich allmählich entwickeln. Lassen Sie die Skibrille lange genug auf, damit sich entwickelnder Druck bemerkbar wird, ohne eine bestimmte Minutenzahl als universellen ganztägigen Test zu betrachten. Ziel ist festzustellen, ob der Druck für Sie gleichmäßig und erträglich bleibt.
Prüfen Sie jeden Bereich einzeln: Nase und Nasenrücken, Schläfen, Stirn, Wangenknochen, Rahmenrand und Kameragehäuse. Achten Sie auf wiederkehrende Druckpunkte, ein kopflastiges Gefühl, einseitigen Zug oder Druck, der Sie dazu bringt, die Skibrille abzunehmen. Die Ausführungen von OutdoorGearLab zur Entstehung von Druck bei längerem Tragen stützen diese längere erneute Prüfung, da ein geringfügiges Passformproblem im Laufe eines langen Tages zunehmend ablenkend wirken kann.
Nehmen Sie eine sorgfältige Anpassung des Bands vor und beurteilen Sie anschließend dieselben Punkte erneut. Eine kleine Anpassung kann die Stabilität verbessern, sollte aber kein gleichmäßiges Kontaktmuster in konzentrierten Druck an anderer Stelle verwandeln. Wenn die Skibrille nur dann bequem bleibt, wenn das Band so straff sitzt, dass ein Druckpunkt entsteht, ist die zugrunde liegende Passform nicht gelöst.
Für die Entscheidung ist entscheidend, ob die Beobachtung wiederholbar ist. Ein kurzes Gefühl, das nach einer sorgfältigen Anpassung verschwindet, unterscheidet sich von einem Druck, der an derselben Stelle zurückkehrt, oder von einer kopflastigen Balance, die bestehen bleibt. Anhaltende Druckpunkte, ungleichmäßiger Zug oder Kontakt mit dem Kameragehäuse sind Gründe, eine andere Kombination zu vergleichen, statt das Band weiter festzuziehen.
Wiederholen Sie die Prüfung von Sicht und Komfort mit Ihrem tatsächlichen Helm
Die abschließende Passformprüfung gilt der exakten Helmkombination. Setzen Sie den Helm auf, den Sie beim Skifahren oder Snowboarden im Skigebiet verwenden möchten, und beurteilen Sie dann erneut die Position des Rahmens, die seitliche Sicht, den Freiraum für Gehäuse und Bedienelemente, den Verlauf des Bands, die Abdichtung und den Druck. Ein beliebiger Helm oder ein Kompatibilitätshinweis kann diese Frage für Ihre Kombination aus Gesicht und Ausrüstung nicht beantworten.
Blicken Sie nach oben und unten, drehen Sie den Kopf von einer Seite zur anderen und nehmen Sie die Kopfpositionen ein, die Sie beim Fahren erwarten. Prüfen Sie, ob der Helm den Rahmen nach unten drückt, das nutzbare seitliche Sichtfeld verändert, das Kameragehäuse einengt, am Band hängen bleibt oder einen neuen Druckpunkt an Stirn, Nase oder Schläfe erzeugt. Unabhängige Tests sprechen dafür, die genaue Kombination aus Skibrille und Helm zu prüfen, da der Helm die Position des Rahmens, die Abdichtung und den Verlauf des Bands verändern kann.

Lassen Sie das Band zunächst zur Ruhe kommen und wiederholen Sie dann die Bewegungs- und Druckprüfung. Eine erneute Beurteilung von Bewegungsfreiheit und Druck mit aufgesetztem Helm ist auch dann sinnvoll, wenn die Passform ohne Helm gut schien; der Test von GearJunkie zeigt, warum eine erneute Beurteilung von Bewegungsfreiheit und Druck mit aufgesetztem Helm ein anderes Passgefühl offenbaren kann. In diesem Test geht es um herkömmliche Skibrillen, daher stützt er die Methode, nicht ein Komfortergebnis für ein Kameramodell.
Für eine verwandte praktische Ergänzung verwenden Sie diese Checkliste zur Helmkompatibilität. Die Anprobe bleibt der entscheidende Kauftest: Wenn der vorgesehene Helm Ihr nutzbares Sichtfeld verändert, anhaltenden Druck verursacht oder die Brille beziehungsweise der Gurt instabil macht, verwenden Sie dieses Setup nicht auf der Piste.
Nutzen Sie die abgeschlossene Anprobe, um zwischen integrierter und separater Kameraausrüstung zu wählen
Verwenden Sie die abgeschlossene Anprobe als Entscheidung nach vier Kriterien und nicht nur als Vergleich von Kameraspezifikationen. Behalten Sie eine integrierte Kamerabrille nur bei, wenn die Referenz mit einer Standardbrille, die kamerabezogene Prüfung, die Prüfung bei längerem Tragen und die Prüfung mit aufgesetztem Helm allesamt ohne einen wiederkehrenden Kompromiss bestehen.
| Passformprüfung | Behalten Sie das integrierte Design bei | Wiederholen Sie den Test oder wählen Sie eine andere Lösung |
|---|---|---|
| Sicht und Kontakt bei Standard-Schneebrillen | Klare, gut nutzbare Sicht, gleichmäßiger Kontakt und keine grundlegende Fehlpassung des Rahmens | Wenn diese Prüfung nicht bestanden wird, wählen Sie zuerst eine Standard-Schneebrille oder einen anderen Rahmen |
| Kameragehäuse und Balance | Kein wiederkehrendes Eindringen am Rand, Kippen, Ziehen nach vorn oder eine unnatürliche Kopfhaltung | Vergleichen Sie eine separate Kamera, wenn die Basisbrille passt, aber die Hardware das Problem verursacht |
| Druck bei längerem Tragen | Nase, Schläfen, Brauen, Rahmen und Gehäuse bleiben nach einer sorgfältigen Anpassung akzeptabel | Wiederholen Sie den Test oder vergleichen Sie ein anderes Format, wenn ein Druckpunkt oder übermäßiges Festziehen erneut auftritt |
| Stabilität und Freiraum mit aufgesetztem Helm | Der vorgesehene Helm gewährleistet Sicht, Komfort, Gurtführung und eine stabile Position | Wählen Sie ein anderes Setup, wenn Druck, eine Veränderung der Sicht oder Instabilität bestehen bleibt |
Wählen Sie ein separates Kamera- und Brillenset, wenn eine Standard-Schneebrille zwar besteht, das integrierte Gehäuse, die Bedienelemente, die Balance oder das Eindringen des Rahmens jedoch zu einem wiederkehrenden Kompromiss führen. So bleibt die Entscheidung für die Kamera von der Entscheidung über den Brillensitz getrennt. Ein Formatvergleich unterstützt den Vergleich separater Kameraausrüstung, wenn integrierte Hardware einen solchen Kompromiss verursacht, statt den Sitz der Brille zu lockern. Wählen Sie eine Standard-Schneebrille, wenn kein Kameraformat ohne wesentliche Abstriche bei Sicht oder Komfort überzeugt.
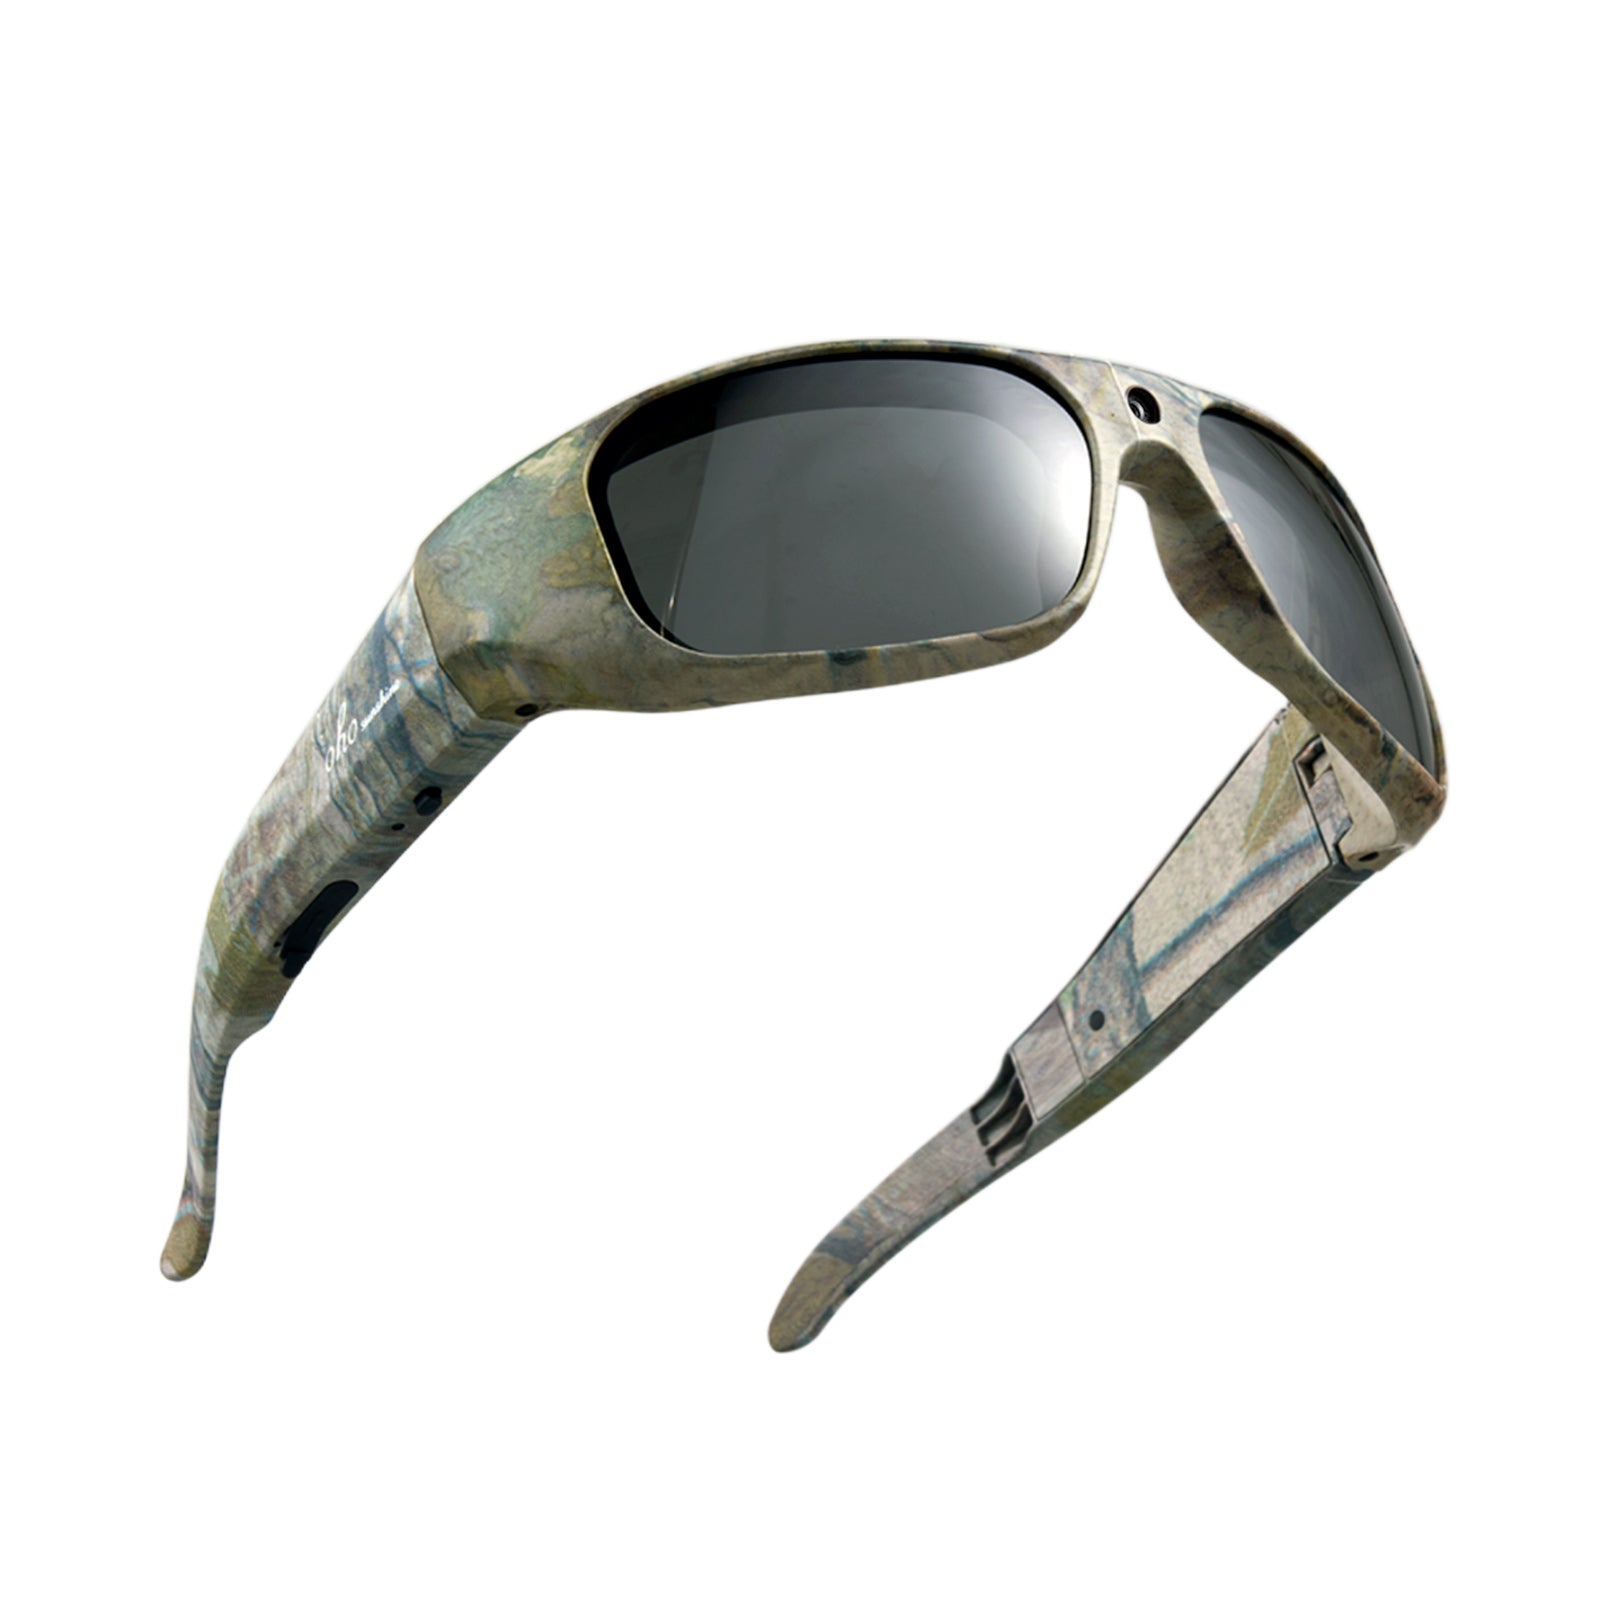
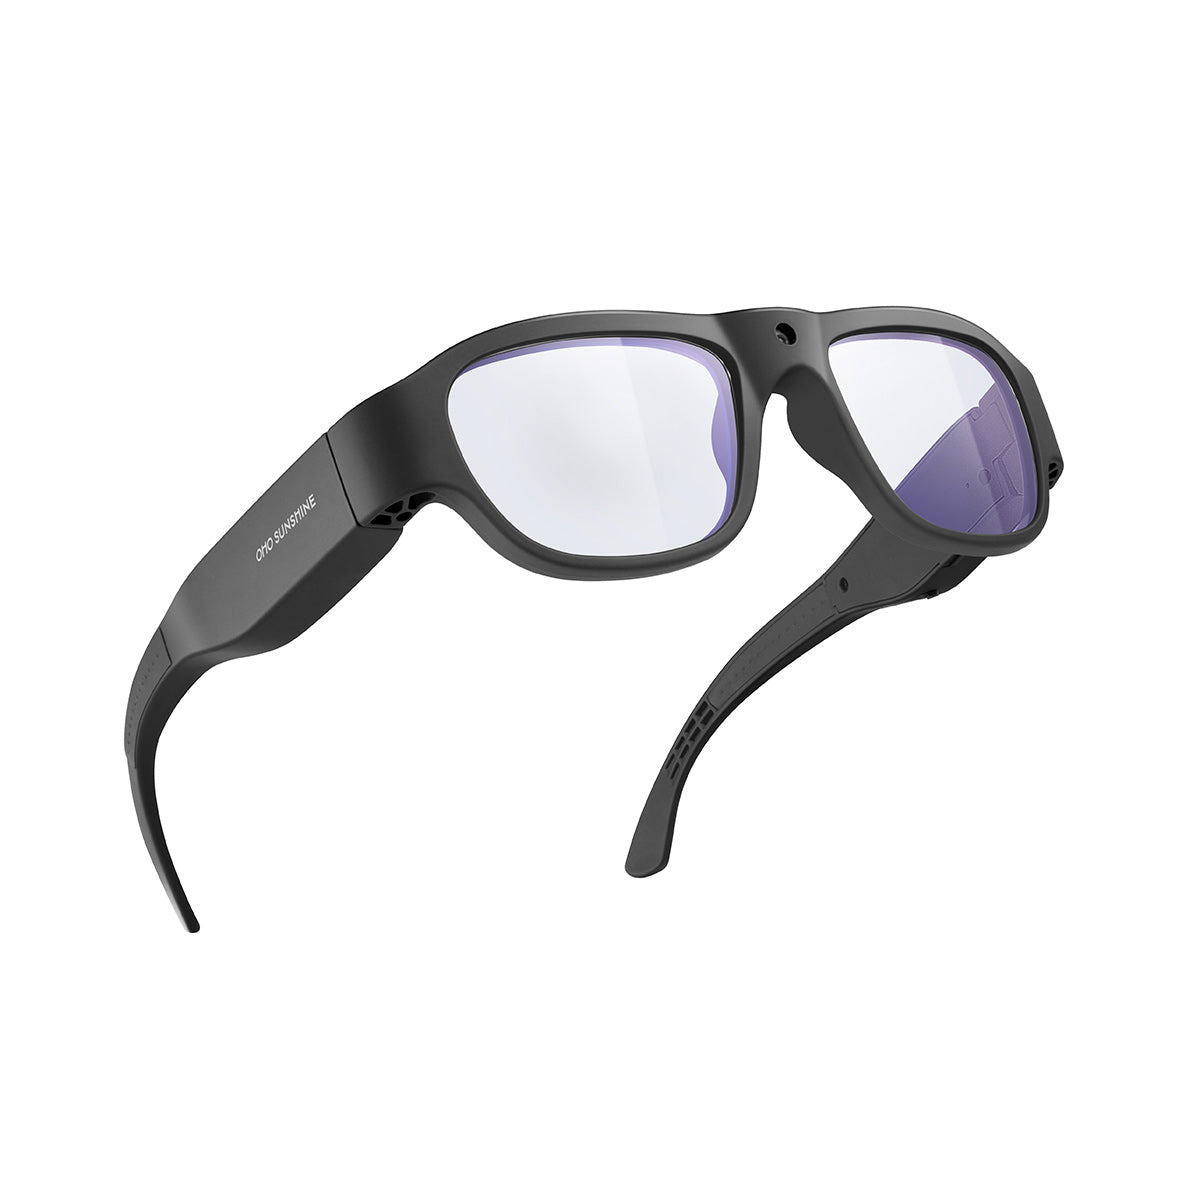
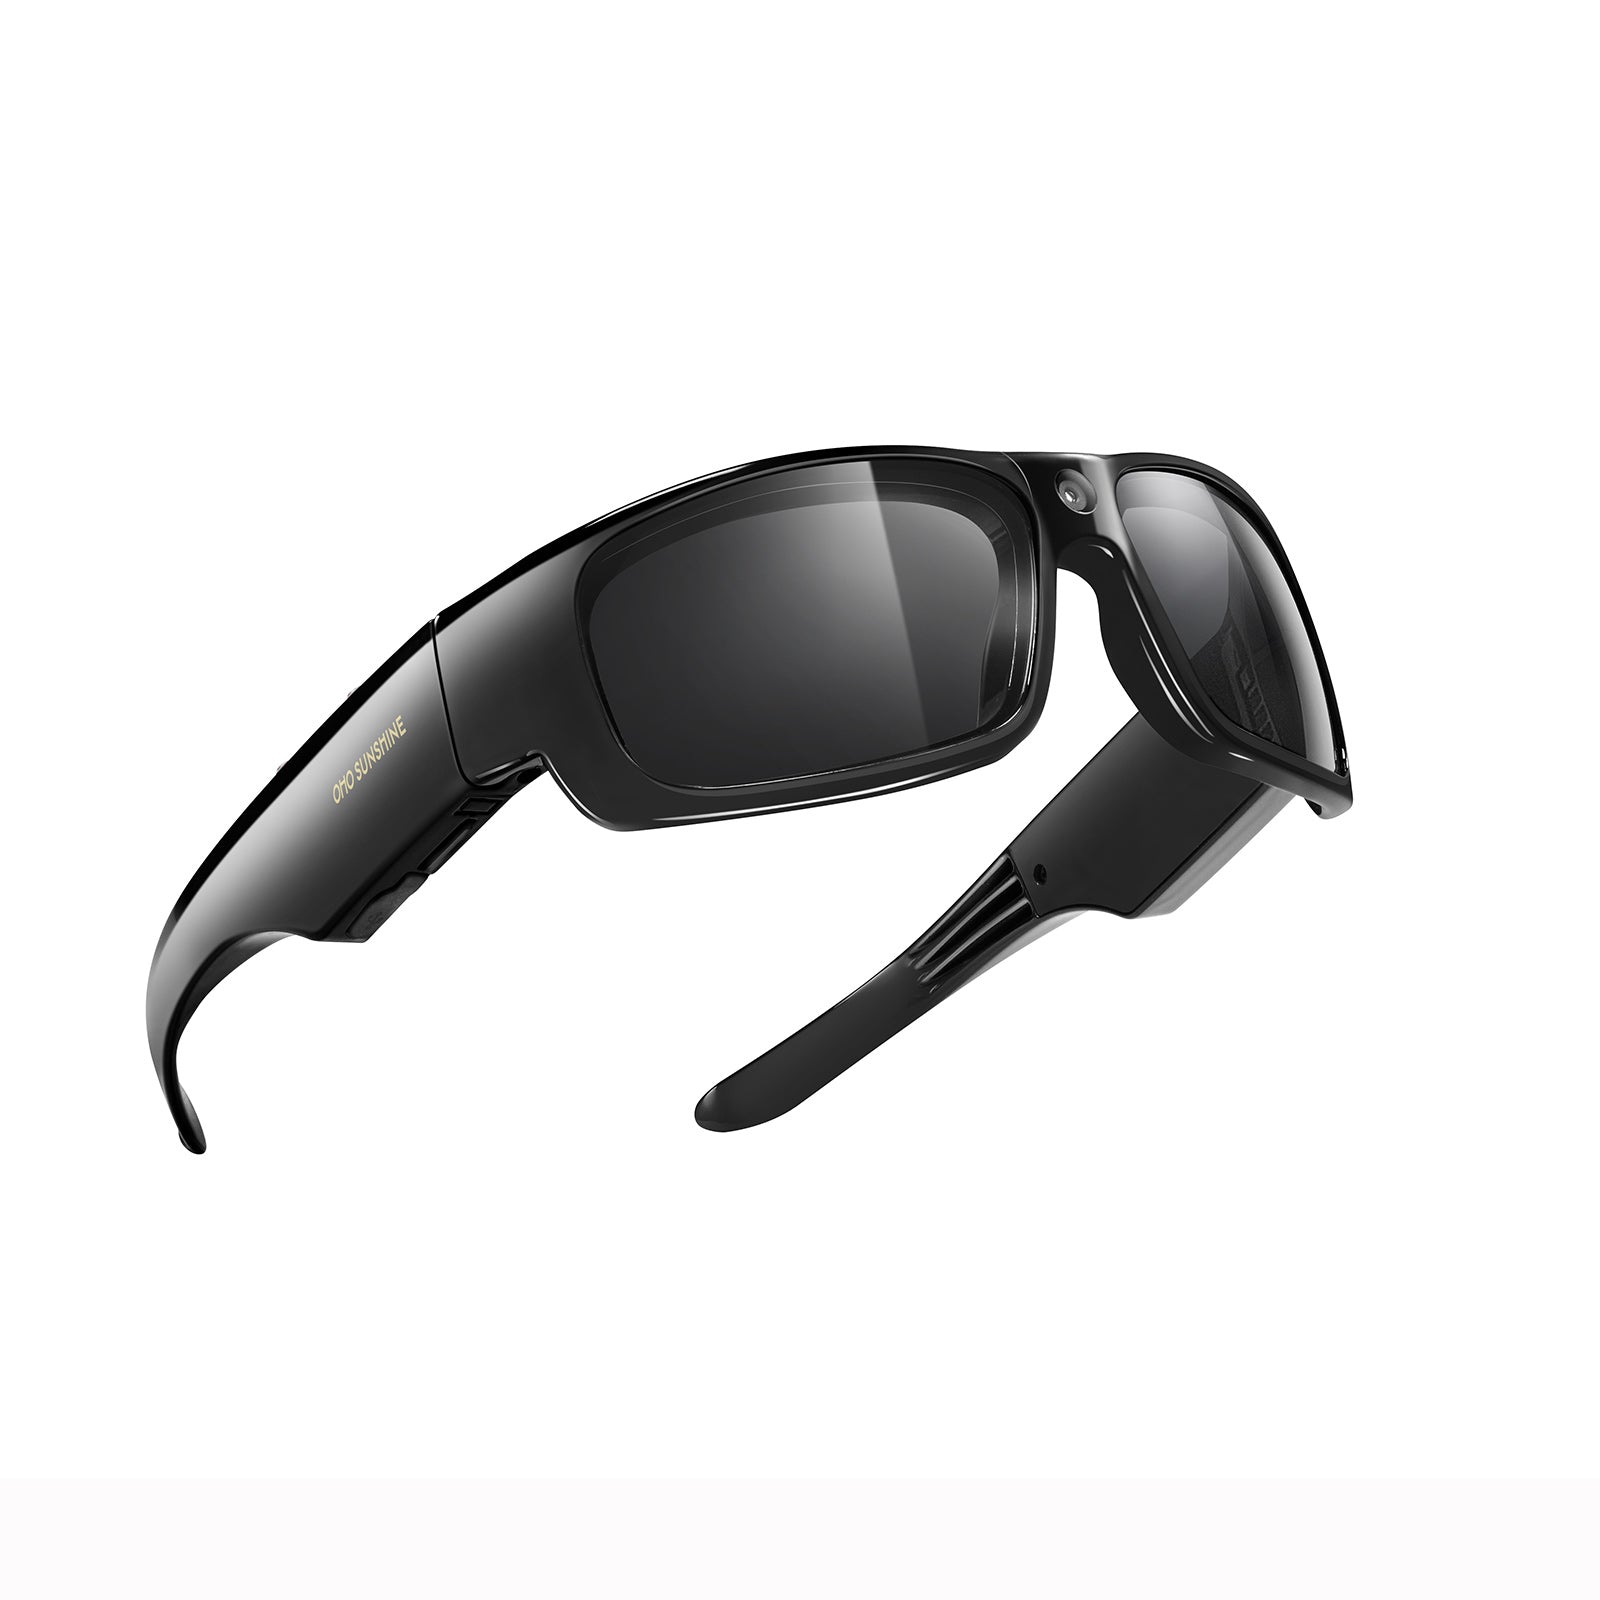
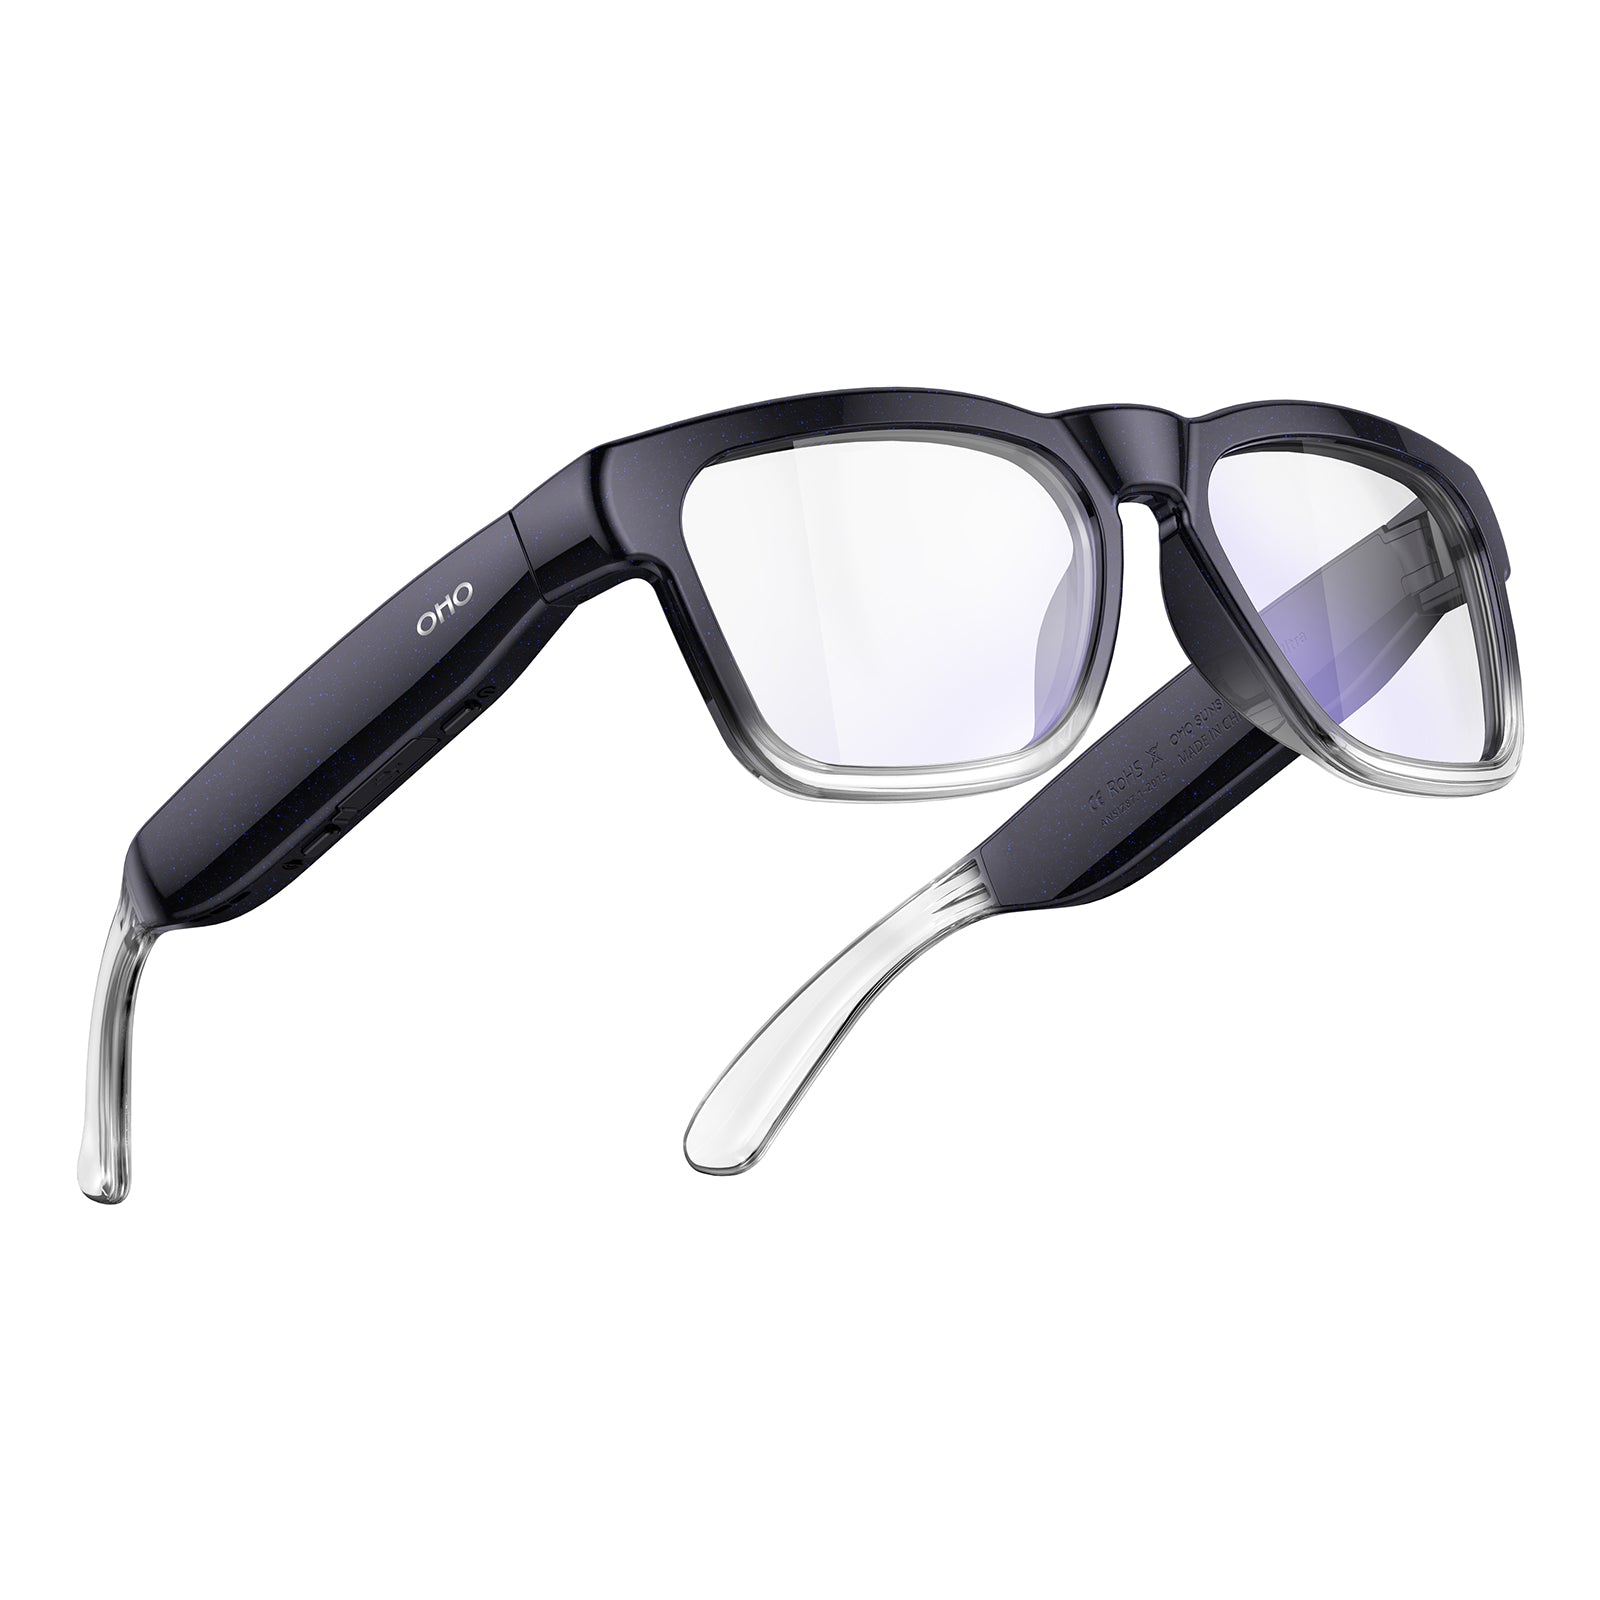
Wenn Sie die OHO SUNSHINE Skyshot Skibrille mit Kamera prüfen, nennt das Angebot ein 140°-Sichtfeld der Kamera und ein Artikelgewicht von 213 Gramm sowie Funktionen wie 4K-Videoaufzeichnung und eine beschlagfreie Scheibe. Dabei handelt es sich um aufgeführte Produktdetails, nicht um einen Nachweis für das periphere Sichtfeld des Trägers, die Gewichtsverteilung, den Komfort oder die Kompatibilität mit Ihrem Helm. Wenden Sie vor der Bestellung oder Verwendung dieselben vier Prüfkriterien an.
Die Antwort auf die Frage im Titel lautet: Es kommt darauf an. Integrierte Kamerahardware kann bei manchen Designs und Trägern das Sichtfeld oder den Helmkomfort beeinflussen, aber nur das genaue Anprobieren zeigt, ob der Effekt relevant ist. Testen Sie die Brille im Stillstand, simulieren Sie längeres Tragen und wiederholen Sie anschließend jede wichtige Prüfung mit Ihrem tatsächlichen Helm, bevor Sie sie auf die Piste mitnehmen.
Häufig gestellte Fragen
Fühlen sich Skibrillen mit Kamera schwerer an als normale Skibrillen?
Nicht unbedingt. Entscheidend ist, wie sich das Gewicht auf Ihrem Gesicht verteilt. Achten Sie bei längerem Tragen auf einen Zug nach vorn, einseitigen Druck, ein Verrutschen oder darauf, dass der Riemen zu fest angezogen werden muss. Wenn diese Effekte anhalten, vergleichen Sie ein anderes Format, statt anzunehmen, dass der Riemen das Problem lösen wird.
Können Skibrillen mit Kamera das periphere Sichtfeld einschränken?
Sie können je nach Modell eine Behinderung verursachen, aber der aufgezeichnete Blickwinkel einer Kamera misst nicht das seitliche Sichtfeld des Trägers. Blicken Sie ohne Helm von einer Seite zur anderen und drehen Sie den Kopf normal, und wiederholen Sie dies anschließend mit dem vorgesehenen Helm. Vergleichen Sie, was Sie sehen können, insbesondere in der Nähe von Rahmen und Gehäuse.
Sind Skibrillen mit Kamera den ganzen Tag angenehm zu tragen?
Bei manchen kann das der Fall sein, aber eine kurze Prüfung im Spiegel kann dies nicht für jedes Gesicht oder jeden Helm feststellen. Längeres Tragen im Stillstand ist aussagekräftiger, weil sich dadurch entstehender Druck zeigen kann. Der Komfort hängt außerdem von gleichmäßigem Kontakt mit dem Gesicht, ausgewogener Hardware, einer stabilen Riemenposition und der genauen Helmkombination ab.
Wie teste ich Skibrillen mit Kamera auf Druckstellen?
Überprüfen Sie Nase, Schläfen, Brauen, Wangenknochen, den Rahmenumfang und das Kameragehäuse separat. Nehmen Sie eine sorgfältige Riemenanpassung vor, wiederholen Sie die Prüfung bei normalen Kopfbewegungen und setzen Sie dann den tatsächlichen Helm auf. Anhaltender, konzentrierter Druck ist ein Grund, vor dem Fahren ein anderes Setup zu vergleichen.
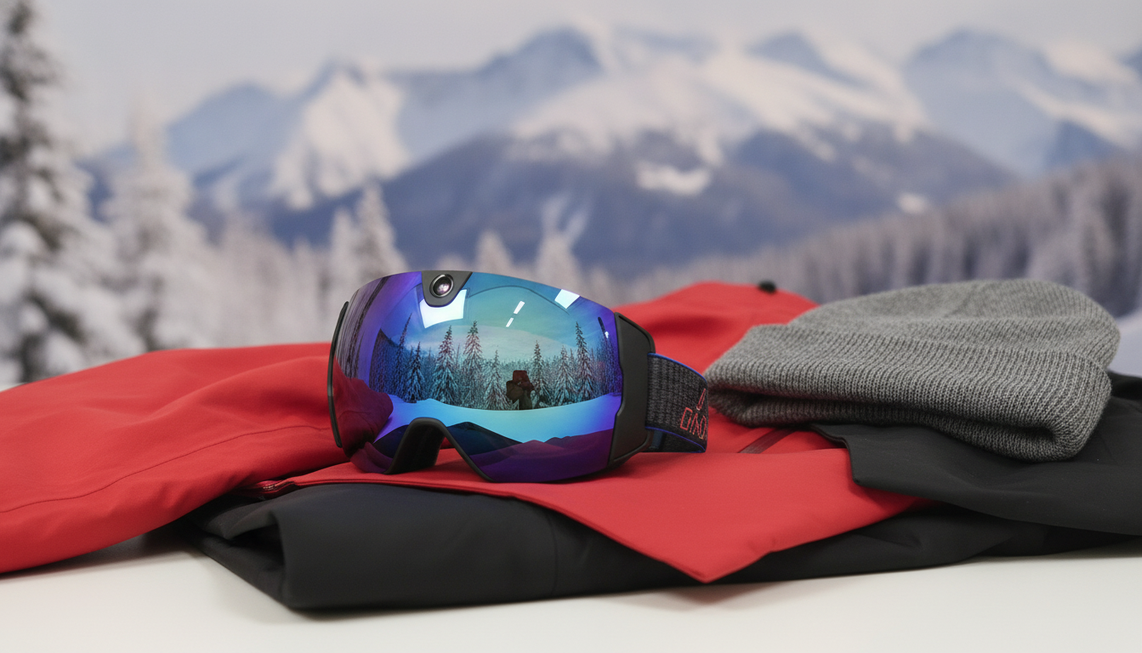


Kommentar hinterlassen
Diese Website ist durch hCaptcha geschützt und es gelten die allgemeinen Geschäftsbedingungen und Datenschutzbestimmungen von hCaptcha.