










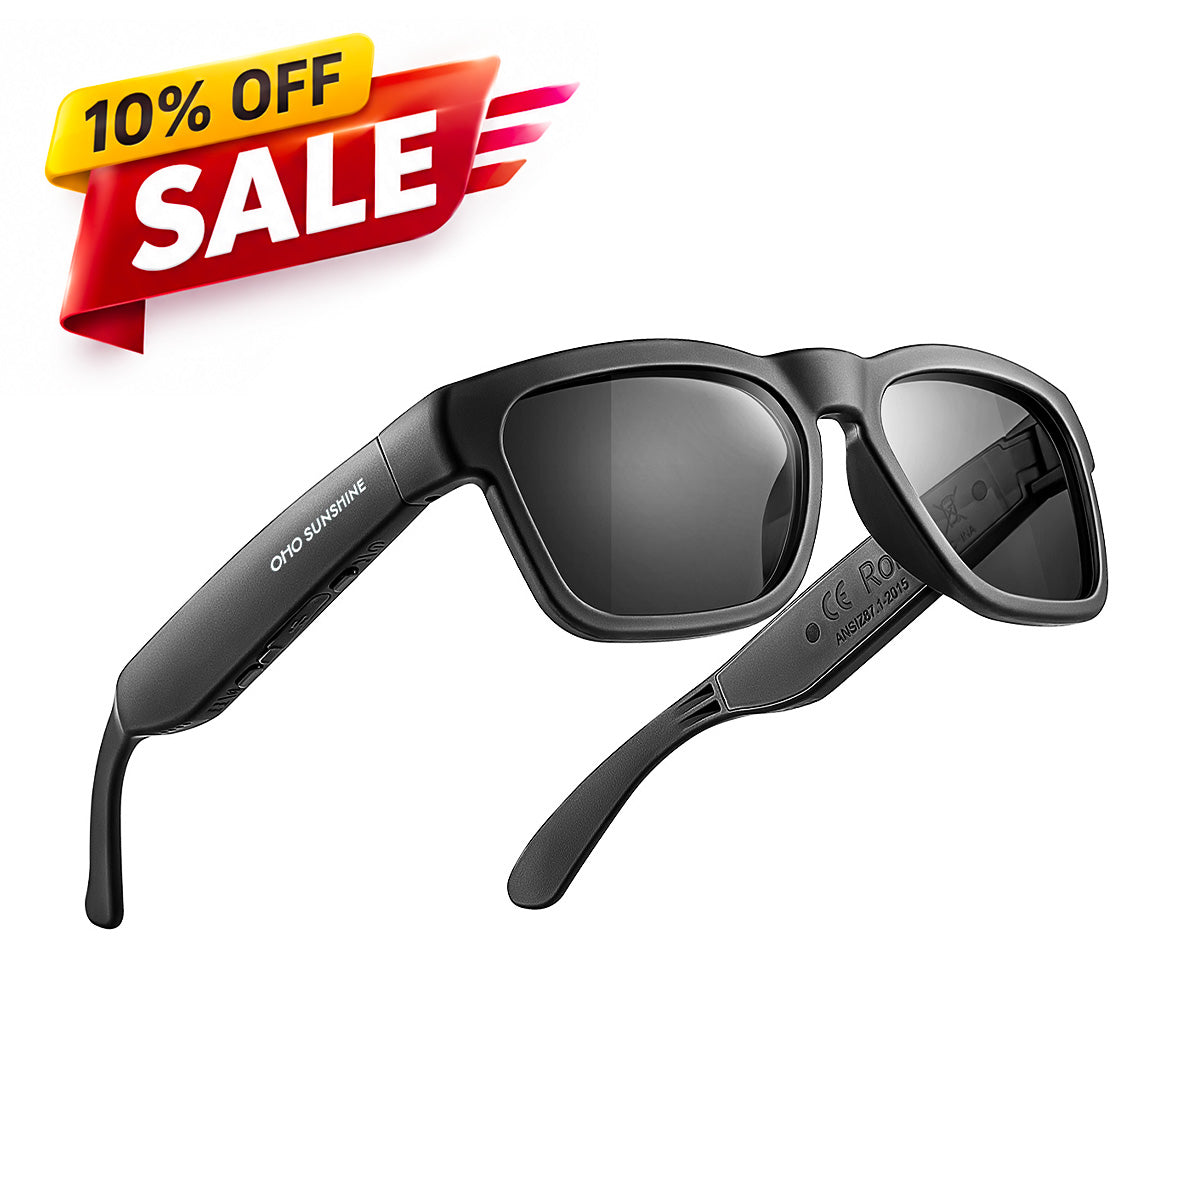


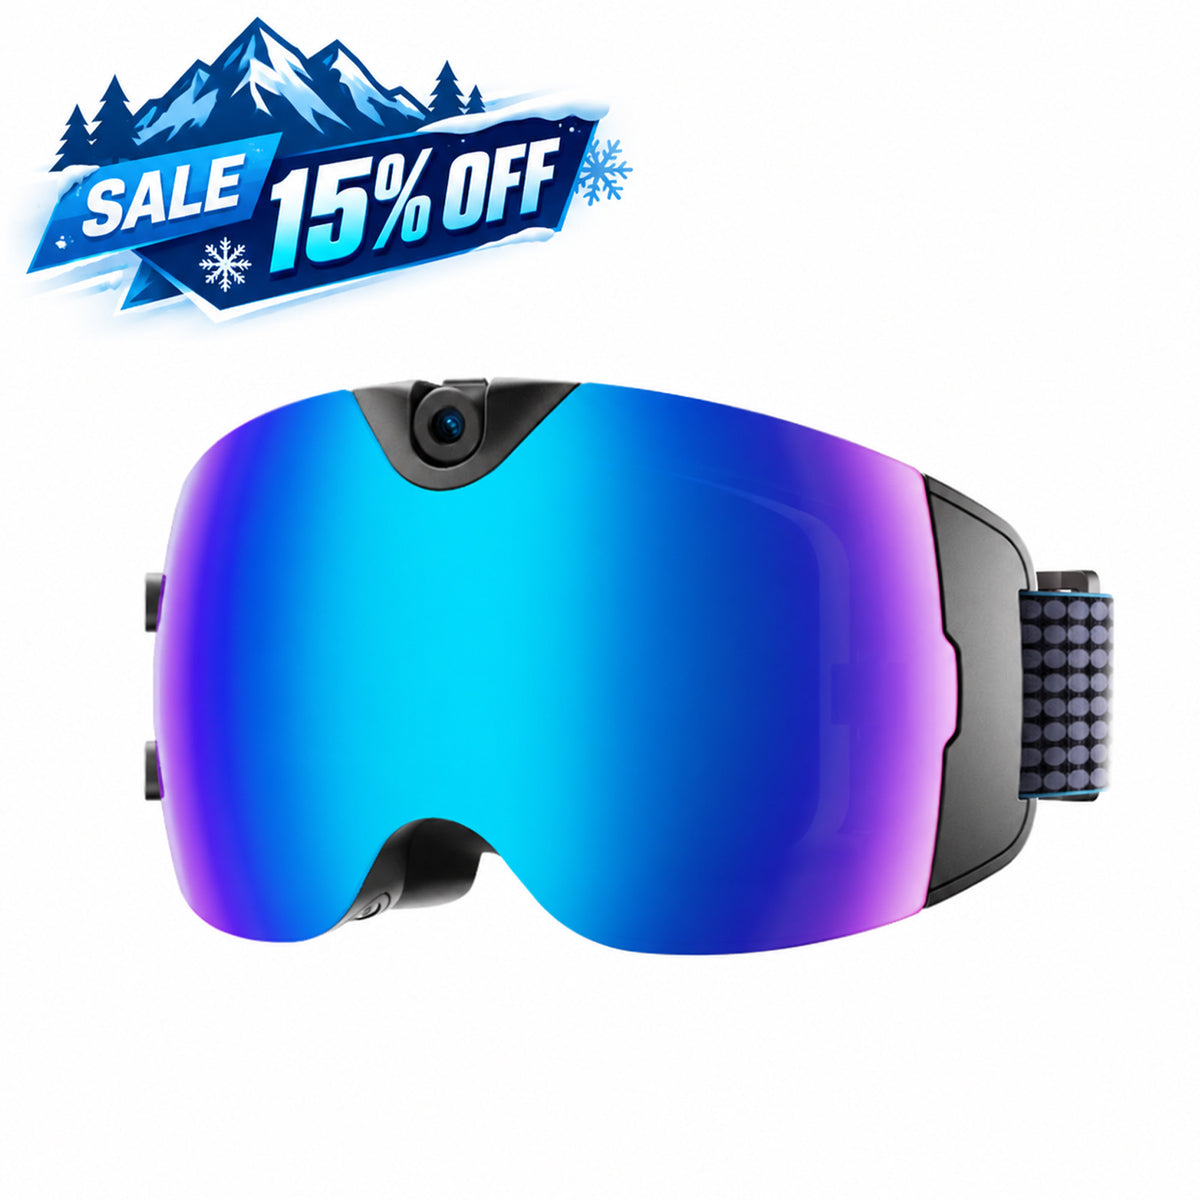


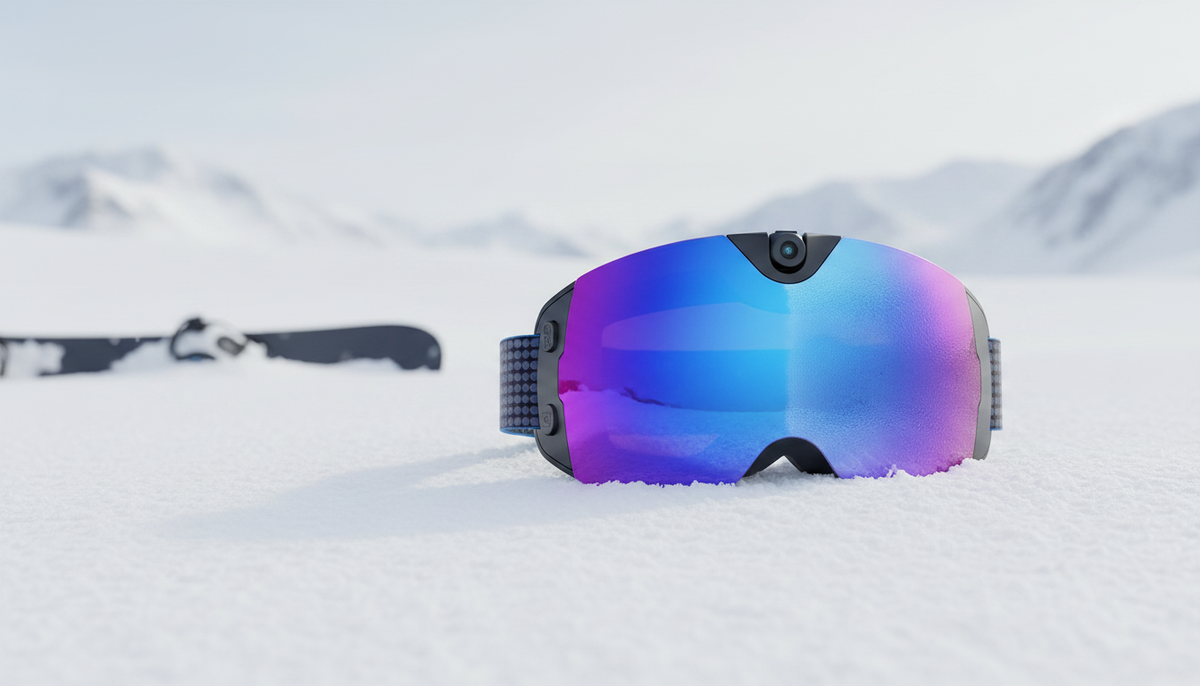
Ski and snowboard goggles fall into the same broad category, but snowboarders shouldn’t assume a ski-oriented camera setup will frame or fit the same way. When choosing snow goggles with camera, start with your viewpoint, then test stance-specific framing, exact helmet fit, exposure during falls and handling, lens visibility, glove-friendly controls, and recording continuity.
Should you choose integrated camera goggles or a separate action camera for snow goggles with camera?
Choose integrated camera goggles when hands-free simplicity and a camera positioned with the goggles matter most. Choose a separate action camera when adjustable mounting, an independent camera, or multiple viewpoints matter more. Neither format is universally better—the right choice depends on how you ride and what you’re willing to test before a full session.
| Setup | Choose it when | Verify before buying |
|---|---|---|
| Integrated camera goggles | You want a hands-free routine and a viewpoint that follows the goggles as you ride. | Test the exact face-and-helmet fit, camera aim in your stance, control access with gloves, lens visibility, and the charging, storage, and transfer workflow. |
| Separate action camera | You want adjustable mounting, an independent camera choice, or more than one viewpoint. | Check mount clearance, stability, control access, weather handling, and whether the added setup is practical with your helmet and gloves. |
For snow goggles with camera, the integrated format eliminates the need for a separate mount, but the viewpoint is tied to the goggles and your head position. A separate camera offers more placement flexibility, which can matter for park runs, switch footage, or riders who want to change the camera position between runs. For a broader comparison of the two formats, see this guide to integrated goggles versus a separate camera.
Start with the format that matches your recording priorities. Then rule out any option that shifts, obstructs your vision, can’t be operated with your riding gloves, or produces an unusable frame in the stance and conditions you actually plan to ride.
What changes from skiing when you use camera snow goggles for snowboarding?
The goggle category overlaps: ski and snowboard goggles are generally used across the same broad category. The snowboard-specific question is whether the exact camera-equipped setup stays secure, visible, aimable, and usable through your stance, edge changes, falls, lift rides, and gear handling.
Your regular or goofy stance changes the direction your body turns relative to a camera fixed near your eyes. That doesn’t automatically make the footage unsuitable, but it does make framing a rider-specific test. Record a short clip in your normal stance, then repeat it in switch if you ride switch or want footage from both directions. Look for too much sky, board, shoulder, or unintended turn direction before committing to a full day.

Snowboard movement also creates different moments to inspect. Edge changes, sitting on a lift, carrying a board, grabbing during a trick, and falling can put pressure on the frame, housing, strap, or controls. These are checks, not proof that every snowboard setup will experience the same contact pattern. The practical takeaway is simple: if the goggles shift, the camera angle changes, or a control is pressed unintentionally, the setup needs a different fit or recording format.
How to verify camera goggle, face, and snowboard helmet fit
Use the exact camera goggles, your face, and your snowboard helmet as one system. A product category, size label, or phrase such as snow goggles for men can’t guarantee a comfortable seal or camera clearance. Follow this priority order before relying on the setup for a full day.
- Set the goggles on your face first. Check that the frame sits comfortably, the seal is even, and there are no pressure points or obvious gaps. Don’t force the goggles into position to make them fit a helmet.
- Route and center the strap. Keep the strap on the outside of the goggle frame and under the helmet’s intended strap-retention area. It should stay centered and untwisted when you move your head.
- Add the exact helmet. Test low-profile and full-face interfaces separately if you use both. Check the camera housing, frame, vents, and helmet edge for pressure or interference. The interface should be flush without restricting your vision; check for a flush helmet-to-goggle interface without pressure or vision obstruction.
- Move before judging the fit. Turn, tilt, and nod your head, then simulate your riding position. Try the goggles with your normal clothing and helmet adjustments. General guidance also supports trying the exact goggles with the exact helmet for a snug, comfortable fit instead of inferring compatibility from the product name.
- Test your intended stances. Record in regular and switch stance when relevant. Check whether the camera housing stays clear and whether the frame remains useful as you look through a turn.
- Review the return terms if testing is limited. If you can’t try the exact pairing before purchase, check the current return conditions and preserve the option to resolve an uncertain fit after an indoor test.
A camera-goggle-and-helmet fit checklist is useful when comparing frame shape, strap position, housing clearance, vents, gaps, and head movement. The exact-pair test remains the deciding step.
How should you match the lens, visibility, camera aim, and controls to your riding?
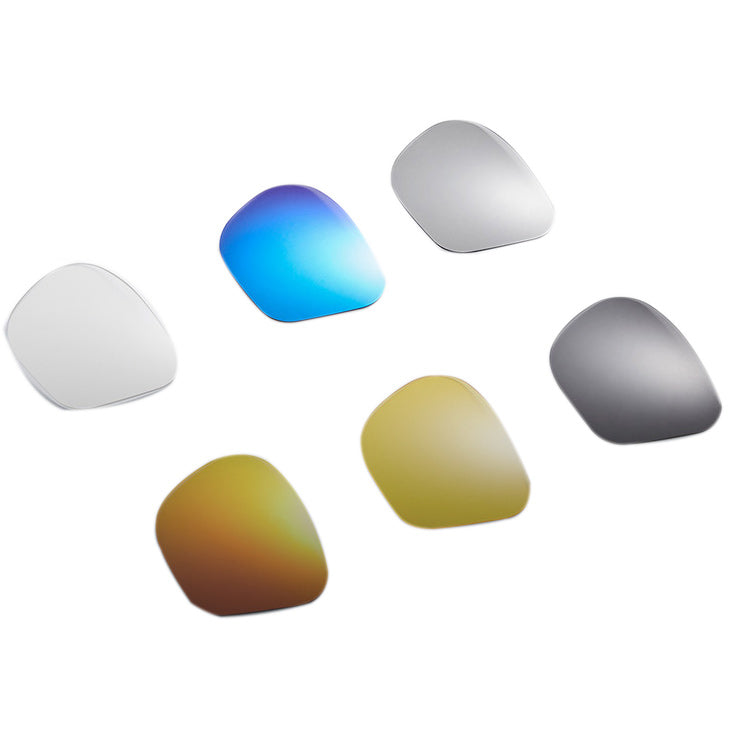
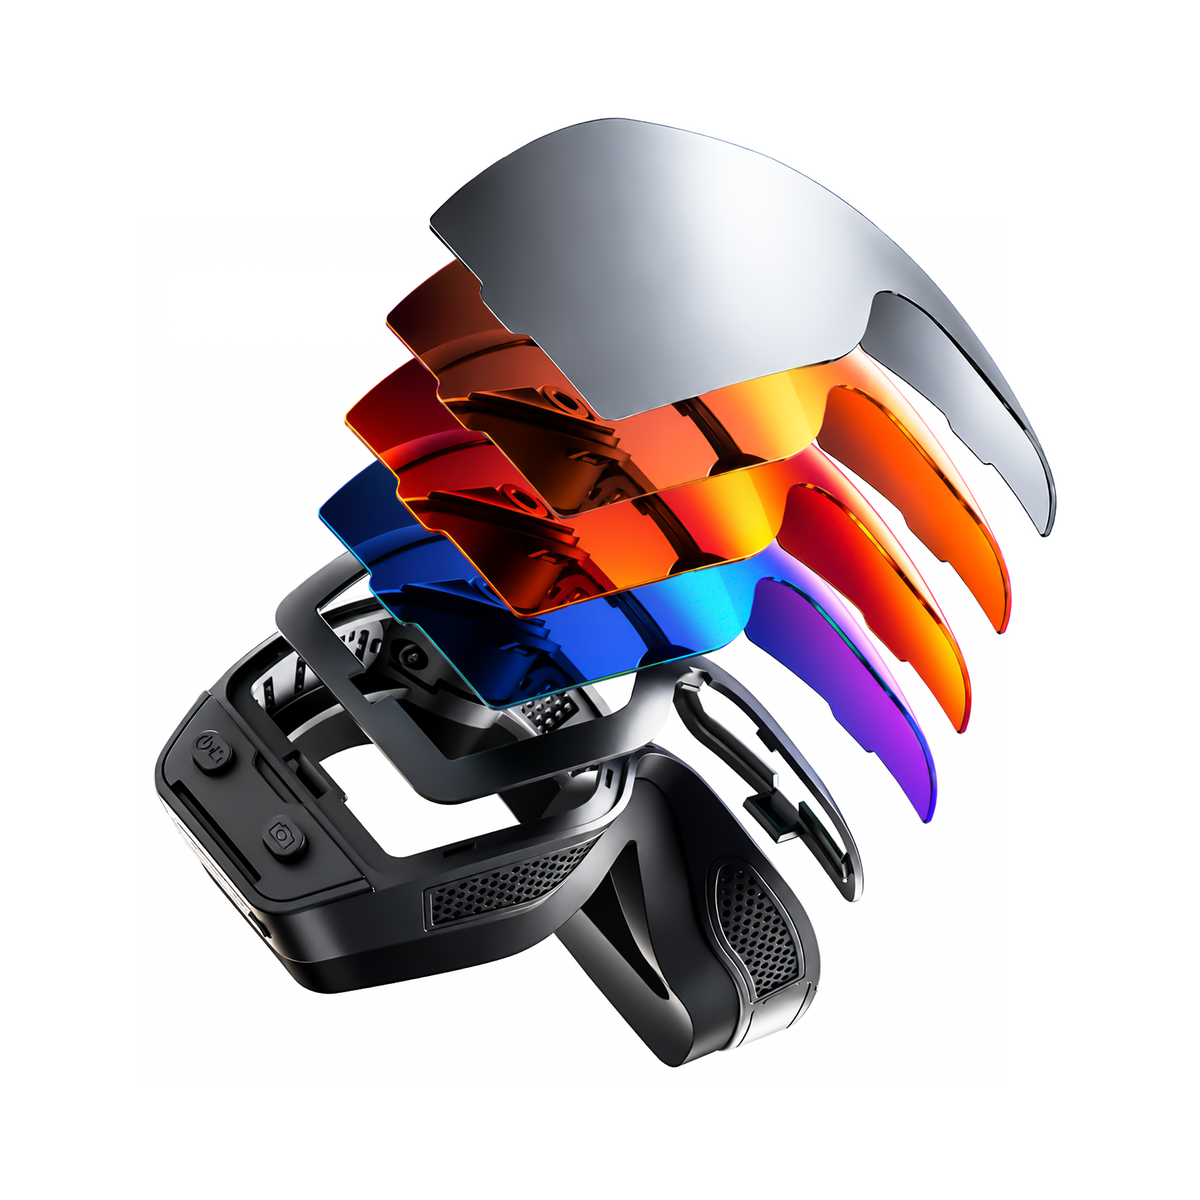
Match the lens and recording routine to the conditions you actually ride in, then test the camera aim and controls in those conditions. Lens transmission and contrast priorities change between bright, variable, and low-light terrain, while ventilation, moisture, lens care, and anti-fog treatment all affect practical visibility. Fogging depends on ventilation, moisture, and lens care, and you should match lens transmission to bright, variable, or low-light conditions instead of treating one tint or feature label as universal.
| Riding scenario | Primary priority | First check before purchase or riding |
|---|---|---|
| Hands-free groomer laps | Naturally aimed framing, clear visibility, and a simple start-and-stop routine. | Record one short run and confirm the camera shows the intended line without constant head adjustment. |
| Park laps | Clearance during jumps, grabs, falls, and lift handling. | Move through the motions you actually use and check that the frame, housing, and controls stay out of the way. |
| Powder, storms, or variable weather | Lens suitability, moisture management, visibility, and recording status. | Check current lens and anti-fog information, then test visibility and controls in comparable conditions. |
| Switch or stance-changing riding | Consistent framing from both intended stances. | Record short clips in each stance and inspect the board, leading shoulder, sky, and intended line. |
| Mixed-condition or long sessions | Charging, storage, transfer, visibility, and control workflow. | Run the longest planned routine you can test and confirm how you start, stop, review, and move footage. |
With gloves on, operate the controls before dropping in and confirm the recording indicator or other status signal without removing the goggles. Don’t treat a successful button press as proof of long-session continuity. Review a short clip, and check any battery, storage, or cold-weather limits for the current model rather than assuming they apply to the camera format.
How to assess Skyshot before you buy and before your first run
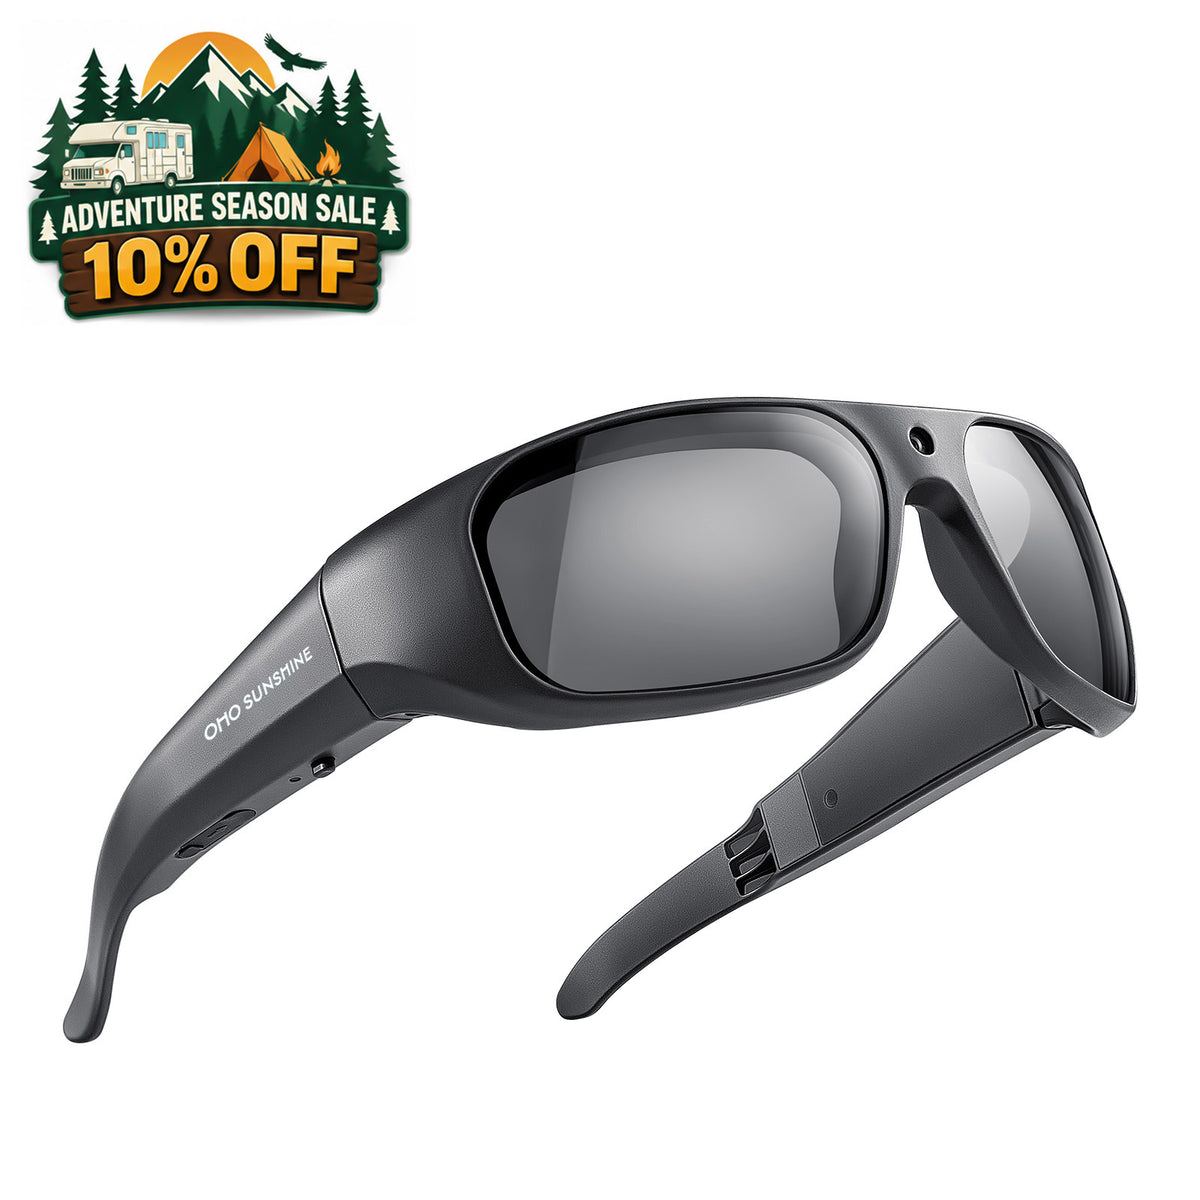
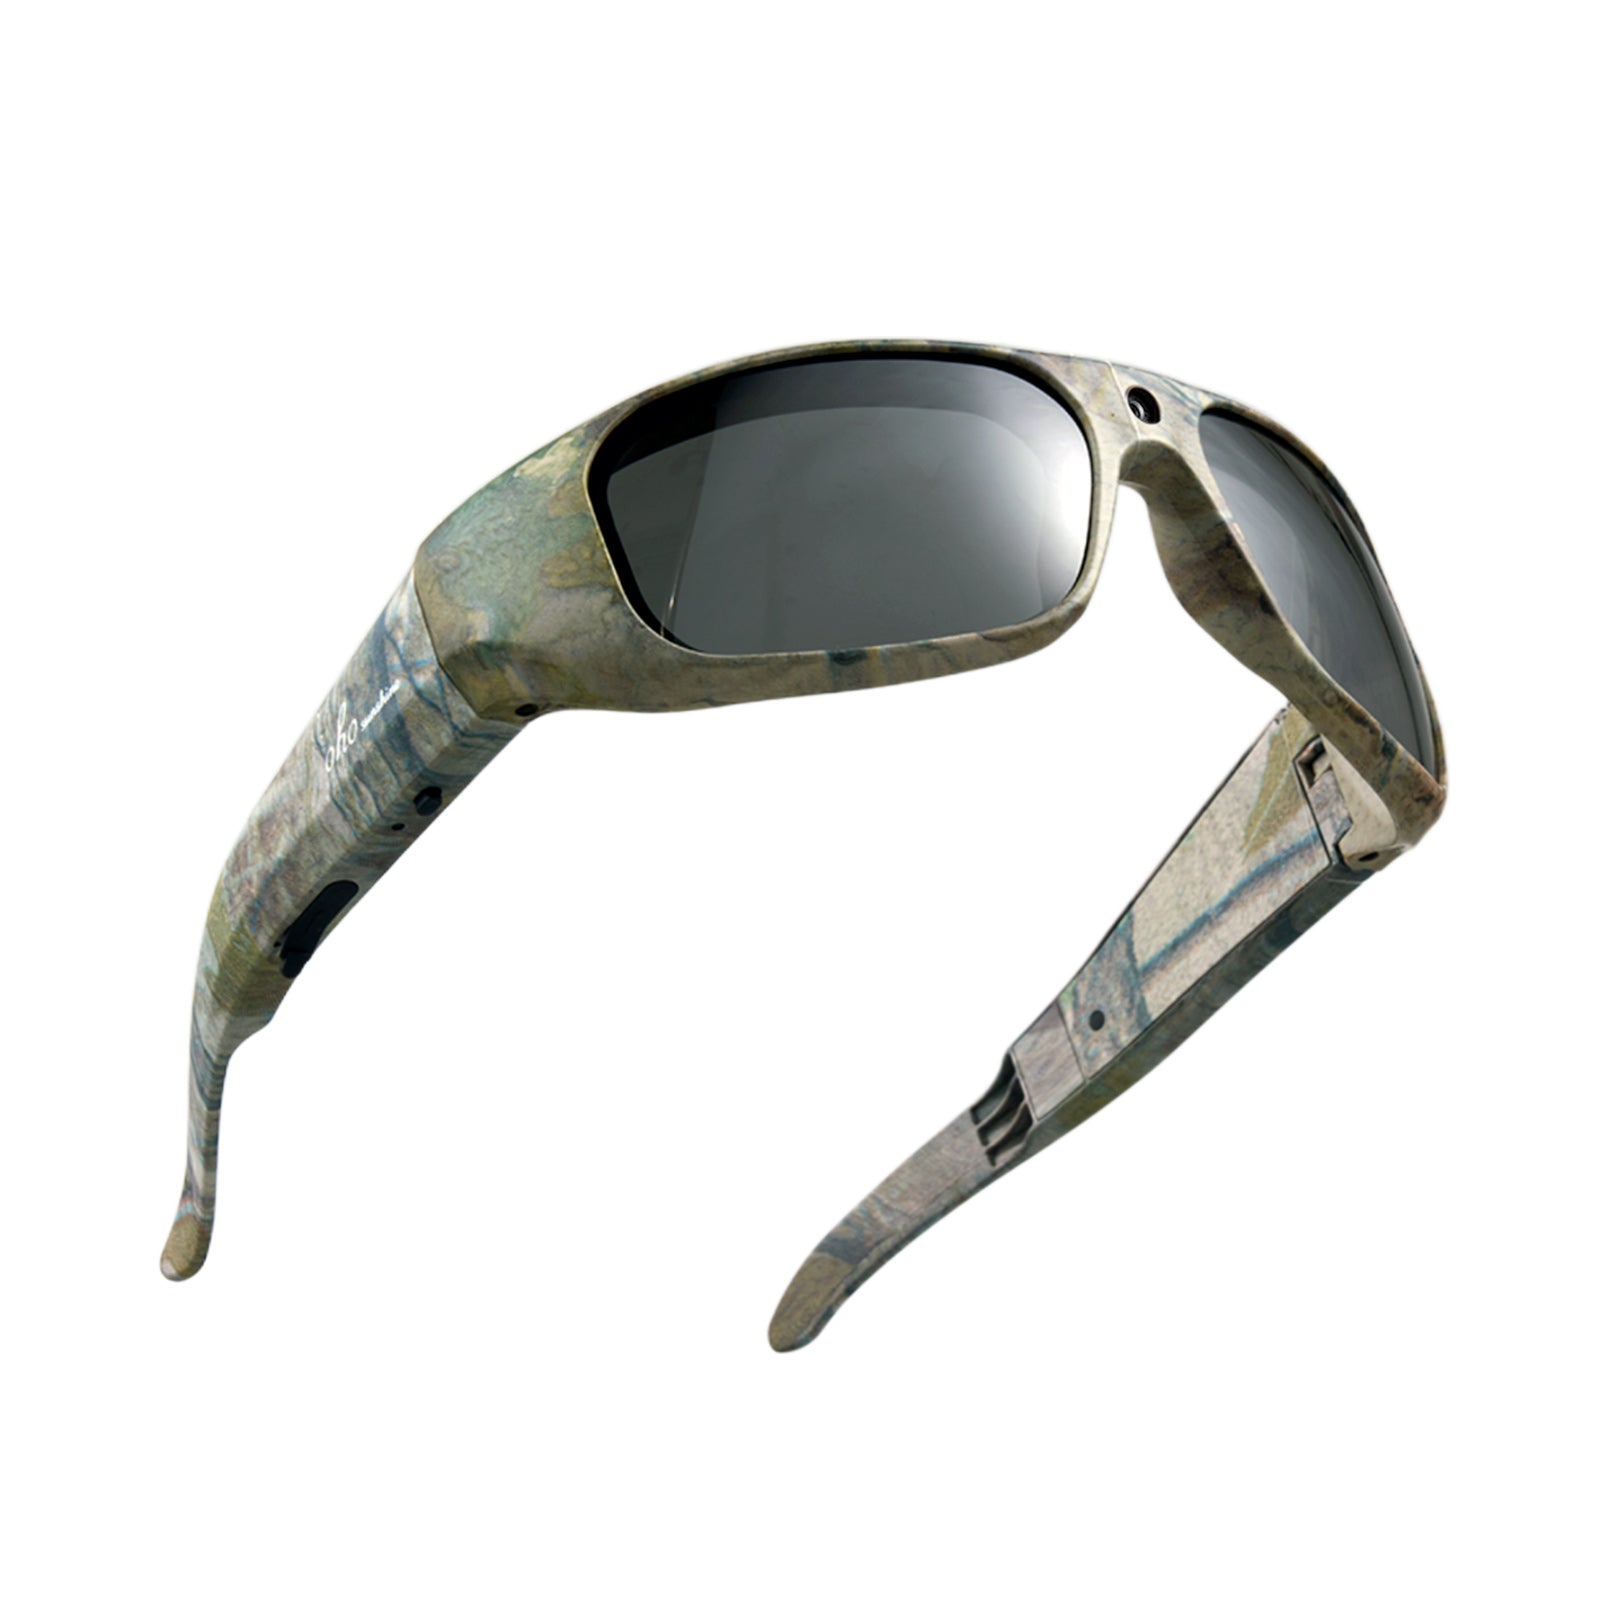
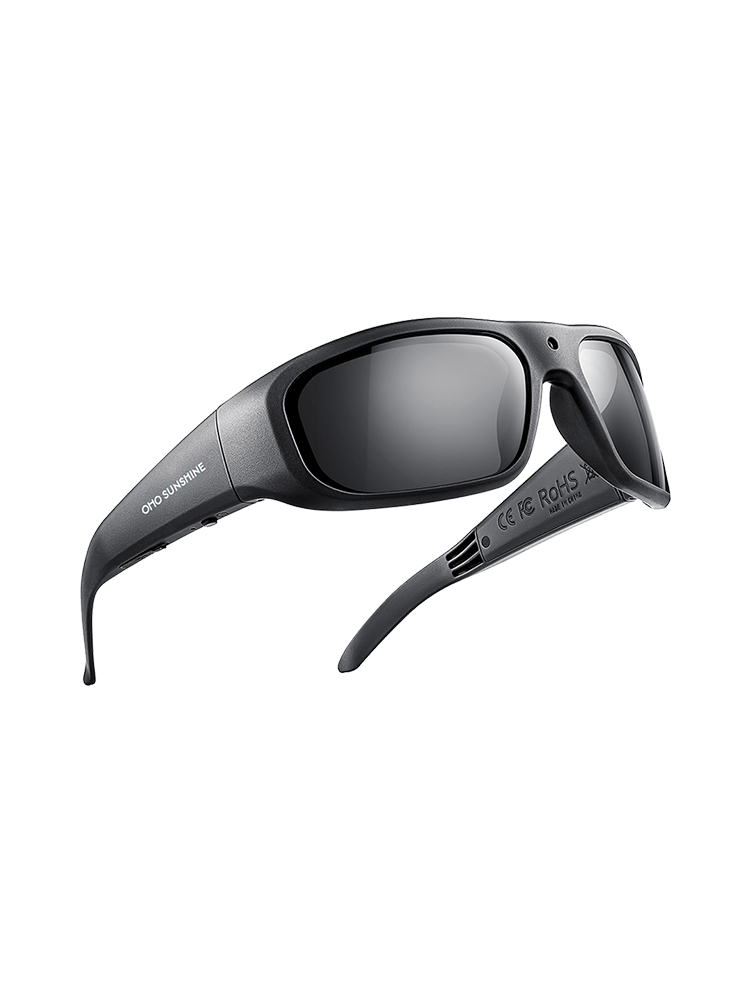
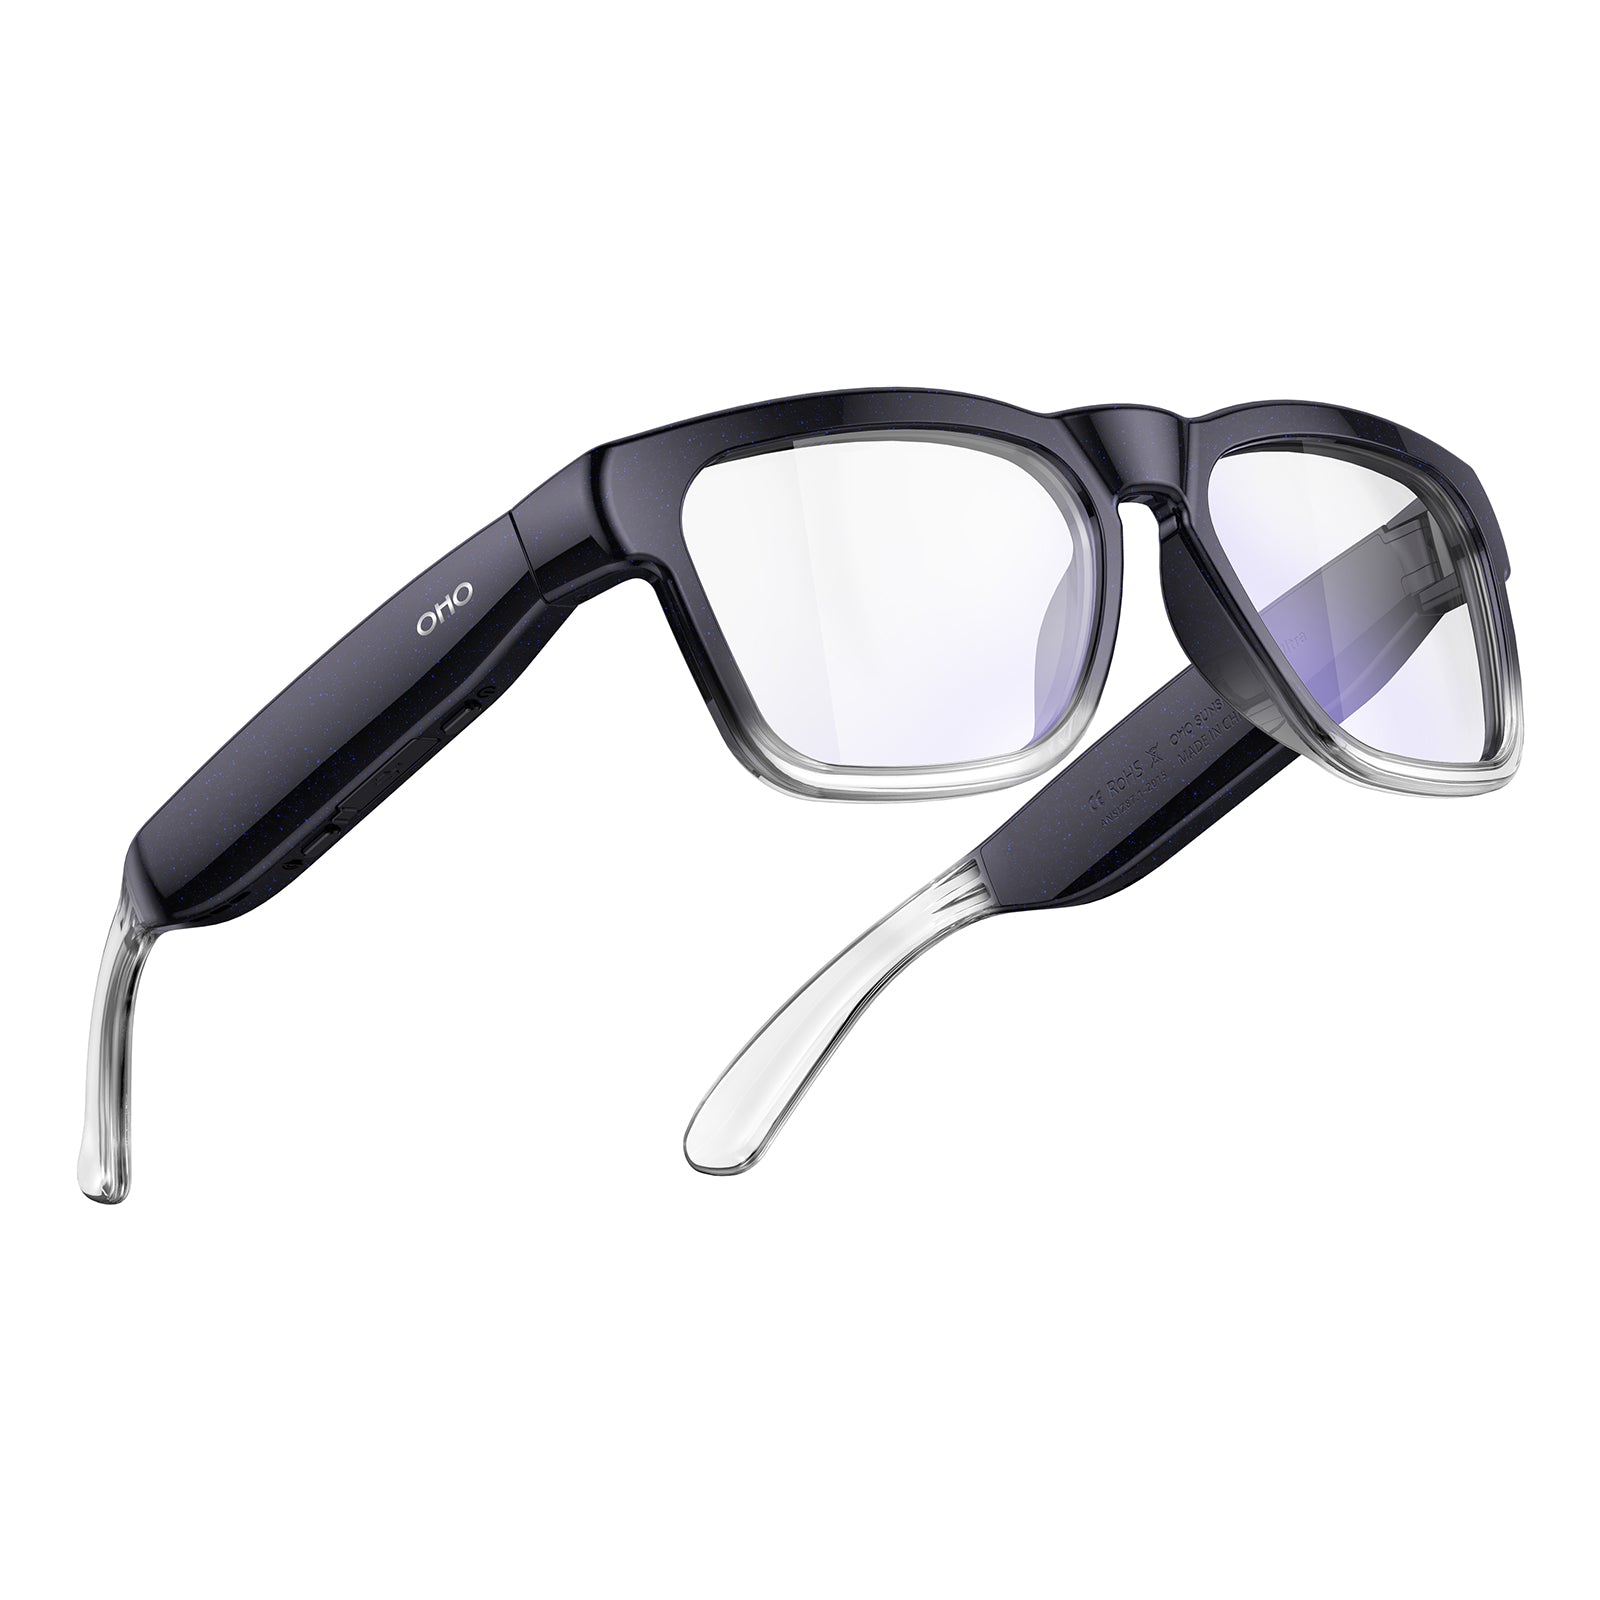
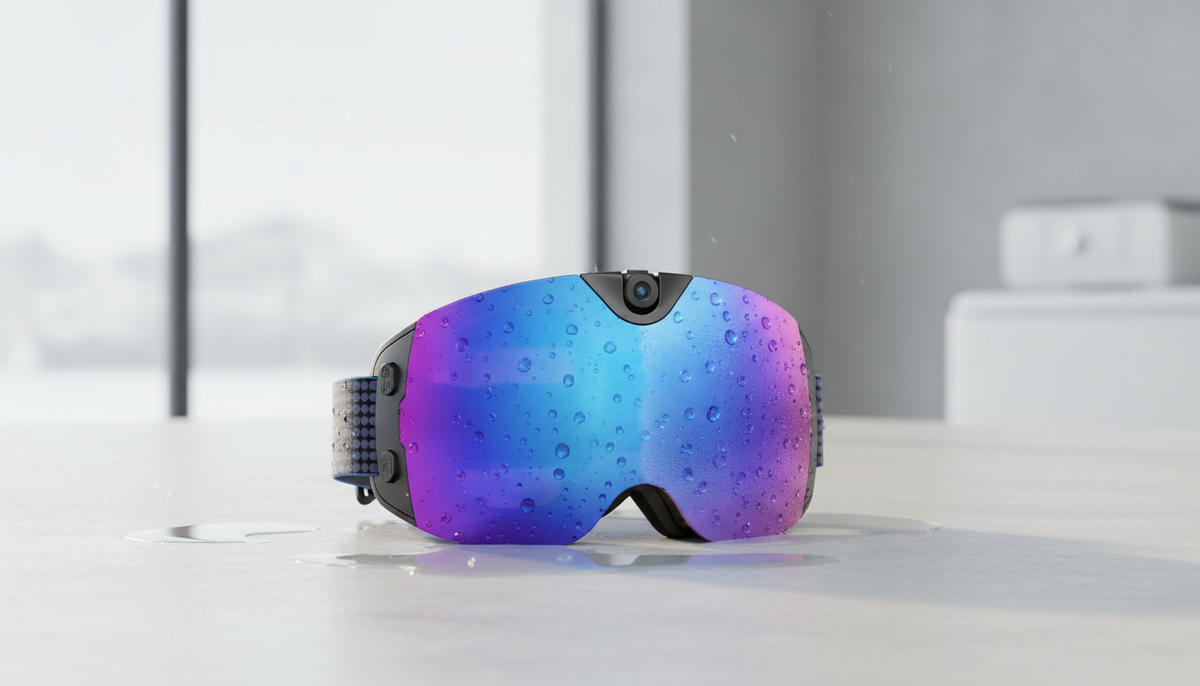
Integrated camera goggles make the most sense for riders who want a hands-free, all-in-one goggle format and accept a viewpoint tied to the goggles. The main buying question isn’t the feature list alone: the exact helmet, face, stance, lens conditions, controls, and session workflow must work together. With that type-level fit established, Skyshot 4K camera smart snow goggles are a supported example to compare, not a universal recommendation.
The supplied Skyshot specifications and functions include 4K video at 30 fps, 24M photos, a 140° wide-angle camera, an anti-fog lens, Wi-Fi, USB-C charging, a built-in microphone, a polarized lens, and listed snowboarding use. Its key distinction from a separate action camera is the integrated goggle-and-camera format. A separate camera remains the more natural comparison when adjustable mounting or an independent camera choice matters more.
Before purchase, review the current product details for the exact helmet-over-strap fit, face seal, camera clearance, control access, lens needs, and charging, storage, and transfer routine. The current product page also lists camera-angle adjustment and a 32GB storage option, but you still need to confirm whether the adjustment suits your stance, how the available capacity fits your recording routine, and what actual runtime your workflow allows. Don’t infer universal helmet compatibility, fall resistance, or other performance from the 4K, polarized, anti-fog, or wide-angle labels.
Before your first full snowboard day, complete one short test with the actual helmet, gloves, intended lens conditions, and normal stance. Repeat in switch stance when relevant. Start recording, ride or simulate the intended head movement, stop recording, and review the clip. If the goggles move, the framing misses the intended line, the controls are difficult, or recording continuity is unclear, resolve that issue before committing to the session. Keep battery and cold-weather checks tied to the current product details and your planned workflow.
Frequently Asked Questions
Can you use camera goggles for snowboarding?
Yes, camera goggles can be used for snowboarding when the exact helmet pairing is comfortable and stable, the camera frames your regular or switch stance, and the controls and recording routine work for your session. Make a short clip before relying on them for a full day.
Are ski goggles and snowboard goggles different?
The broad category overlaps, but a camera-equipped model still needs a snowboard-specific check. Verify stance-dependent framing, strap stability, handling and fall exposure, lens needs, and exact helmet fit rather than relying on the ski or snowboard label.
How should you wear camera snow goggles with a snowboard helmet?
Place the goggles comfortably on your face, keep the strap on the outside of the frame, and position the helmet over its intended strap-retention area. Then check for movement, pressure, gaps, vision obstruction, or camera-housing interference with that exact helmet. A stable fit for one pairing doesn’t guarantee the same result with another.
What is the best way to record a snowboard run?
Integrated goggles suit riders who prioritize hands-free simplicity and a viewpoint tied to the goggles. A separate action camera suits riders who prioritize adjustable mounting and an independent camera choice. Make a short framing and recording-continuity test in the intended stance before the run.


留言
此網站已受到 hCaptcha 保護,且適用 hCaptcha 隱私政策以及服務條款。